溫馨提示×
您好,登錄后才能下訂單哦!
點擊 登錄注冊 即表示同意《億速云用戶服務條款》
您好,登錄后才能下訂單哦!
小編給大家分享一下Python中如何實現文字成像方法,希望大家閱讀完這篇文章之后都有所收獲,下面讓我們一起去探討吧!

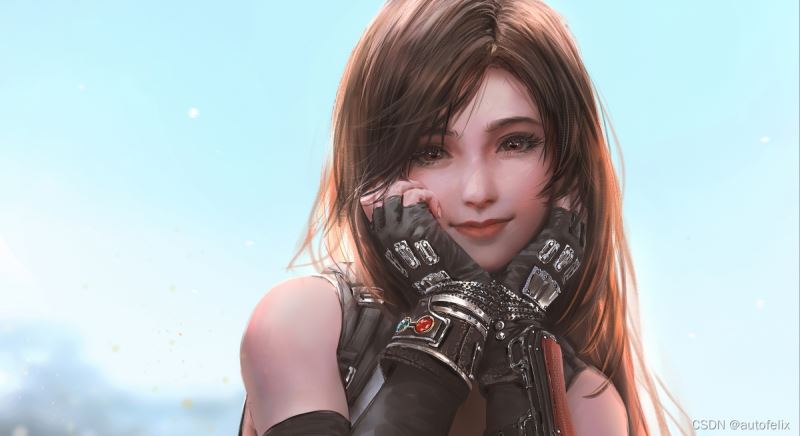
處理前

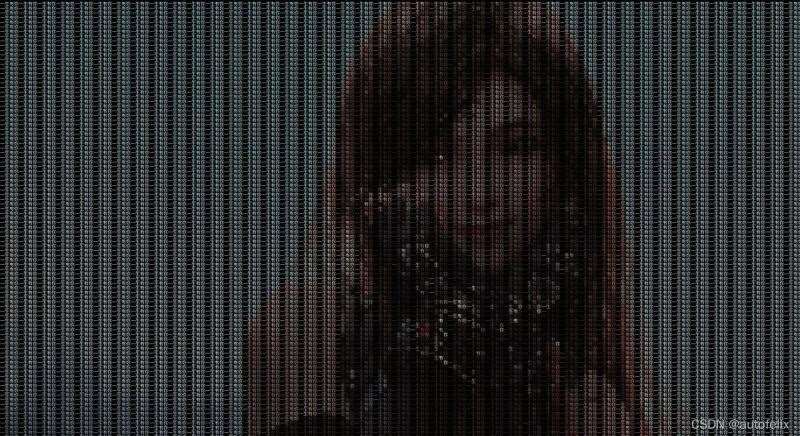
處理后

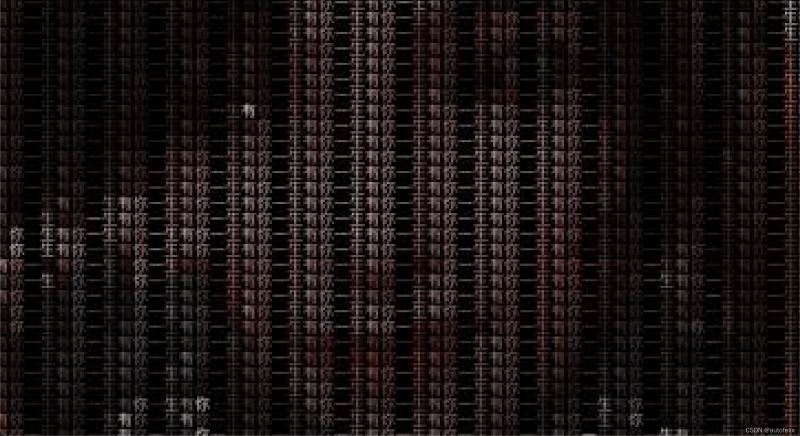
細節放大后
1.輸入你想隱藏的文字
2.然后寫到另一張跟照片同等大小的空白紙張上
3.將相同位置的文字的顏色用照片上相同位置的顏色填充即可
4.然后生成新的圖片你聽懂了嗎
#!/usr/bin/env python
# encoding: utf-8

from PIL import Image, ImageDraw, ImageFont

class wordPicture:
    '''
     This is a main Class, the file contains all documents.
     One document contains paragraphs that have several sentences
     It loads the original file and converts the original file to new content
     Then the new content will be saved by this class
    '''
    def __init__(self):
        self.font_size = 7
        self.picture = 'assets/picture.jpeg'

    def hello(self):
        '''
        This is a welcome speech
        :return: self
        '''
        print('*' * 50)
        print(' ' * 20 + '文字成像')
        print(' ' * 5 + 'Author: autofelix  Date: 2022-01-06 13:14')
        print('*' * 50)
        return self

    def run(self):
        '''
        The program entry
        '''
        word = input('請輸入你想說的:') or '我鐘意你'

        resource = Image.open(self.picture)
        img_array = resource.load()

        image_new = Image.new('RGB', resource.size, (0, 0, 0))
        draw = ImageDraw.Draw(image_new)
        font = ImageFont.truetype('/System/Library/Fonts/PingFang.ttc', self.font_size)

        yield_word = self.character_generator(word)

        for y in range(0, resource.size[1], self.font_size):
            for x in range(0, resource.size[0], self.font_size):
                draw.text((x, y), next(yield_word), font=font, fill=img_array[x, y], direction=None)

        image_new.convert('RGB').save('result.jpeg')

    def character_generator(self, text):
        while True:
            for i in range(len(text)):
                yield text[i]


if __name__ == '__main__':
    wordPicture().hello().run()
看完了這篇文章,相信你對“Python中如何實現文字成像方法”有了一定的了解,如果想了解更多相關知識,歡迎關注億速云行業資訊頻道,感謝各位的閱讀!
免責聲明:本站發布的內容(圖片、視頻和文字)以原創、轉載和分享為主,文章觀點不代表本網站立場,如果涉及侵權請聯系站長郵箱:is@yisu.com進行舉報,并提供相關證據,一經查實,將立刻刪除涉嫌侵權內容。