溫馨提示×
您好,登錄后才能下訂單哦!
點擊 登錄注冊 即表示同意《億速云用戶服務條款》
您好,登錄后才能下訂單哦!
本篇內容主要講解“怎么用Javascript實現拖拽排序效果”,感興趣的朋友不妨來看看。本文介紹的方法操作簡單快捷,實用性強。下面就讓小編來帶大家學習“怎么用Javascript實現拖拽排序效果”吧!
運行環境:vue3.2以上,復制張貼運行即可看效果
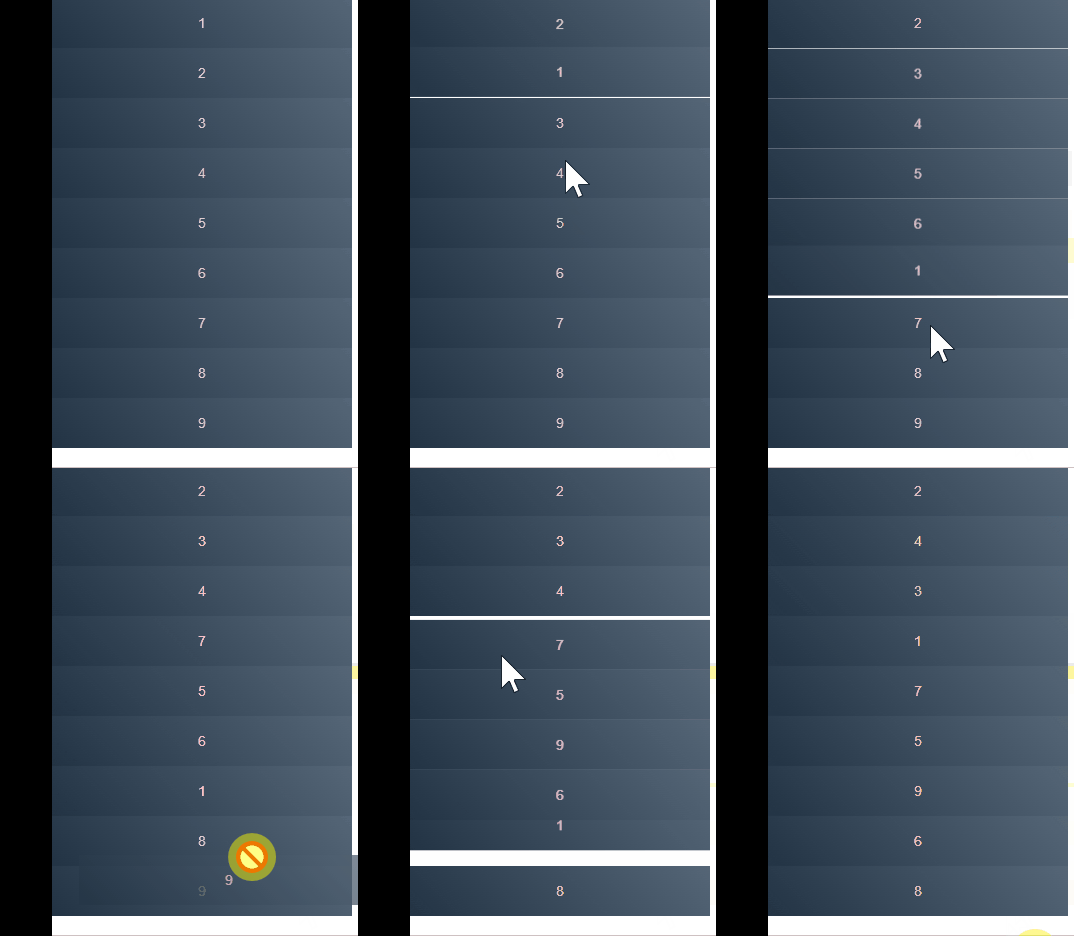
效果如下:

<template>
  <div class="container">
    <transition-group name="flip-list">
      <div v-for="item in items" :key="item" draggable="true" class="items" @dragstart="dragstart(item)"
        @dragenter="dragenter(item)" @dragend="dragend">{{item}}</div>
    </transition-group>
  </div>
</template>

<script setup>
import { ref } from "vue";
const items = ref([1, 2, 3, 4, 5, 6, 7, 8, 9])
const oldNum = ref(0)
const newNum = ref(0)
// 記錄初始信息
const dragenter = (param) => {
  newNum.value = param
}
// 做最終操作
const dragend = () => {
  if(oldNum.value !== newNum.value){
    const oldIndex = items.value.indexOf(oldNum.value)
    const newIndex = items.value.indexOf(newNum.value)
    const newItems = [...items.value]
    // 刪除老的節點
    newItems.splice(oldIndex,1)
    // 在列表中目標位置增加新的節點
    newItems.splice(newIndex,0,oldNum.value)
    // items改變transition-group就會起作用
    items.value = [...newItems]
  }
}
// 記錄移動過程中信息
const dragstart = (param) => {
  oldNum.value = param;
}
</script>
<style scoped>
.items {
  width: 300px;
  height: 50px;
  line-height: 50px;
  text-align: center;
  background: linear-gradient(45deg, #234, #567);
  color: pink;
}

.flip-list-move {
  transition: transform 1s;
}
</style>
到此,相信大家對“怎么用Javascript實現拖拽排序效果”有了更深的了解,不妨來實際操作一番吧!這里是億速云網站,更多相關內容可以進入相關頻道進行查詢,關注我們,繼續學習!
免責聲明:本站發布的內容(圖片、視頻和文字)以原創、轉載和分享為主,文章觀點不代表本網站立場,如果涉及侵權請聯系站長郵箱:is@yisu.com進行舉報,并提供相關證據,一經查實,將立刻刪除涉嫌侵權內容。