您好,登錄后才能下訂單哦!
您好,登錄后才能下訂單哦!
React Router 5.1.0如何使用useHistory實現頁面跳轉導航,針對這個問題,這篇文章詳細介紹了相對應的分析和解答,希望可以幫助更多想解決這個問題的小伙伴找到更簡單易行的方法。
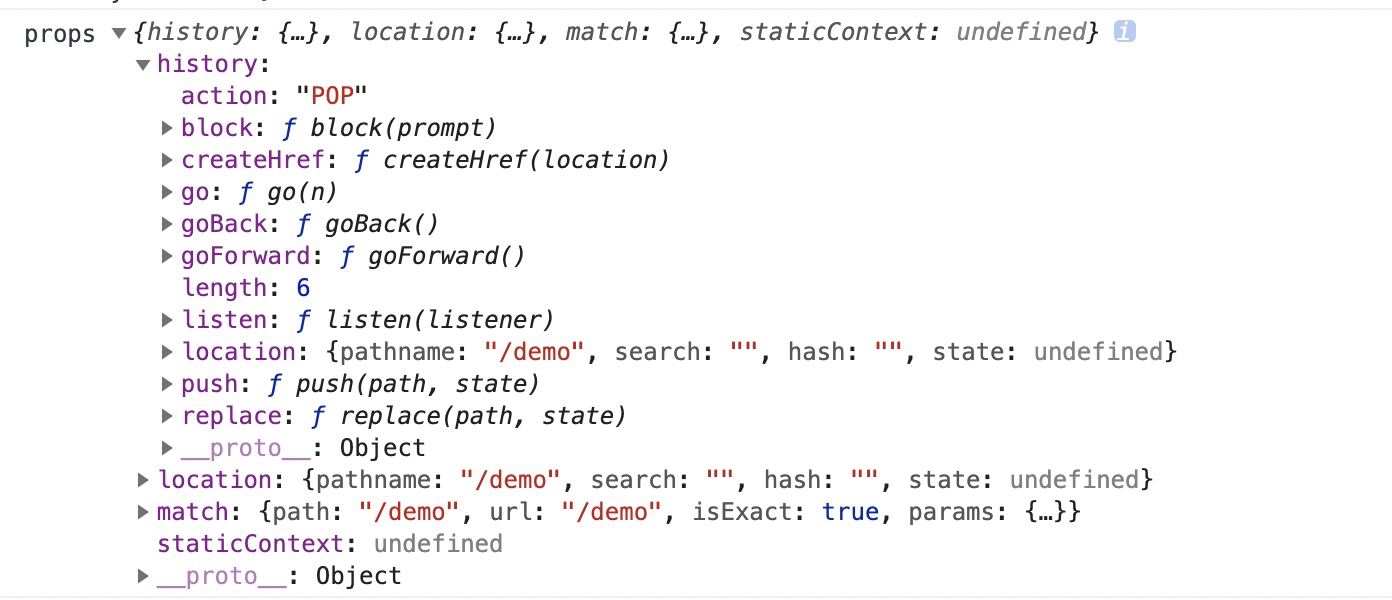
withRouter組件將注入history對象作為該組件的屬性
import React from 'react'
import { withRouter } from 'react-router-dom'
import { Button } from 'antd'

export const ButtonWithRouter = withRouter(({ history }) => {
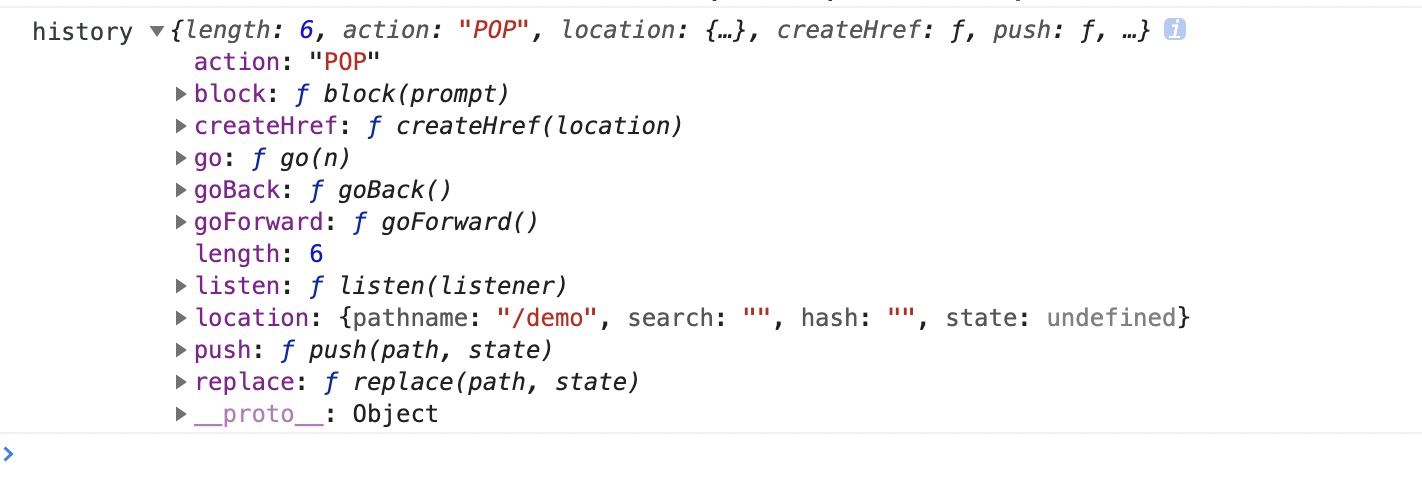
  console.log('history', history)
  return (
    <Button
      type='default'
      onClick={() => { history.push('/new-location') }}
    >
      Click Me!
    </Button>

  )
})
引入 import { ButtonWithRouter } from ‘./buttonWithRouter'
或者:
const ButtonWithRouter = (props) => {
  console.log('props', props)
  return (
    <Button
      type='default'
      onClick={() => { props.history.location.push('/new-location') }}
    >
      Click Me!
    </Button>

  )
}

export default withRouter(ButtonWithRouter)
引入: import ButtonWithRouter from ‘./buttonWithRouter'
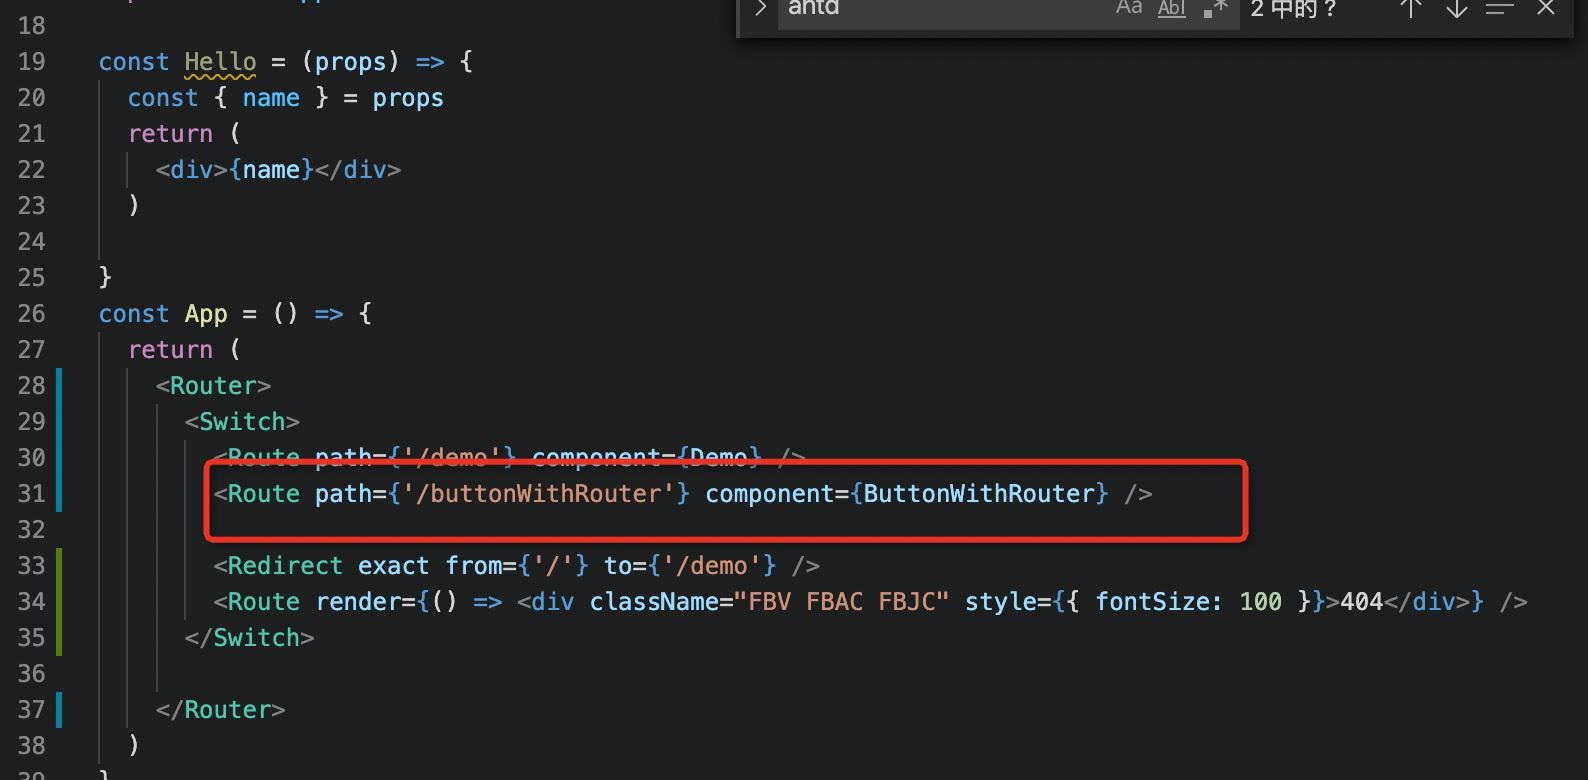
在route入口

Route組件不僅用于匹配位置。 您可以渲染無路徑的路由,它始終與當前位置匹配。 Route組件傳遞與withRouter相同的屬性,因此能夠通過history的屬性訪問history的方法。
so:
export const ButtonWithRouter = () => (
  <Route render={({ history }) => {
    console.log('history', history)
    return (
      <button
        type='button'
        onClick={() => { history.push('/new-location') }}
      >
        Click Me!
      </button>
    )
  }} />
)
從React Router v5.1.0開始,新增了useHistory鉤子(hook),如果是使用React >16.8.0,使用useHistory即可實現頁面跳轉
export const ButtonWithRouter = () => {
  const history = useHistory();
  console.log('history', history)
  return (
    <button
      type='button'
      onClick={() => { history.push('/new-location') }}
    >
      Click Me!
    </button>
  )
}
關于React Router 5.1.0如何使用useHistory實現頁面跳轉導航問題的解答就分享到這里了,希望以上內容可以對大家有一定的幫助,如果你還有很多疑惑沒有解開,可以關注億速云行業資訊頻道了解更多相關知識。
免責聲明:本站發布的內容(圖片、視頻和文字)以原創、轉載和分享為主,文章觀點不代表本網站立場,如果涉及侵權請聯系站長郵箱:is@yisu.com進行舉報,并提供相關證據,一經查實,將立刻刪除涉嫌侵權內容。