您好,登錄后才能下訂單哦!
您好,登錄后才能下訂單哦!
這篇文章主要介紹“element-ui圖片上傳組件查看和限制的方法是什么”,在日常操作中,相信很多人在element-ui圖片上傳組件查看和限制的方法是什么問題上存在疑惑,小編查閱了各式資料,整理出簡單好用的操作方法,希望對大家解答”element-ui圖片上傳組件查看和限制的方法是什么”的疑惑有所幫助!接下來,請跟著小編一起來學習吧!
element-ui經常遇到圖片上傳,然后編輯查看限制上傳個數和上傳提示
1、limit上傳個數限制配合on-exceed屬性使用
2、上傳之前提示圖片大小限制屬性before-upload
3、上傳帶參數data
4、上傳成功on-success和移除on-remove
5、file-list屬性展示的列表數組,查看也是設置這個
html的代碼
<el-upload
    :limit="1"
    :on-exceed="config.exceed" ref="upload" class="upload-demo"
    :before-upload="config.onBeforeUpload"
    :on-success="config.handleAvatarSuccess"
    :data="config.dataParam"
    :action="config.actionUrl"
     :on-remove="config.handleRemove"
      :file-list="config.fileList2" //保存當前圖片對象數組
      :multiple="false"
      :show-file-list="true"
      list-type="picture">
            <el-button size="small" type="primary">點擊上傳</el-button>
  </el-upload>
配置信息js 代碼
config: {
        dataParam: {
          bizType: 3,
          useType: 2
        },
        actionUrl: 'api/base-fdfs/fdfs/public/upload',
        exceed:()=>{
            this.$alert('請刪除后再上傳', '異常提示', {
              confirmButtonText: '確定',
              type: 'warning'
            });
        },
        handleRemove: (file,fileList) => {
          this.form.picture=''
          this.config.fileList2=[] //刪除此數組內的圖片對象
        },
        onBeforeUpload: (file) => {
          const isIMAGE = ((file.type === 'image/jpeg') || (file.type === 'image/png') || (file.type === 'image/bmp'));
          if (!isIMAGE) {
            this.$alert('上傳文件只能是圖片格式(jpeg/png/bmp)', '異常提示', {
              confirmButtonText: '確定',
              type: 'warning'
            });
            return false
          }
          if(file.size/1024/1024>5){
            console.log(file.size)
            this.$alert('圖片不能大于5M', '異常提示', {
              confirmButtonText: '確定',
              type: 'warning'
            });
            return false
          }
          return true
        },
        handleAvatarSuccess: (res, file) => {
          this.form.repairImages = file.response.data
        },
        fileList2: [],
      },
查看的時候還需給file-list數組設置,展示圖片
    let obj={}
    this.config.fileList2=[]
    this.$set(obj,'name','file');
    this.$set(obj,'url',response.data.picture);
    this.config.fileList2.push(obj)
清除文件列表,上傳組件變初始狀態
this.$refs.upload.clearFiles() //清除圖片
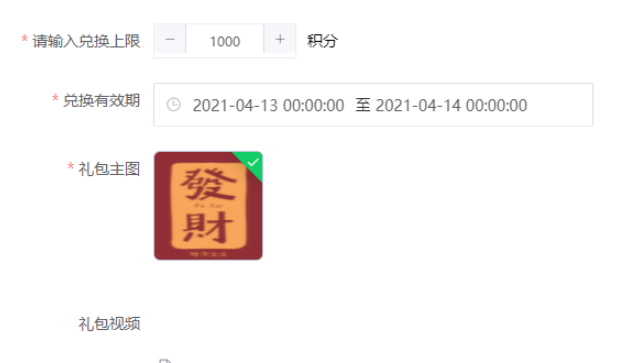
在做圖片上傳組件的時候 有時候需求回要求只能上傳一張圖片
bug:element-ui在上傳完一張圖片后上傳按鈕還會存在 雖然可以用自帶的limt屬性加以限制 但是上傳按鈕依然會存在 且存入數組的值依然會增加
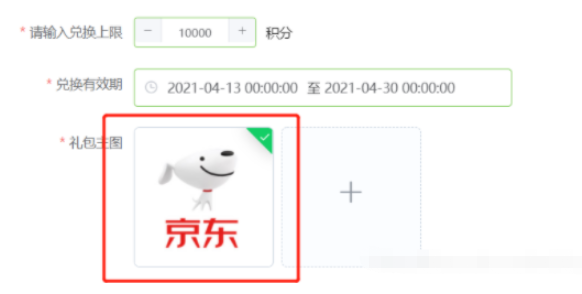
可以判斷上傳后數組的length來控制圖片上傳的樣式 讓其上傳一張后隱藏上傳按鈕 達到控制圖片上傳的數量需求
<el-form-item label="禮包主圖" prop="goodsimage" :required="true">
        <el-upload
          :class="{ disabled: uploadDisabled }"   //這里動態控制樣式
          :limit="1"
          ref="picUpload"
          class="pic-div"
          action="'xxxxxxx'"
          :with-credentials="true"
          list-type="picture-card"
          :on-remove="removePic"
          :on-change="handleEditChange"
          :file-list="goodsimage"
          :on-exceed="beyond"
        >
          <div class="el-upload file-upload-container" @click.stop="popFileUpload('0')">
            <i class="el-icon-plus"></i>
          </div>
        </el-upload>
      </el-form-item>
// 隱藏圖片上傳按鈕
uploadDisabled() {
return this.goodsimage.length > 0 //判斷圖片上傳的數量動態控制按鈕隱藏與顯示
},<style>
.disabled .el-upload--picture-card {
display: none;
}
</style>最終效果
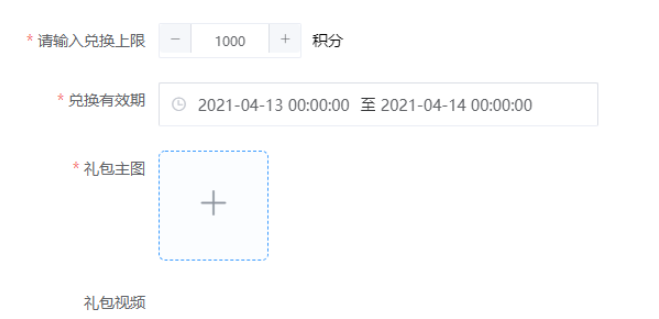
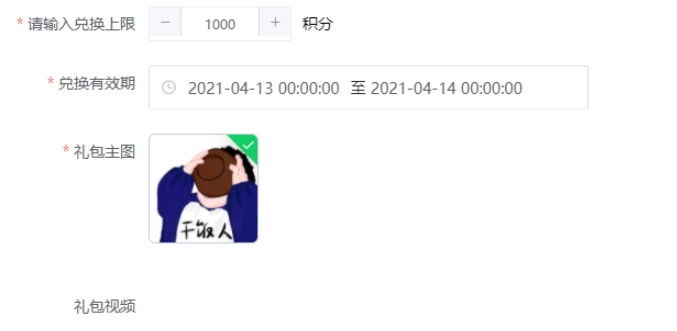
禮包視頻也是如此要求僅限上傳1個視頻 由于是button按鈕 俺就直接使用v-if判斷視頻的length來控制視頻上傳按鈕的顯示與隱藏
<el-button ***v-if="this.goodsvideo.length < 1"*** class="file-upload-btn-container" @click.stop="popFileUpload('1')" size="small" type="primary">點擊上傳</el-button >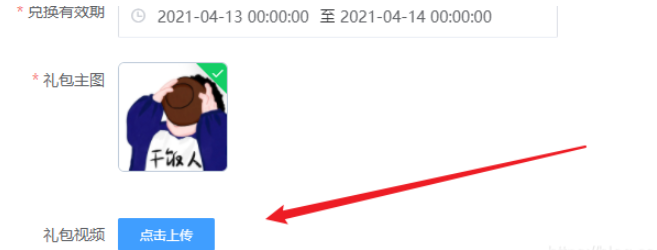
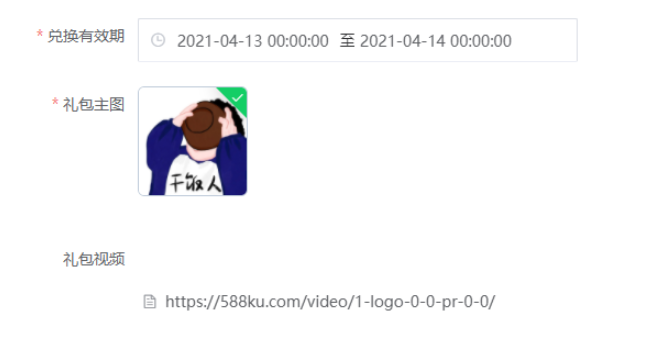
上傳視頻后按鈕隱藏
到此,關于“element-ui圖片上傳組件查看和限制的方法是什么”的學習就結束了,希望能夠解決大家的疑惑。理論與實踐的搭配能更好的幫助大家學習,快去試試吧!若想繼續學習更多相關知識,請繼續關注億速云網站,小編會繼續努力為大家帶來更多實用的文章!
免責聲明:本站發布的內容(圖片、視頻和文字)以原創、轉載和分享為主,文章觀點不代表本網站立場,如果涉及侵權請聯系站長郵箱:is@yisu.com進行舉報,并提供相關證據,一經查實,將立刻刪除涉嫌侵權內容。