您好,登錄后才能下訂單哦!
您好,登錄后才能下訂單哦!
本文小編為大家詳細介紹“React RenderProps模式如何運用”,內容詳細,步驟清晰,細節處理妥當,希望這篇“React RenderProps模式如何運用”文章能幫助大家解決疑惑,下面跟著小編的思路慢慢深入,一起來學習新知識吧。
上代碼:
import React, { Component } from 'react'
import './index.css'
export default class Parent extends Component {
	render() {
		return (
			<div className="parent">
				<h4>我是Parent組件</h4>
				<A/>
			</div>
		)
	}
}
class A extends Component {
	render() {
		console.log(this.props);
		return (
			<div className="a">
				<h4>我是A組件</h4>
			</div>
		)
	}
}
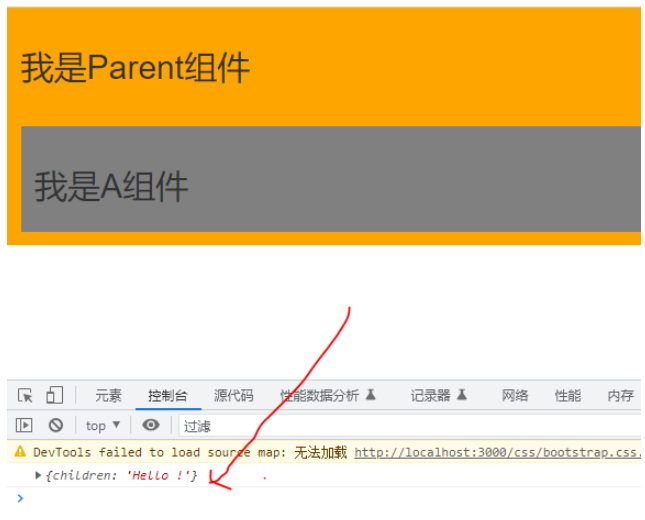
結果很簡單就能猜到

改一下呢?
import React, { Component } from 'react'
import './index.css'
export default class Parent extends Component {
	render() {
		return (
			<div className="parent">
				<h4>我是Parent組件</h4>
				<A>Hello !</A>
			</div>
		)
	}
}
class A extends Component {
	render() {
		console.log(this.props);
		return (
			<div className="a">
				<h4>我是A組件</h4>
			</div>
		)
	}
}
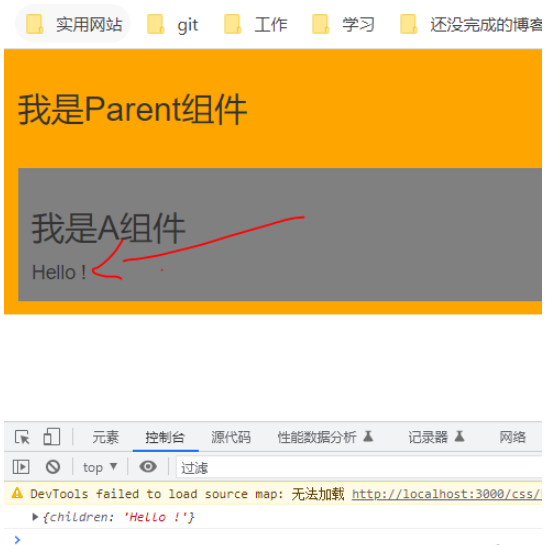
頁面是沒有現實Hello !的,但是之前一次的封裝NaLink也有傳遞過標簽體內容的,在子組件的props中,children:(內容)

所以A組件想要展示傳遞的標簽體內容的話,還要改一下A組件
class A extends Component {
	render() {
		console.log(this.props);
		return (
			<div className="a">
				<h4>我是A組件</h4>
				{this.props.children}
			</div>
		)
	}
}
import React, { Component } from 'react'
import './index.css'
export default class Parent extends Component {
	render() {
		return (
			<div className="parent">
				<h4>我是Parent組件</h4>
				<A>
					<B/>
				</A>
			</div>
		)
	}
}
class A extends Component {
	state ={ name:'Mike'}
	render() {
		console.log(this.props);
		return (
			<div className="a">
				<h4>我是A組件</h4>
				{this.props.children}
			</div>
		)
	}
}
class B extends Component {
	render() {
		console.log('B--render');
		return (
			<div className="b">
				<h4>我是B組件</h4>
			</div>
		)
	}
}
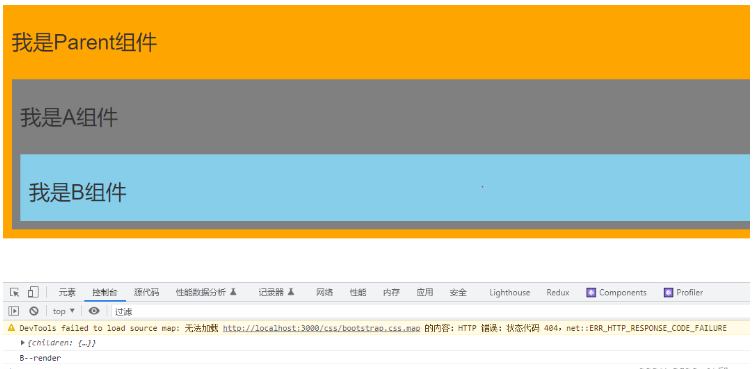
A,B組件成了父子組件

但是這樣,如果A組件想傳自己的值給B組件,貌似是行不通的
import React, { Component } from 'react'
import './index.css'
import C from '../1_setState'
export default class Parent extends Component {
	render() {
		return (
			<div className="parent">
				<h4>我是Parent組件</h4>
				<A render={(name) => <B name={name}/>} />
			</div>
		)
	}
}
class A extends Component {
	state ={ name:'Mike'}
	render() {
		const {name} =this.state;
		console.log(this.props);
		return (
			<div className="a">
				<h4>我是A組件</h4>
				{this.props.render(name)}
			</div>
		)
	}
}
class B extends Component {
	render() {
		console.log('B--render');
		return (
			<div className="b">
				<h4>我是B組件,接收到的name:{this.props.name}</h4>
			</div>
		)
	}
}
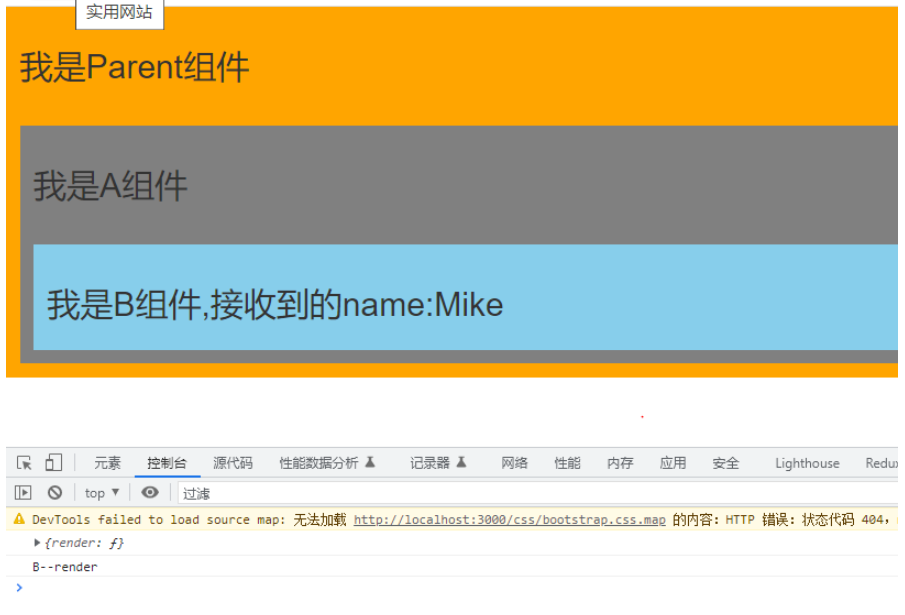
主要是Parent組件和A組件之間調用要注意:

Parent組件中,render(當然可以去其他的名字這里)這樣寫,相當于預留了一個插槽,如果你需要渲染其他組件(例如例子中的B組件),在A組件中調用this.props.render()就可以渲染出B組件,不寫的話就不會渲染出B組件。
讀到這里,這篇“React RenderProps模式如何運用”文章已經介紹完畢,想要掌握這篇文章的知識點還需要大家自己動手實踐使用過才能領會,如果想了解更多相關內容的文章,歡迎關注億速云行業資訊頻道。
免責聲明:本站發布的內容(圖片、視頻和文字)以原創、轉載和分享為主,文章觀點不代表本網站立場,如果涉及侵權請聯系站長郵箱:is@yisu.com進行舉報,并提供相關證據,一經查實,將立刻刪除涉嫌侵權內容。