您好,登錄后才能下訂單哦!
您好,登錄后才能下訂單哦!
這篇文章給大家分享的是有關CocosCreator制作射擊游戲的方法的內容。小編覺得挺實用的,因此分享給大家做個參考,一起跟隨小編過來看看吧。
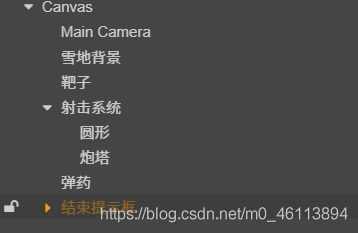
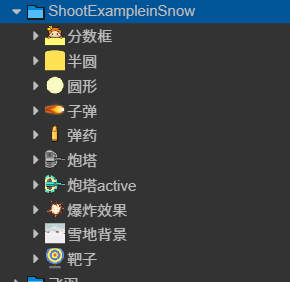
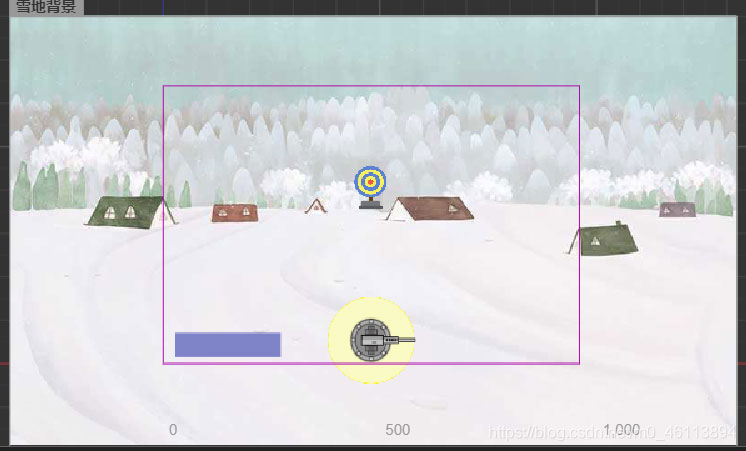
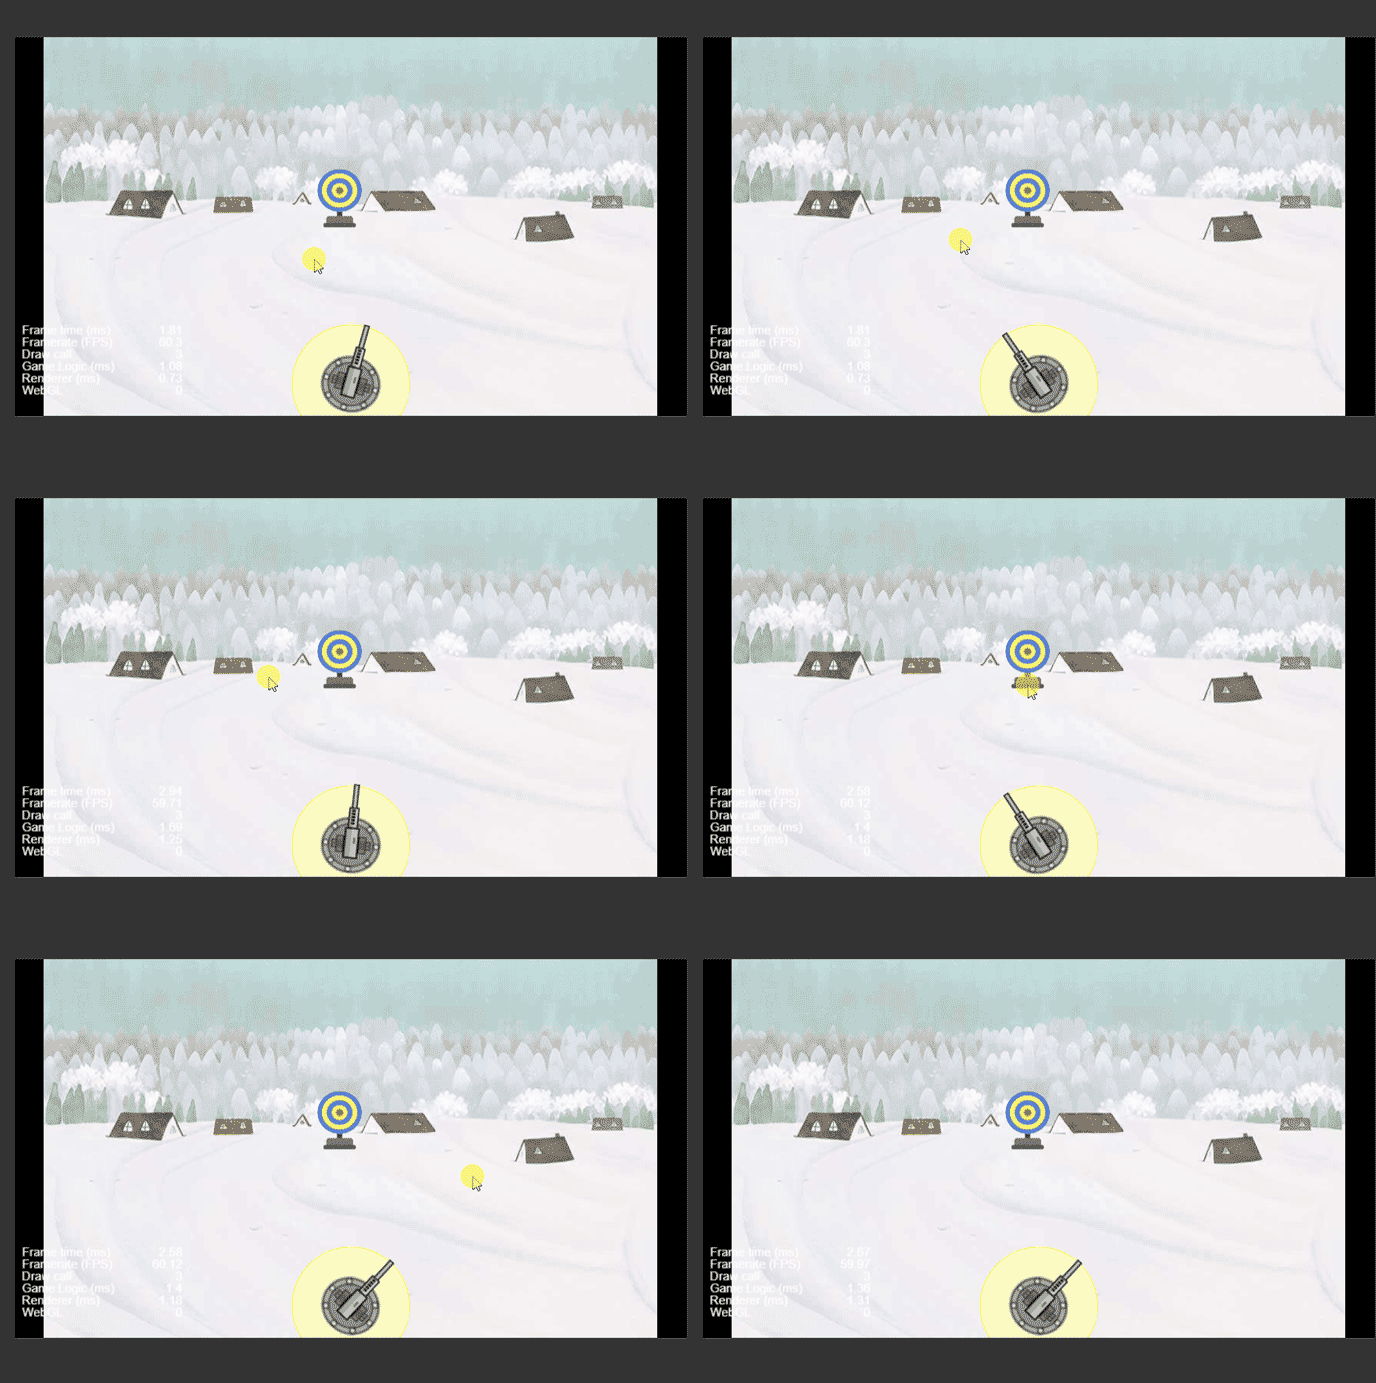
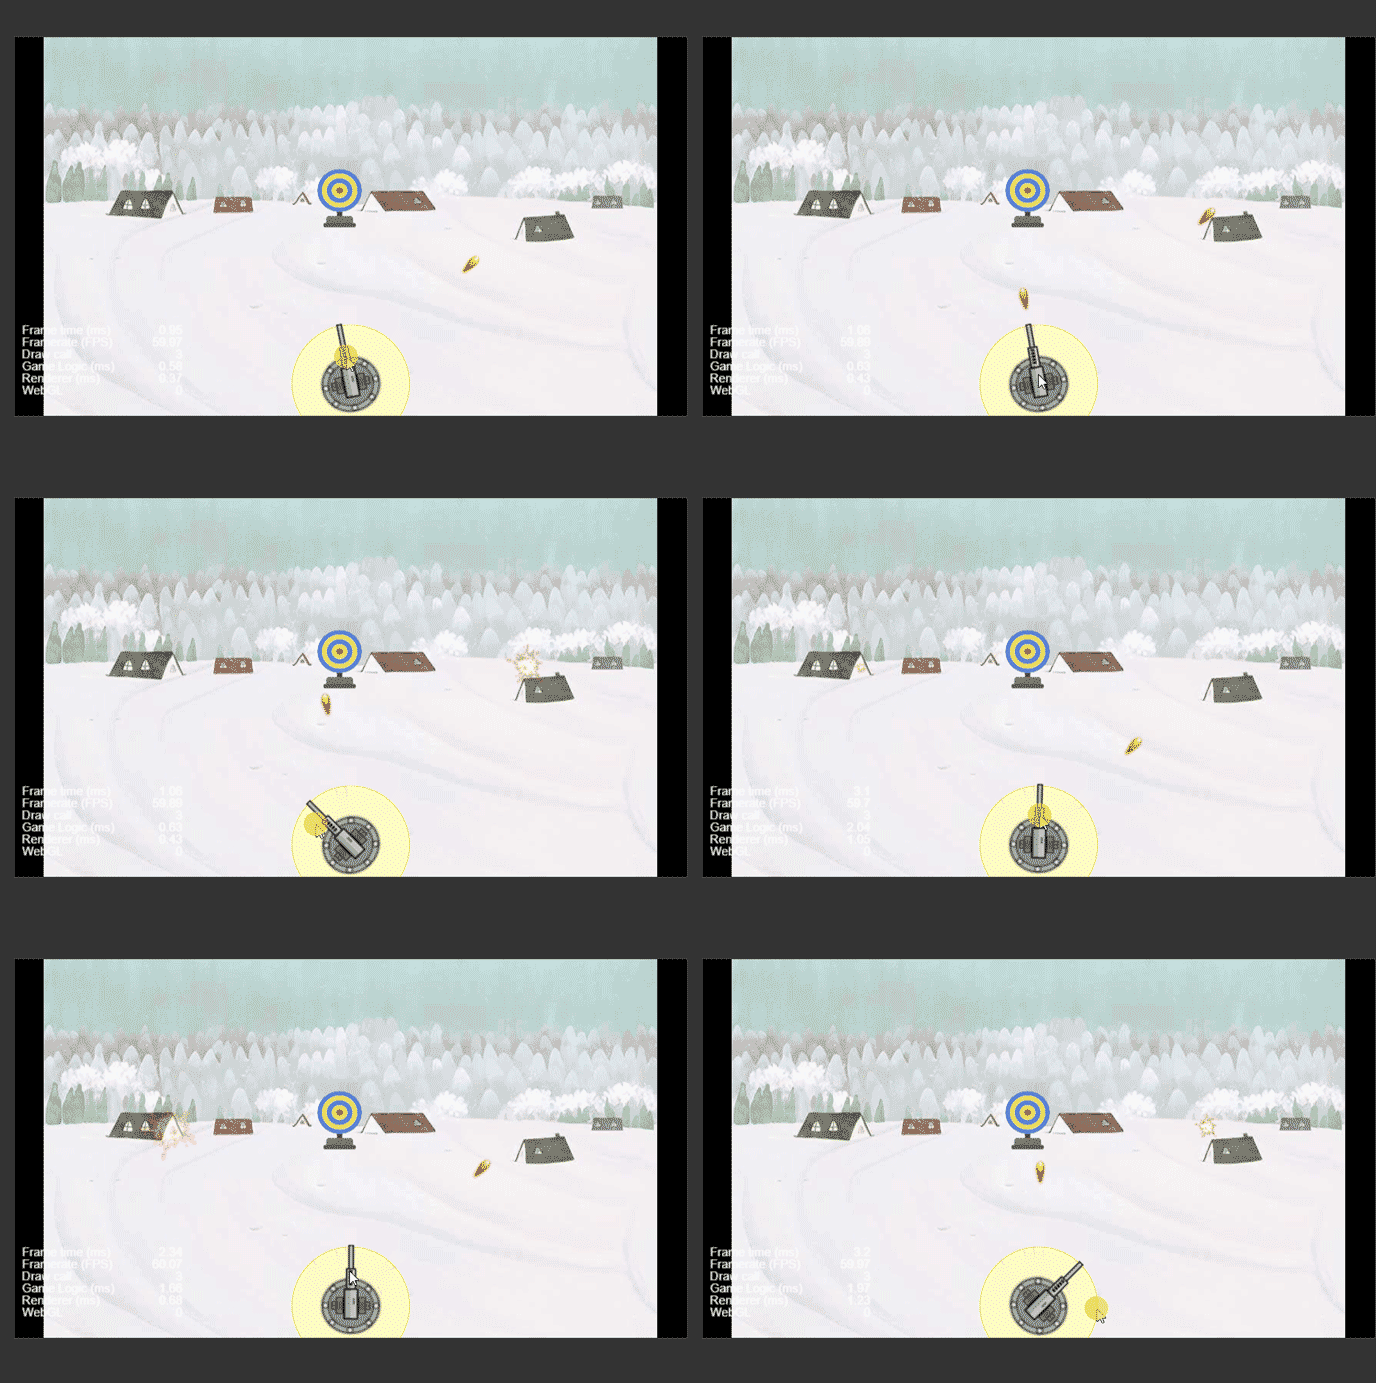
機制與之前手柄實例的小車相同,使用touchmove監聽觸摸事件,
獲取觸摸位置
通過位置用signAngle方法將該位置與cc.v2(1,0)位置的角度差求出(記得要加負號,比較所得逆時針為負,賦值angle逆指針為正)。
所求的的角度即為最終角度。
 onLoad(){
        //初始化為90度
        this.node.angle=90;
        this.node.on('touchstart',this.onTouchStart,this);
        this.node.on('touchmove',this.onTouchMove,this);
        this.node.on('touchend',this.onTouchEnd,this);
        this.node.on('touchconcel',this.onTouchConcel,this);
    }

    onTouchStart(e:cc.Event.EventTouch){
        //獲取開始的位置
        this.starPos=this.node.parent.convertToNodeSpace(e.getLocation());
        //獲取炮口的初始角度
        this.starAngle=this.node.angle;

    }
    onTouchEnd(e:cc.Event.EventTouch){

    }
    onTouchMove(e:cc.Event.EventTouch){
        //獲取觸點當前的位置
        let pos:cc.Vec2=this.node.parent.convertToNodeSpace(e.getLocation());

        //獲取角度
        //angle順時針為負逆時針為正
        let sweep_radian=pos.signAngle(this.starPos);//pos相對于starPose的角度p相對s順時針為正
        let sweep_angle=sweep_radian*180/Math.PI;//弧度制換算角度

        //讓炮塔的角度指向最終的角度
        let angle=this.starAngle-sweep_angle;

        //將角度限制在45~135之間
        if(angle<45)angle=45;
        if(angle>135)angle=135;

        cc.log("炮口擺動:"+sweep_angle+"最終角度位置:"+angle);
        this.node.angle=angle;
    }
生成節點cc.Node,并增加組件addComponent(cc.Sprite)
為組件的屬性賦值,將圖片的spriteFrame賦值
將組件掛載在一個父節點下
設置位置、角度等
控制其運動可以導入新建的腳本,并將該腳本增加到動態生成節點的組件中
 onTouchEnd(e:cc.Event.EventTouch){
        this.fire();
    }
    onTouchConcel(e:cc.Event.EventTouch){

    }

    fire(){

        if(this.bulleteicon==null)return;
        let bullet:cc.Node=new cc.Node();
        let sprite:cc.Sprite=bullet.addComponent(cc.Sprite);
        sprite.spriteFrame=this.bulleteicon;


        //掛載到射擊系統節點下
        bullet.parent=this.node.parent;

        //設置相對父節點位置
        let ration=this.node.angle*Math.PI/180;
        let direction=cc.v2(Math.cos(ration),Math.sin(ration));
        bullet.angle=this.node.angle;
        let r=100;
        bullet.setPosition(cc.v3(r*direction.x,r*direction.y,0));

        //附加腳本組件
         let script=bullet.addComponent(Buletet);
         script.explodeImg=this.explodeImg;
         script.direction=direction;

    }
start () {
this.schedule(this.onTimer,0.01);
}
onTimer(){
if(this.node.y>300){
this.unschedule(this.onTimer);
this.explode();
return;
}
let dx=this.direction.x*5;
let dy=this.direction.y*5;
this.node.y+=dy;
this.node.x+=dx;
}
explode(){
let sp:cc.Sprite=this.getComponent(cc.Sprite);
sp.spriteFrame=this.explodeImg;
//將子彈縮小
this.node.scale=0.1;
//爆炸動畫效果緩動系統
let self=this;
cc.tween(this.node)
.to(0.5,{scale:1,opacity:0})
.call(function(){
self.afterExplode();
})
.start();
}
afterExplode(){
this.node.destroy();
}本次bug:
導入的類名與文件名不同,注意重命名文件不會自動修改代碼中的類名,需要修改兩次
setposition()方法使用時參數寫在了cc.v3的構造函數內,一定注意參數的位置
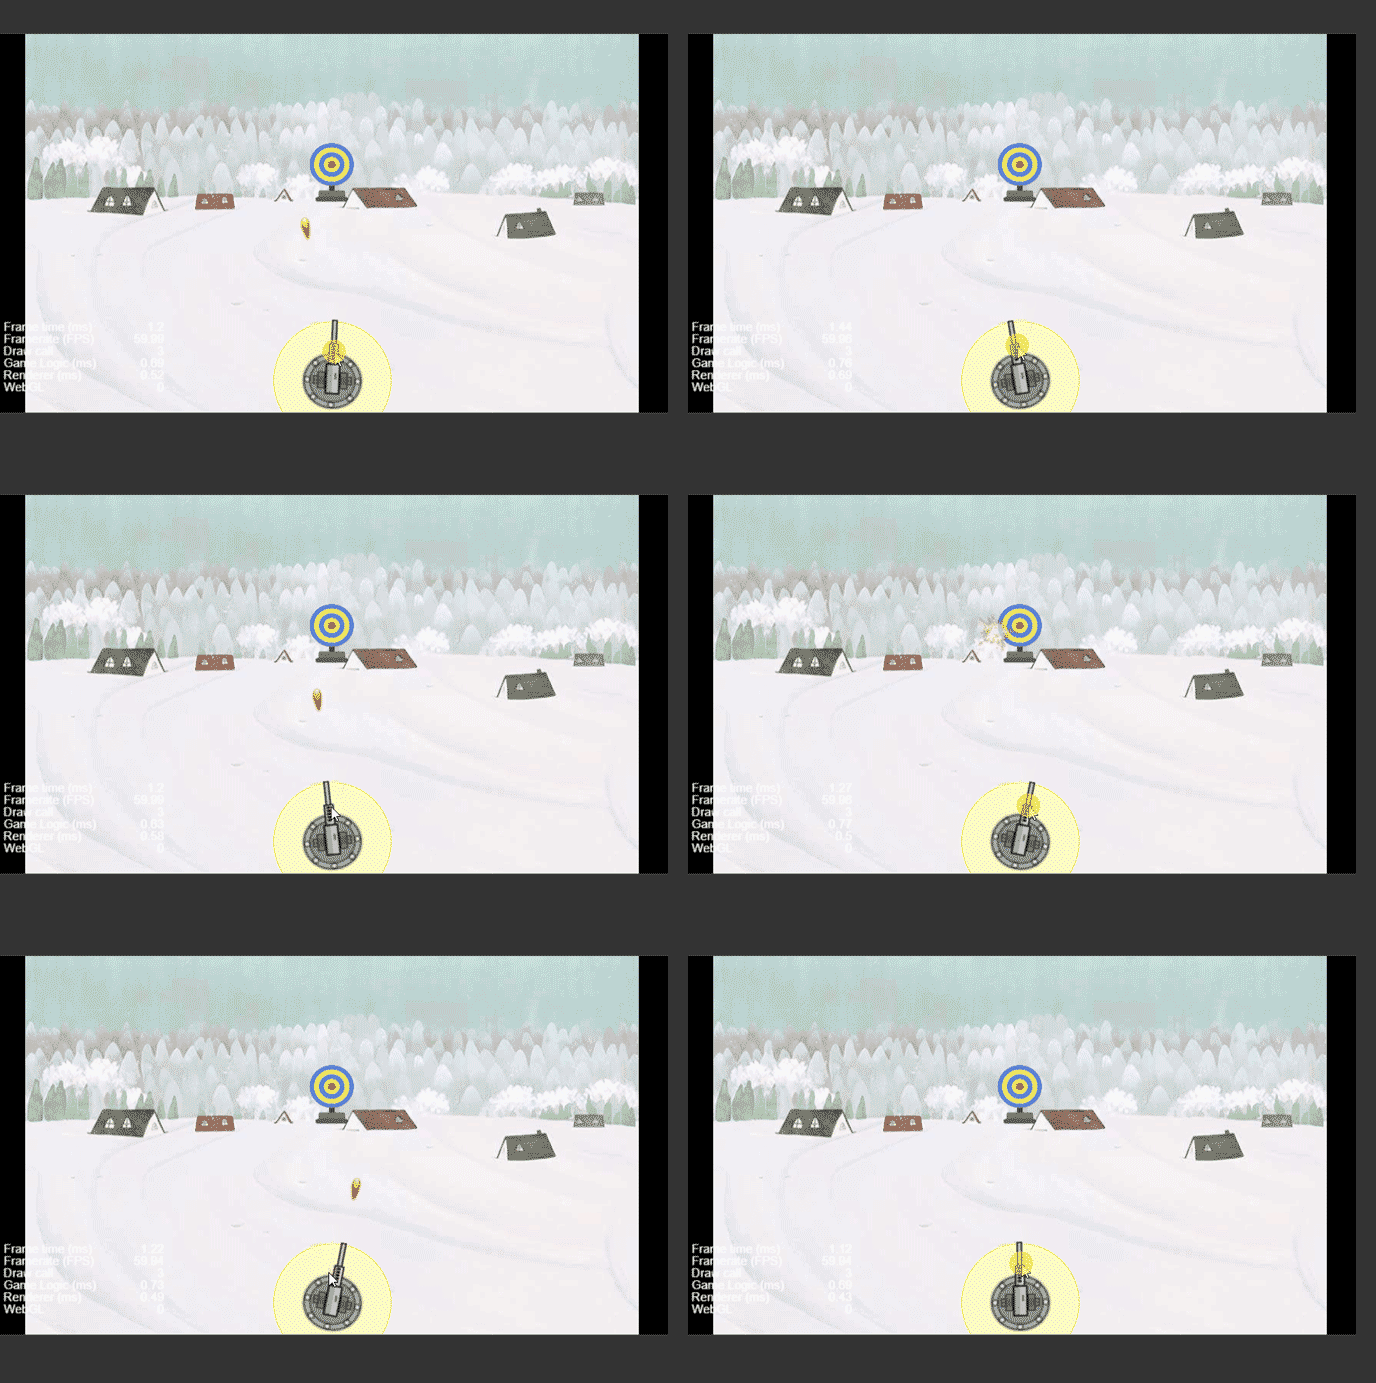
計算子彈和靶標的相對位置,若小于范圍,則判斷為命中靶,執行命中的操作,否則判斷為沒有命中,執行沒有命中的操作。
腳本需傳入靶子節點,增加target屬性
   @property(cc.SpriteFrame)
    explodeImg: cc.SpriteFrame = null;

    direction: cc.Vec2 = null;

    target: cc.Node = null;
    onLoad() {

    }

    start() {
        this.schedule(this.onTimer, 0.01);
    }

    onTimer() {
        if (this.node.y > 350) {
            if (this.isHit()) {
                //播放爆炸效果
                this.explode();
                console.log("命中靶");
            }
            else {
                console.log("脫靶");
                this.disMiss();
            }
            this.unschedule(this.onTimer);
            return;
        }
        let dx = this.direction.x * 5;
        let dy = this.direction.y * 5;
        this.node.y += dy;
        this.node.x += dx;
    }

    //判斷是否命中
    isHit(): boolean {
        let targetPos: cc.Vec2 = this.geWorldLocation(this.target);
        let selfPos: cc.Vec2 = this.geWorldLocation(this.node);
        let distance = Math.abs(targetPos.x - selfPos.x);
        console.log("靶標x=" + targetPos.x + " , 子彈x=" + selfPos.x);

        if (distance < 50) {
            return true;

        }
        else {
            return false;
        }

    }
    explode() {

        let sp: cc.Sprite = this.getComponent(cc.Sprite);
        sp.spriteFrame = this.explodeImg;

        //將子彈縮小
        this.node.scale = 0.1;
        //爆炸動畫效果緩動系統
        let self = this;
        cc.tween(this.node)
            .to(0.5, { scale: 1, opacity: 0 })
            .call(function () {
                self.disMiss();
            })
            .start();


    }

    geWorldLocation(node: cc.Node): cc.Vec2 {
        let pos = node.getPosition();
        //注意這里是node.parent。方法的調用者要是當前節點的坐標系
        return node.parent.convertToWorldSpaceAR(pos);

    }

    disMiss() {
        this.node.destroy();
    }
本次bug:
獲取世界坐標時,沒有調用其父節點的坐標系,用了當前節點的坐標系,所以返回的依然是自身當前坐標系的值。記得轉換世界坐標的方法調用者是當前節點的坐標系,一般為其父節點return node.parent.convertToWorldSpaceAR(pos);(以錨點為原點)
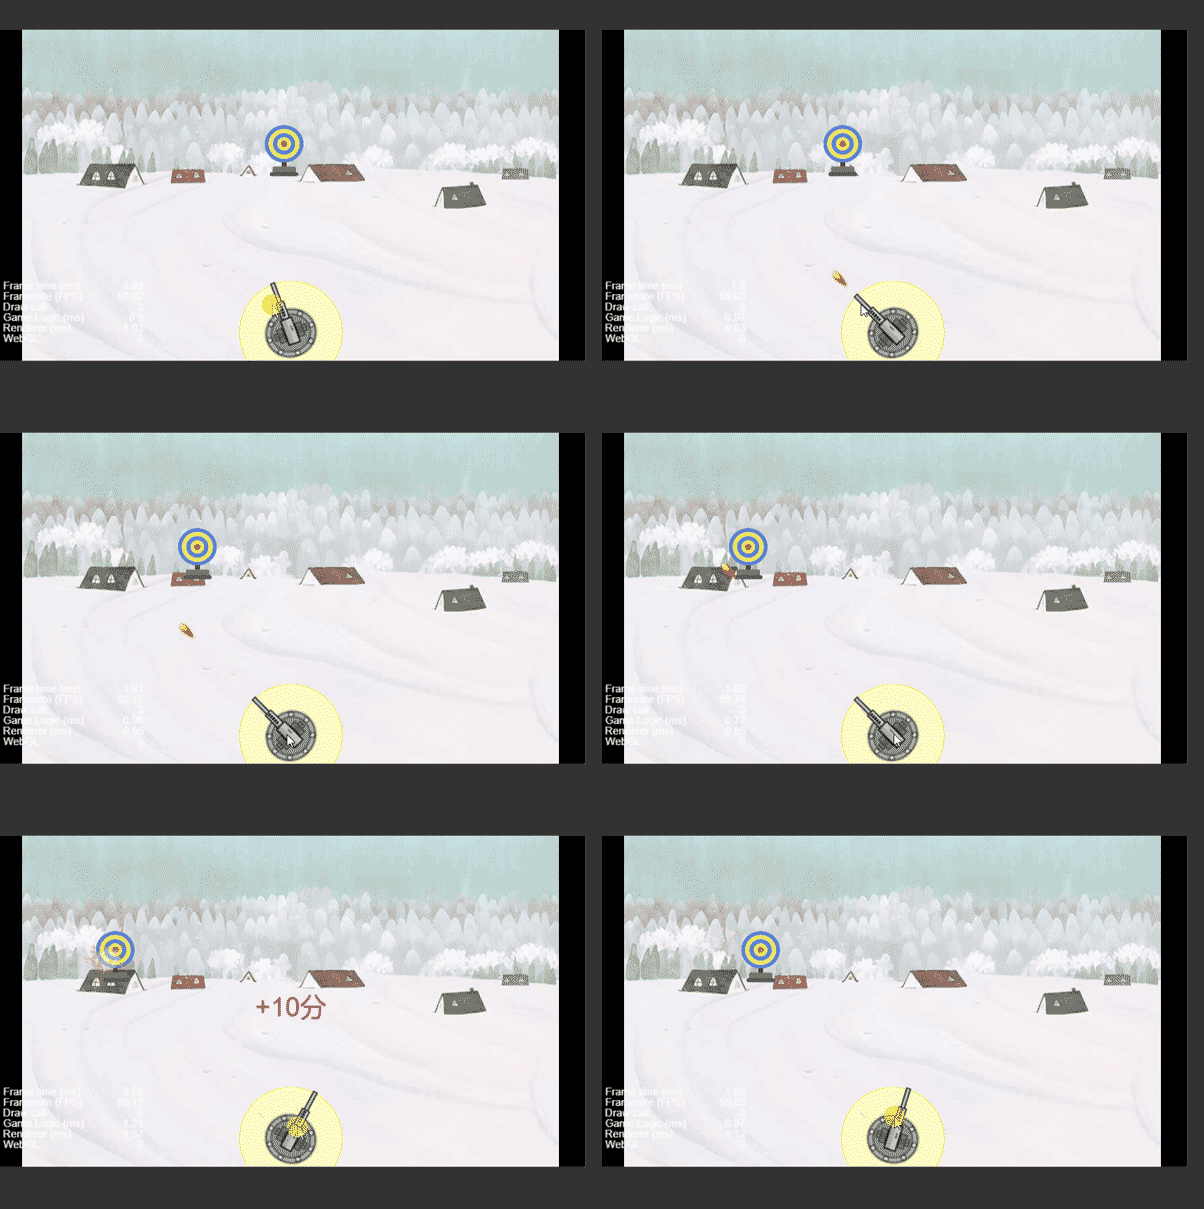
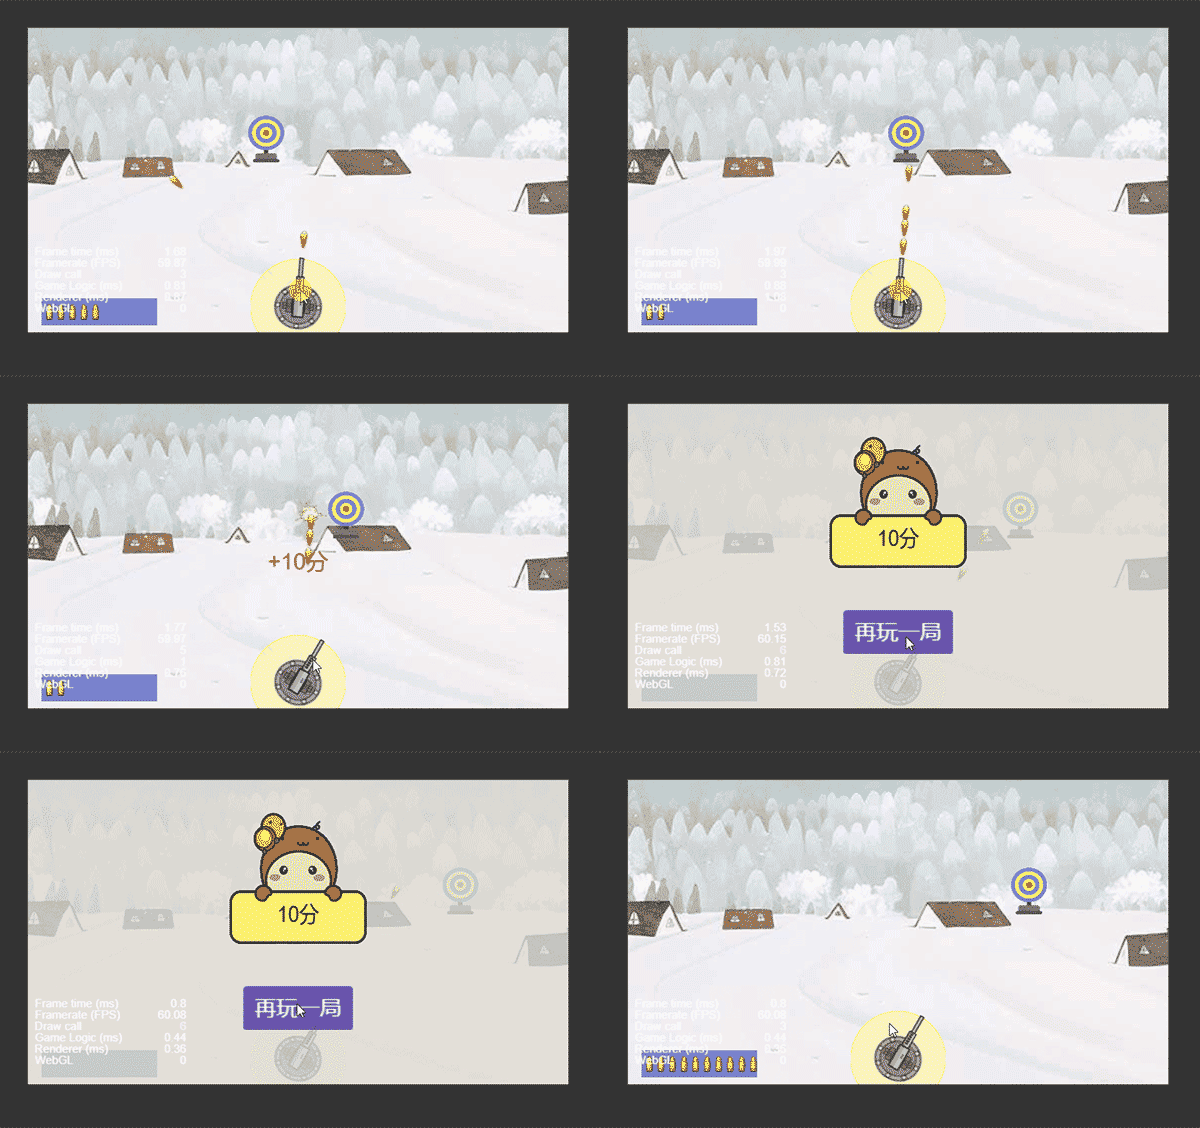
在靶子的節點下增加腳本,控制移動,左右來回移動
同時,當子彈命中后增加文字提示效果。
文字提示:
 cheer() {
        //創建節點并掛載
        let node: cc.Node = new cc.Node();
        node.parent = this.node.parent;//兩者同一級,同一個父對象
        let label: cc.Label = node.addComponent(cc.Label);
        label.string = "+10分";

        //設置位置、透明度等
        node.setPosition(cc.v3(0, 250, 0));
        node.opacity = 200;
        node.color = new cc.Color(255, 0, 0);

        //動效
        cc.tween(node)
            .to(0.5, { scale: 1.5 })
            .to(0.2, { opacity: 0 })
            .call(function () {
                node.destroy();
            })
            .start();

} update (dt) {
let speed=3;
if(this.isLeft){
speed=-speed;
}
this.node.x+=speed;
if(this.isLeft&&this.node.x<-350){
this.isLeft=false;
}
if(!this.isLeft&&this.node.x>350){
this.isLeft=true;
}
}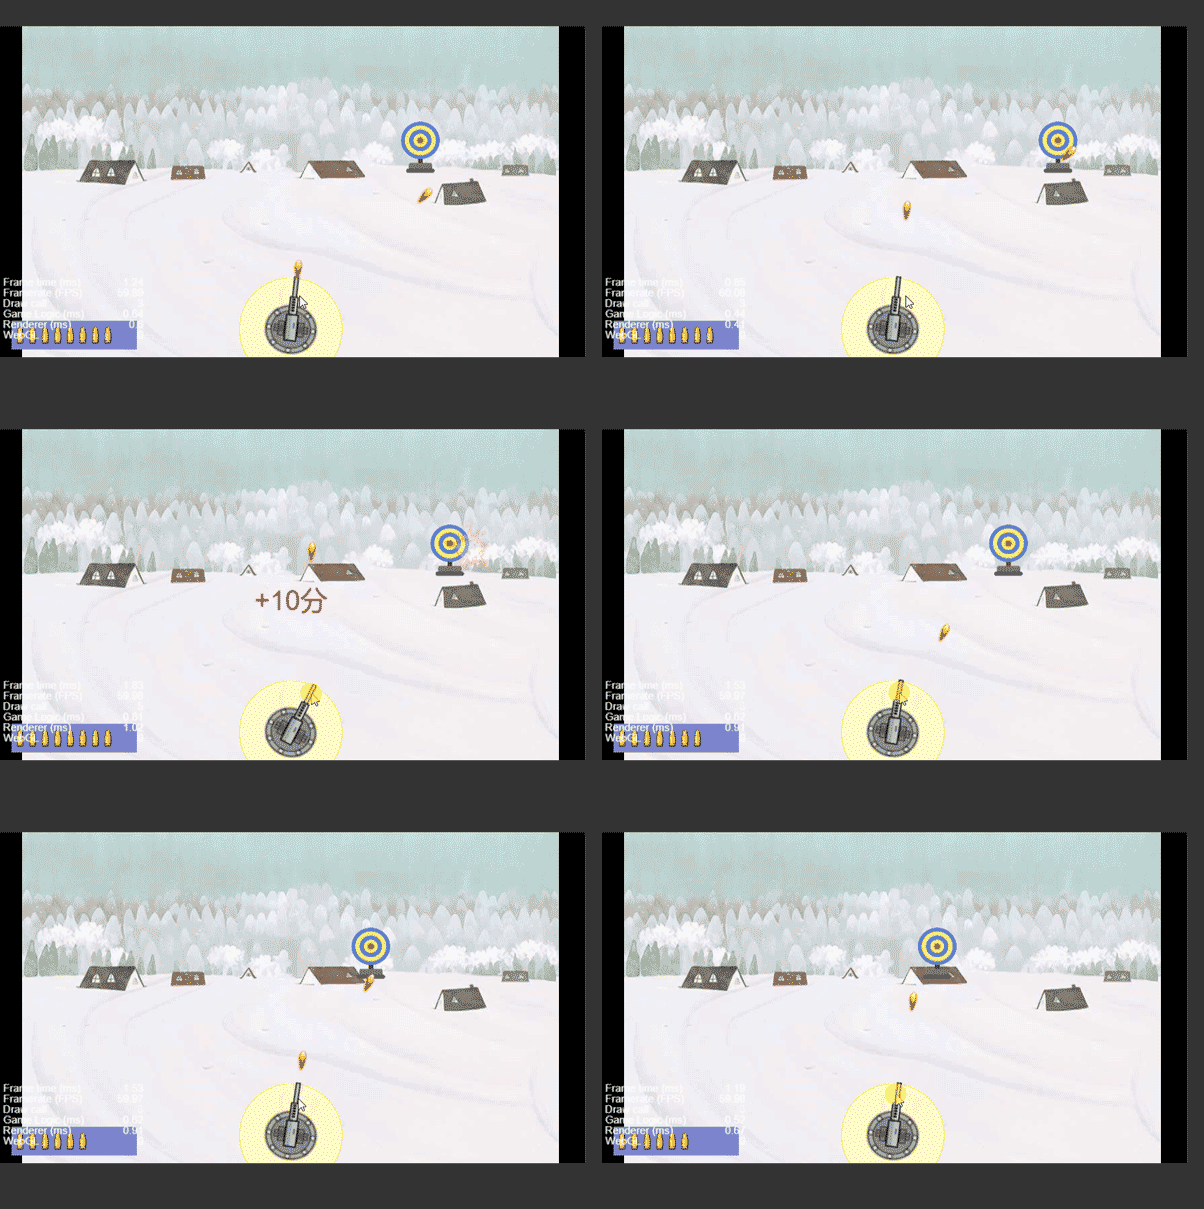
增加彈藥庫節點,批量生成子彈圖片(可用widget組件設置位置)
增加減少子彈方法,并通過設置子彈圖片的active屬性來減少子彈。
在炮塔的fire方法中調用減少子彈的方法
調用方法有兩種,一種為在炮塔腳本中獲取彈藥庫節點在調用,另一種為設置公共類,(靜態變量),在onLoad()方法中就初始化該節點,然后直接調用。用后者。
 @property(cc.SpriteFrame)
    bulleteIcon: cc.SpriteFrame = null;
    capacity: number = 10;
    stockNumber: number = 10;


    onLoad() {

        let space: number = this.node.width / this.capacity;
        for (let i = 0; i < this.capacity; i++) {
            //生成圖片
            let bulleteNode: cc.Node = new cc.Node();
            let bulleteSprite: cc.Sprite = bulleteNode.addComponent(cc.Sprite);
            bulleteSprite.spriteFrame = this.bulleteIcon;
            this.node.addChild(bulleteNode);

            //設置位置
            bulleteNode.x += space * i + 10;
            bulleteNode.y = 0;

        }

    }

    start() {

    }

    consum(num: number) {
        this.stockNumber -= num;
        if (this.stockNumber < 0) {
            this.stockNumber = 0;
        }
        this.display();
    }

    display() {
        let nodes: cc.Node[] = this.node.children;
        console.log(nodes.length);
        for(let i=0;i<nodes.length;i++){
            if(i>=this.stockNumber){
                nodes[i].active=false;
            }

        }
} //靜態類,全局變量,將所有會公用的變量、類定義在Common類中
static ammo:Ammo=null;
onLoad() {
Common.ammo=cc.find('Canvas/彈藥').getComponent('Ammo');
console.log(Common.ammo);
}此處bug:
cc.find()方法中記得用除法的斜杠。
子彈耗盡提示分數
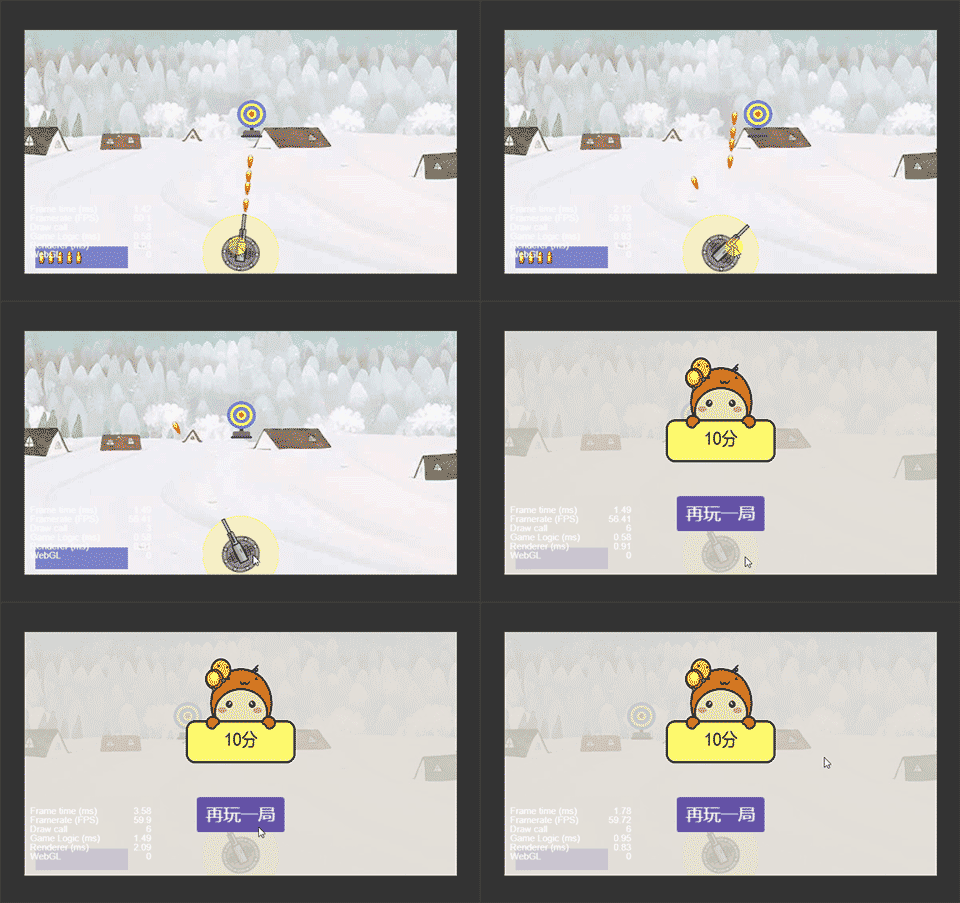
創建遮罩層,將腳本類導入到Common類中,設置active屬性為false
在ResultDialog腳本 增加show方法,讓其active屬性變為true同時將分數顯示在屏幕上。
在Bullete(控制子彈運動腳本)中判斷子彈數量是否<=0,并調用Common中show方法顯示分數提示框。
 onLoad () {
         let replay:cc.Node=cc.find('Canvas/結束提示框/再玩一局');
         console.log(replay);
         replay.on('touchstart',this.dismiss,this);

         this.node.on('touchstart',this.onTouchdisable,this);
         this.node.on('touchmove',this.onTouchdisable,this);
         this.node.on('touchend',this.onTouchdisable,this);

     }

     //顯示提示框
     show(){
        this.node.active=true;
        let scoreNode : cc.Node = cc.find('分數框/分數', this.node);
        let scoreLabel : cc.Label = scoreNode.getComponent(cc.Label);
        scoreLabel.string = Common.score + '分';


     }

     //隱藏提示框
     dismiss(){
         this.node.active=false;
     }

     //遮罩顯示時屏蔽
     onTouchdisable(e:cc.Event.EventTouch){
         e.stopPropagation();
     }
    start () {

} //靜態類,全局變量,將所有會公用的變量、類定義在Common類中
static ammo:Ammo=null;
static score : number = 0;
static resultdialog : ResultDialog = null;
onLoad() {
Common.resultdialog=cc.find('Canvas/結束提示框').getComponent('ResultDialog');
Common.ammo=cc.find('Canvas/彈藥').getComponent('Ammo');
}在Bullete方法中增加分數增加
  if (this.isHit()) {
                //播放爆炸效果
                this.explode();
                //顯示+10分
                this.cheer();
                //總分數+10
                Common.score += 10;
                console.log("命中靶");
            }
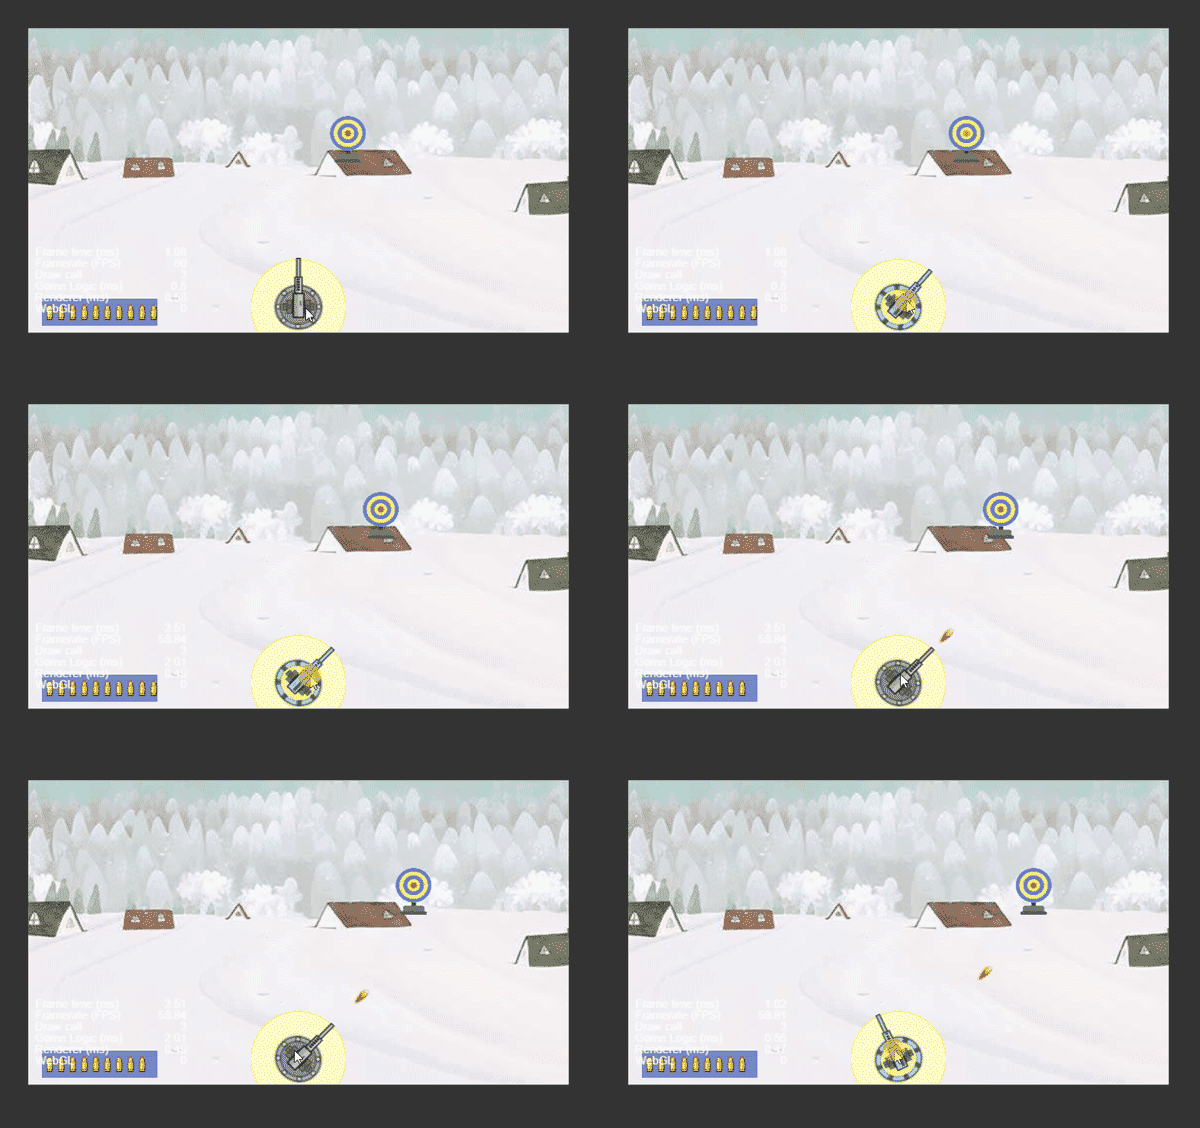
該小游戲比較簡單,重開只需要重置彈藥庫節點即可,因此reset方法放在Ammo腳本中
在公共類中創建Ammo對象,設置靜態方法,重置得分、以及調用Ammo的reset方法。
Ammo(彈藥庫類)腳本添加
 reset(){
        this.stockNumber=this.capacity;
        this.display();
} //靜態類,全局變量,將所有會公用的變量、類定義在Common類中
static ammo:Ammo=null;
static score : number = 0;
static resultdialog : ResultDialog = null;
onLoad() {
Common.resultdialog=cc.find('Canvas/結束提示框').getComponent('ResultDialog');
Common.ammo=cc.find('Canvas/彈藥').getComponent('Ammo');
console.log(Common.ammo);
}
static resetGame() {
Common.score=0;
Common.ammo.reset();
}
1.炮塔腳本增加屬性
 //音效
    @property(cc.AudioClip)
    audioFire: cc.AudioClip = null;
    @property(cc.AudioClip)
    audioExplode: cc.AudioClip = null;

    //炮塔圖片
    @property(cc.SpriteFrame)
    iconNormal: cc.SpriteFrame = null;
    @property(cc.SpriteFrame)
    iconActive: cc.SpriteFrame = null;
 onTouchStart(e: cc.Event.EventTouch) {方法最后添加
	   //炮塔圖片切換至激活
        this.node.getComponent(cc.Sprite).spriteFrame = this.iconActive;
onTouchEnd(e: cc.Event.EventTouch) {方法最后添加
//圖片恢復
this.node.getComponent(cc.Sprite).spriteFrame = this.iconNormal;
}fire(){ 方法后添加
//將子彈爆炸音頻傳送至子彈腳本
script.audioExplode = this.audioExplode;
if (this.audioFire != null) {
cc.audioEngine.play(this.audioFire, false, 1);
}
}播放音頻的方法:==cc.audioEngine.play(this.audioFire, false, 1);==第二個參數為是否循環播放,第三個參數為音量大小
//添加屬性
@property(cc.SpriteFrame)
explodeImg: cc.SpriteFrame = null;
在判斷子彈命中靶子的操作后添加
if(this.audioExplode!=null){
	cc.audioEngine.play(this.audioExplode,false,1);
}
感謝各位的閱讀!關于“CocosCreator制作射擊游戲的方法”這篇文章就分享到這里了,希望以上內容可以對大家有一定的幫助,讓大家可以學到更多知識,如果覺得文章不錯,可以把它分享出去讓更多的人看到吧!
免責聲明:本站發布的內容(圖片、視頻和文字)以原創、轉載和分享為主,文章觀點不代表本網站立場,如果涉及侵權請聯系站長郵箱:is@yisu.com進行舉報,并提供相關證據,一經查實,將立刻刪除涉嫌侵權內容。