您好,登錄后才能下訂單哦!
您好,登錄后才能下訂單哦!
話不多說,直接上詳細步驟:
首先,你得先有個WindowAzure的賬號;
創建一個Linux的虛擬機,本次我們使用CentOS6.5 A4的機器
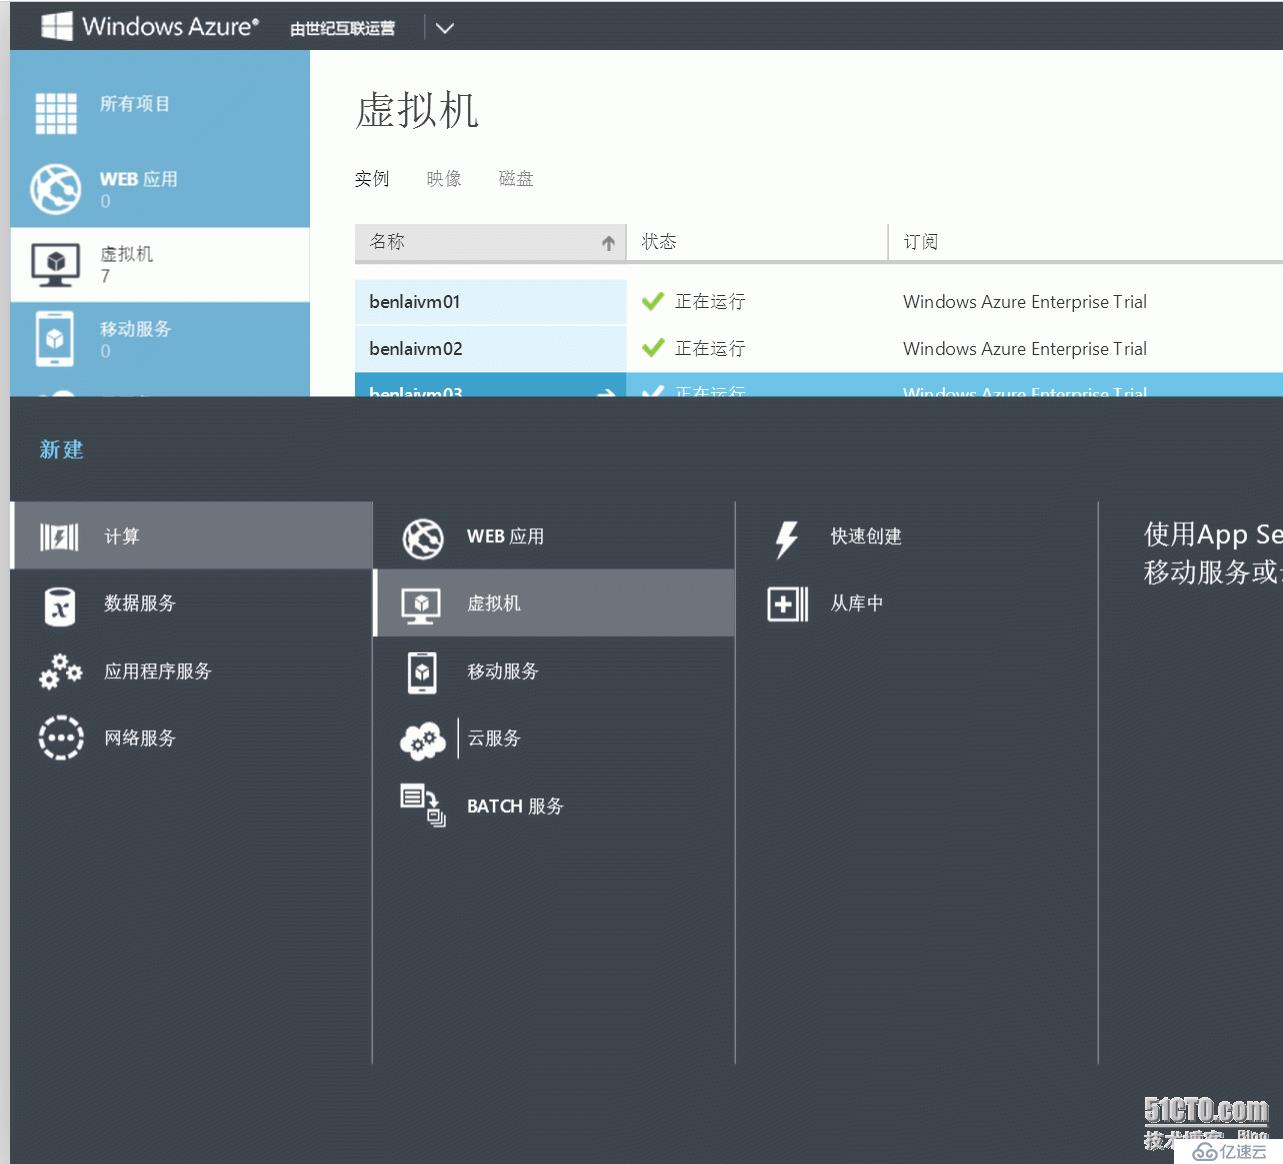
選擇從庫中,標準鏡像。
從百度下載PuTTY工具,打開PuTTY
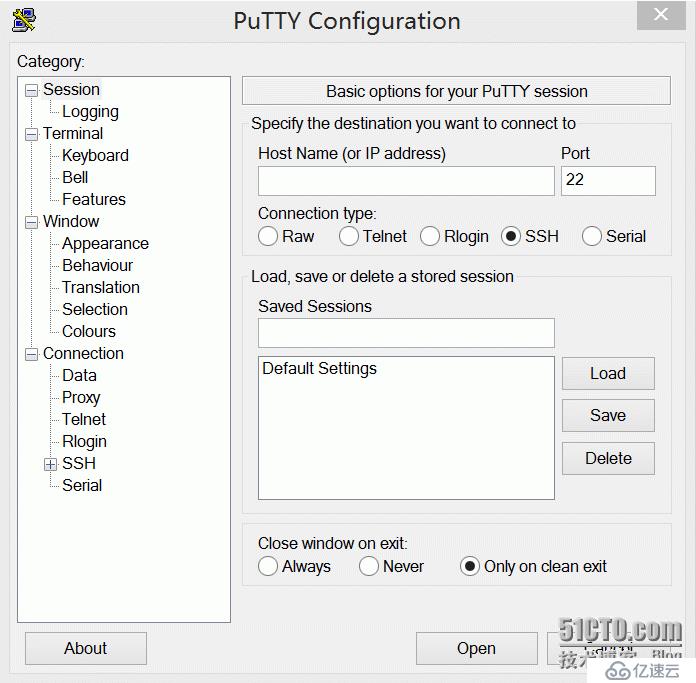
4, 在PuTTY里面輸入剛建立機器的公網IP地址,那么如何找到剛剛的機器IP地址(公網)呢?
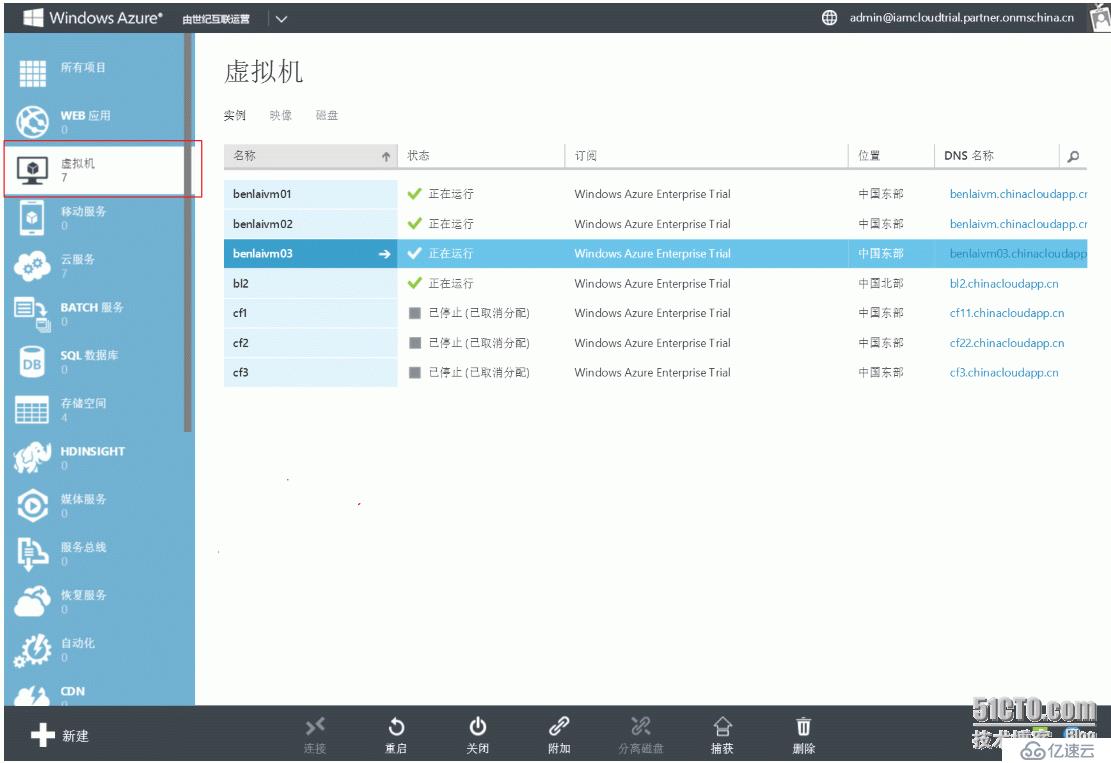
進入主頁面,點擊虛擬機,選中剛剛的機器。
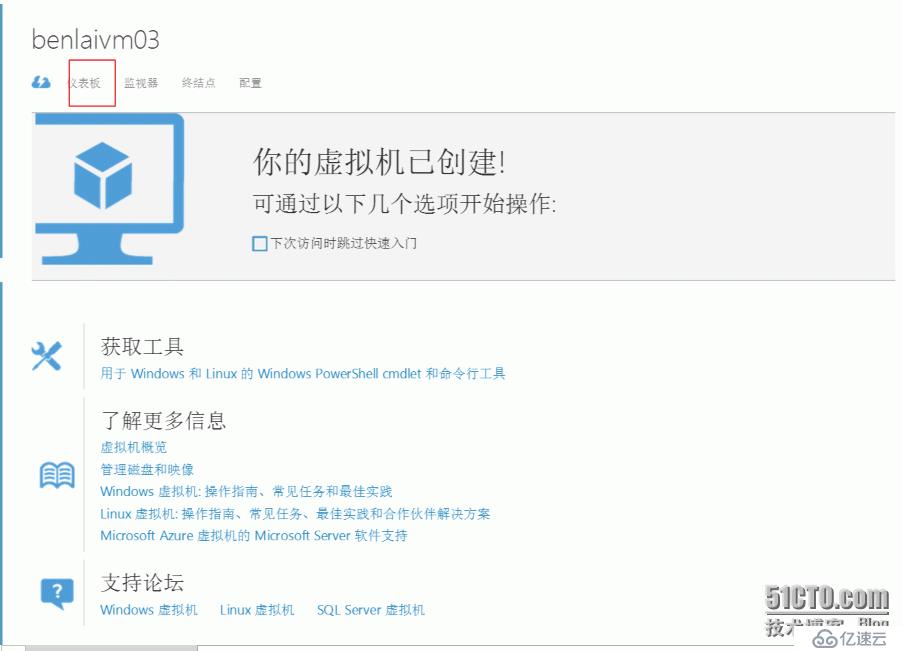
點擊儀表板,右手邊中間就是公網IP啦~記下來輸入到PuTTY里面,然后點擊“OPEN”。

5,PuTTY開始連接你的虛擬機。輸入你的用戶名和密碼。直接輸入即可。

6, 登陸成功啦~~
首先是要進入azure portal掛上磁盤,然后再格式化磁盤,在此就不演示格式化磁盤了。
敲入命令sudo wget http://byte-unixbench.googlecode.com/files/unixbench-5.1.2.tar.gz
tar xvfzunixbench-5.1.2.tar.gz
cd unixbench-5.1.2

7,敲入vi test.sh新建文本文檔。敲入sudo sh test.sh 在虛機里面新建文本文檔。

8,建立成功后,就是最后一步啦·
直接敲入
#!/bin/bash
yum install -y perl-Time-HiRes #for centos 6.5
yum install -y gccyum-plugin-priorities git
yum install -y http://mirrors.ustc.edu.cn/fedora/epel/6/x86_64/epel-release-6-8.noarch.rpm
git clone https://github.com/kdlucas/byte-unixbench.git
cd byte-unixbench/UnixBench/
make
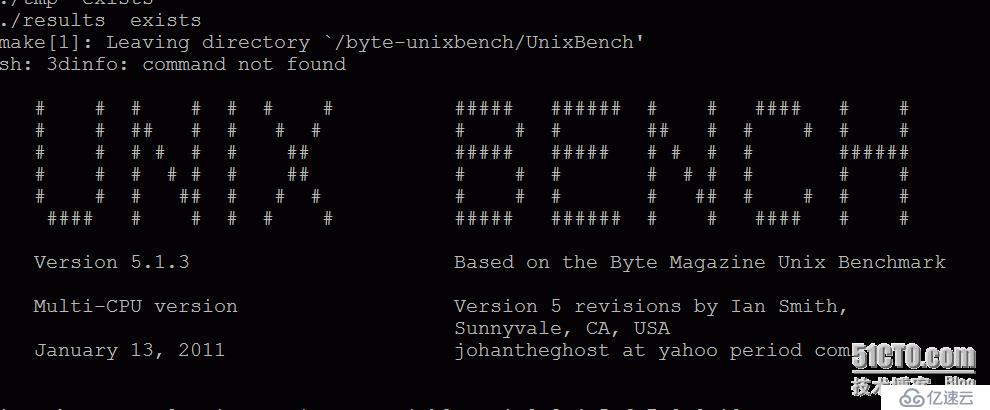
./Run | tee ../../UnixBench.txt
cd ../..
yum install -y fio
fio --filename=/dev/sdc1 --direct=1--rw=read --ioengine=psync --size=100% --bs=1024k --runtime=30--group_reporting --name=read | tee io-throughput-read.txt
fio --filename=/dev/sdc1 --direct=1--rw=write --ioengine=psync --size=100% --bs=1024k --runtime=30--group_reporting --name=write | tee io-throughput-write.txt
fio --filename=/dev/sdc1 --direct=1--ioengine=libaio --iodepth=32 --thread --numjobs=1 --rw=randread --bs=4k--size=100% --runtime=30s --group_reporting --name=randread | teeio-random-read.txt
fio --filename=/dev/sdc1 --direct=1--ioengine=libaio --iodepth=32 --thread --numjobs=1 --rw=randwrite --bs=4k--size=100% --runtime=30s --group_reporting --name=randwrite | teeio-random-write.txt
緊接著就是漫長的等待
免責聲明:本站發布的內容(圖片、視頻和文字)以原創、轉載和分享為主,文章觀點不代表本網站立場,如果涉及侵權請聯系站長郵箱:is@yisu.com進行舉報,并提供相關證據,一經查實,將立刻刪除涉嫌侵權內容。