溫馨提示×
您好,登錄后才能下訂單哦!
點擊 登錄注冊 即表示同意《億速云用戶服務條款》
您好,登錄后才能下訂單哦!
這篇文章主要介紹了Android如何實現自定義view畫圓效果,具有一定借鑒價值,感興趣的朋友可以參考下,希望大家閱讀完這篇文章之后大有收獲,下面讓小編帶著大家一起了解一下。
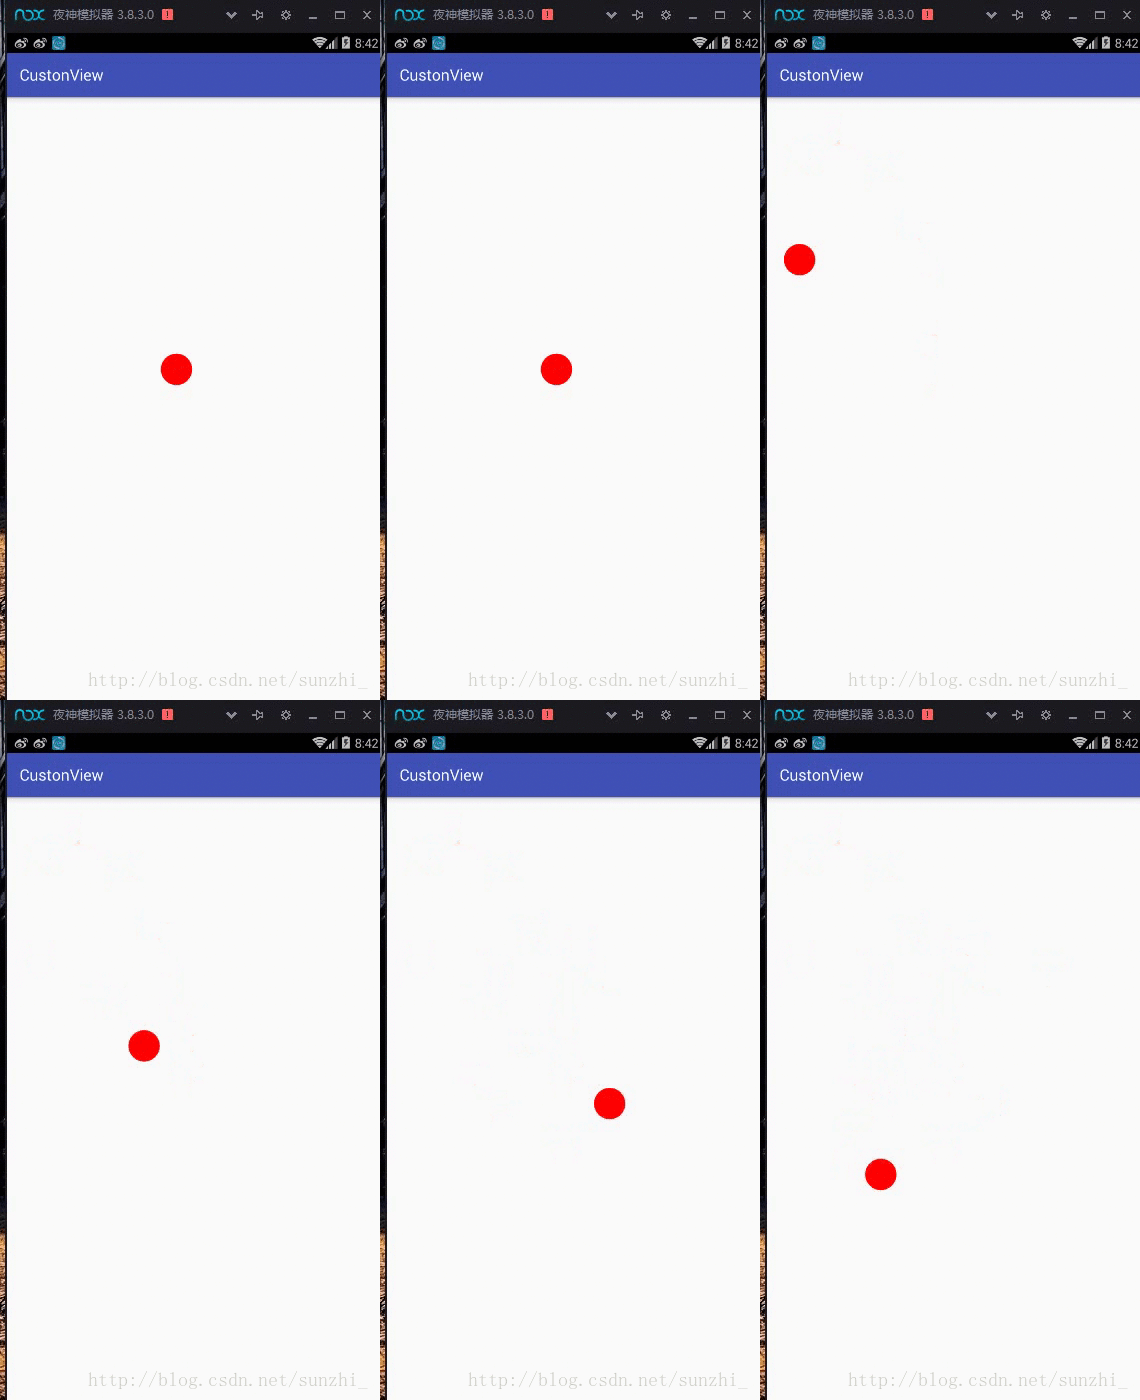
看圖

代碼:
package sjx.com.custonview;
import android.content.Context;
import android.graphics.Canvas;
import android.graphics.Color;
import android.graphics.Paint;
import android.support.annotation.Nullable;
import android.util.AttributeSet;
import android.util.Log;
import android.view.MotionEvent;
import android.view.View;
import android.view.Window;

/**
 * dell 孫勁雄
 * 2017/9/1
 * 19:57
 */

public class Custonm extends View {
  private float currentX = 40;
  private float currentY = 50;
  public Custonm(Context context) {
    super(context);
  }

  public Custonm(Context context, AttributeSet attrs) {
    super(context, attrs);
  }

  public Custonm(Context context, AttributeSet attrs, int defStyleAttr) {
    super(context, attrs, defStyleAttr);
  }
//測量
  @Override
  protected void onMeasure(int widthMeasureSpec, int heightMeasureSpec) {
    super.onMeasure(widthMeasureSpec, heightMeasureSpec);
  }
//擺放
  @Override
  protected void onLayout(boolean changed, int left, int top, int right, int bottom) {

    super.onLayout(changed, left, top, right, bottom);

  }

  @Override
  protected void onDraw(Canvas canvas) {
    super.onDraw(canvas);


    Paint paint=new Paint();

    paint.setColor(Color.RED);

    paint.setStyle(Paint.Style.FILL);

    paint.setAntiAlias(true);


    canvas.drawCircle(currentX,currentY,30,paint);

  }

  @Override
  public boolean dispatchTouchEvent(MotionEvent event) {
    return super.dispatchTouchEvent(event);
  }

  @Override
  public boolean onTouchEvent(MotionEvent event) {

    currentX=event.getX();
    currentY=event.getY();

    invalidate();

    switch (event.getAction()){

      case MotionEvent.ACTION_DOWN:
        Log.i("sss", "按下");
        break;
      case MotionEvent.ACTION_MOVE:
        Log.i("sss", "移動");

        break;
      case MotionEvent.ACTION_UP:
        Log.i("sss", "彈起");
        break;
    }
    return true;


  }
}
感謝你能夠認真閱讀完這篇文章,希望小編分享的“Android如何實現自定義view畫圓效果”這篇文章對大家有幫助,同時也希望大家多多支持億速云,關注億速云行業資訊頻道,更多相關知識等著你來學習!
免責聲明:本站發布的內容(圖片、視頻和文字)以原創、轉載和分享為主,文章觀點不代表本網站立場,如果涉及侵權請聯系站長郵箱:is@yisu.com進行舉報,并提供相關證據,一經查實,將立刻刪除涉嫌侵權內容。