您好,登錄后才能下訂單哦!
您好,登錄后才能下訂單哦!
這篇文章將為大家詳細講解有關Vue中如何在新窗口打開頁面及使用Vue-router,小編覺得挺實用的,因此分享給大家做個參考,希望大家閱讀完這篇文章后可以有所收獲。
背景
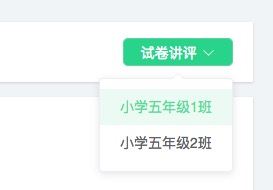
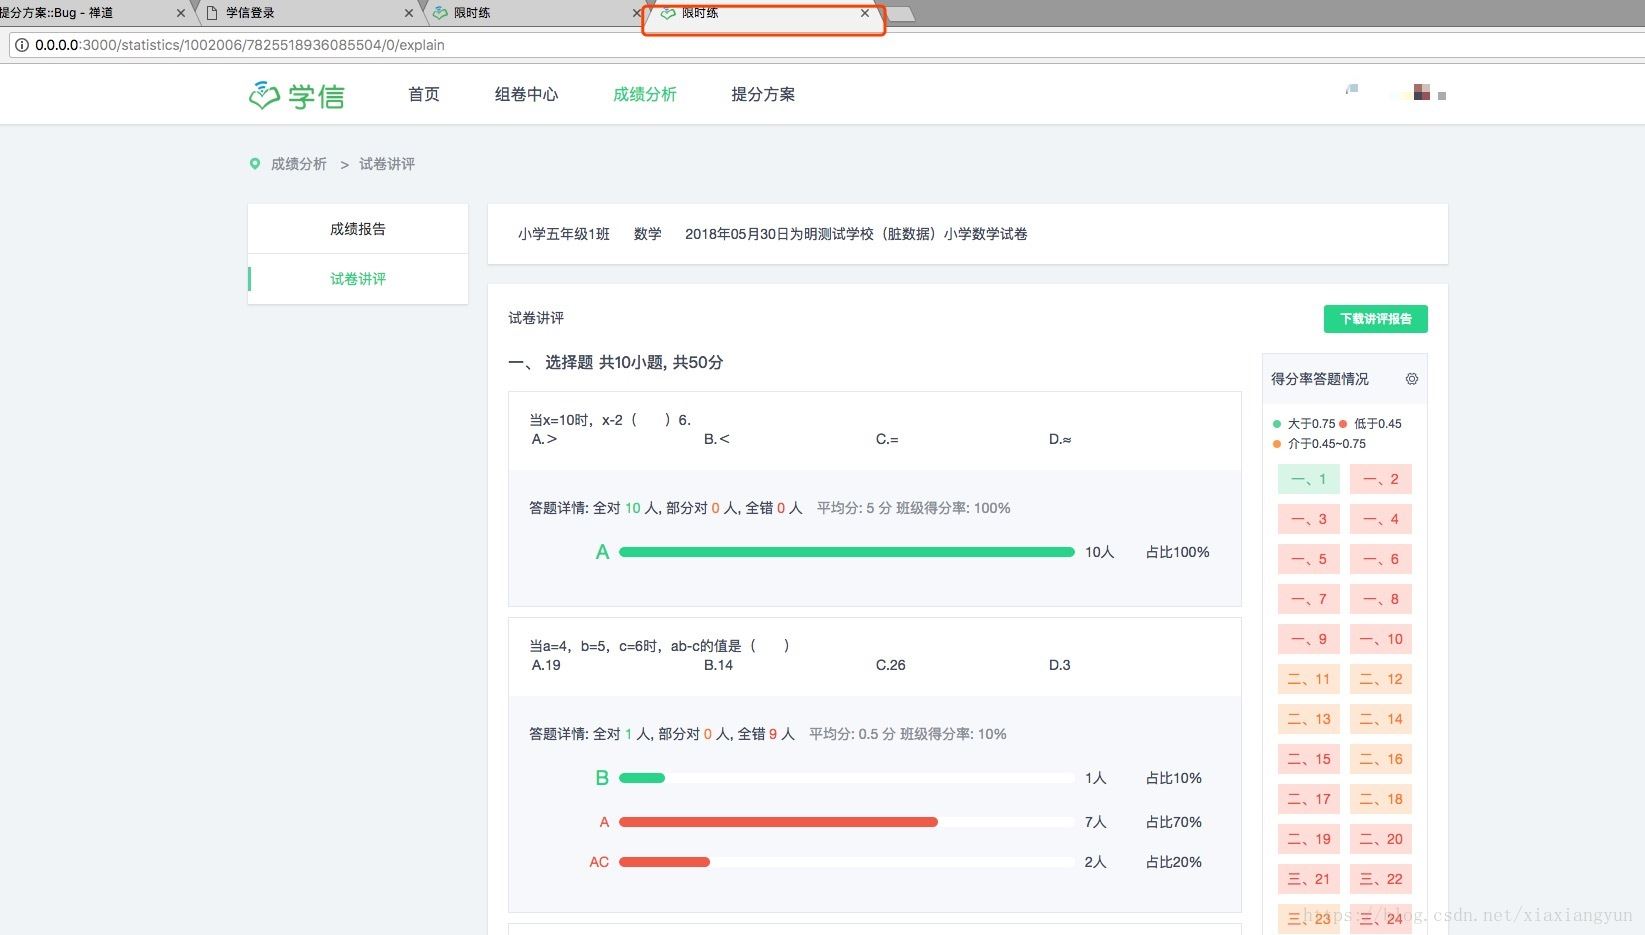
在開發提分加項目的過程中,遇到了點擊下拉菜單時在新窗口中打開頁面,由于之前一直做的是單頁面應用,沒有碰到過類似的需求,于是上網搜了一下解決辦法,也再次系統地溫習了一下vue-router。


解決
使用路由對象的resolve方法解析路由,可以得到location、router、href等目標路由的信息。得到href就可以使用window.open開新窗口了。
const {href} = this.$router.resolve({
 name: "statistics-explain",
 params: {
 classID: id,
 examSubjectID: this.planClassData.examSubjectID,
 studentStatus: 0
 }
});
window.open(href, '_blank');
延伸
參考文章:Vue Router
?動態路由匹配:一個“路徑參數”使用冒號:標記。當匹配到一個路由時,參數值會被設置到this.$route.params,可以在每個組件內使用。
?嵌套路由:要在嵌套的出口中渲染組件,需要在 VueRouter 的參數中使用 children 配置,要注意,以 / 開頭的嵌套路徑會被當作根路徑。 這讓你充分的使用嵌套組件而無須設置嵌套的路徑。
export default {
path: '/scoreplus',
name: 'scoreplus',
component: { template: '<router-view />' },
redirect: { name: 'scoreplus-index' },
children: [
 {
 // 查看個人方案
 path: 'preview/:examSubjectID/:xuexinID/:recordsID/:constitute/:planID',
 name: 'score-preview',
 meta: { text: '個人方案' },
 component: ScorePreview
 },
 {
 // 查看方案內容
 path: 'planList/:planID',
 name: 'score-plan-list',
 meta: { text: '查看方案內容' },
 component: ScorePlanList
 },
 {
 // 下載方案內容
 path: 'download/:planID/:classID',
 name: 'score-download-list',
 meta: { text: '下載方案內容' },
 component: DownloadList
 },
 {
 // 查看推送試題
 path: 'push/:planID/:level',
 name: 'score-question-push',
 meta: { text: '查看推送試題' },
 component: QuestionPush
 },
 {
 // 提分方案首頁
 path: '',
 name: 'scoreplus-index',
 component: ScoreIndex
 }
]
}
?編程式導航
1.router.push(location, onComplete?, onAbort?):想要導航到不同的 URL,則使用 router.push 方法。這個方法會向 history 棧添加一個新的記錄,所以,當用戶點擊瀏覽器后退按鈕時,則回到之前的 URL。
// 字符串
router.push('home')
// 對象
router.push({ path: 'home' })
// 命名的路由
router.push({ name: 'user', params: { userId: 123 }})
// 帶查詢參數,變成 /register?plan=private
router.push({ path: 'register', query: { plan: 'private' }})
在 2.2.0+,可選的在 router.push 或 router.replace 中提供 onComplete 和 onAbort 回調作為第二個和第三個參數。這些回調將會在導航成功完成 (在所有的異步鉤子被解析之后) 或終止 (導航到相同的路由、或在當前導航完成之前導航到另一個不同的路由) 的時候進行相應的調用。
2.router.replace(location, onComplete?, onAbort?):跟 router.push 很像,唯一的不同就是,它不會向 history 添加新記錄,而是跟它的方法名一樣 —— 替換掉當前的 history 記錄。
3.router.go(n):這個方法的參數是一個整數,意思是在 history 記錄中向前或者后退多少步,類似 window.history.go(n)。
?命名路由:可以在創建 Router 實例的時候,在 routes 配置中給某個路由設置名稱。要鏈接到一個命名路由,可以給 router-link 的 to 屬性傳一個對象。
<router-link :to="{ name: 'user', params: { userId: 123 }}">User</router-link>
router.push({ name: 'user', params: { userId: 123 }})
?重定向和別名
1.重定向(redirect):
 const router = new VueRouter({
 routes: [
 { path: '/a', redirect: '/b' }
 ]
 })
2.別名:/a 的別名是 /b,意味著,當用戶訪問 /b 時,URL 會保持為 /b,但是路由匹配則為 /a,就像用戶訪問 /a 一樣。
 const router = new VueRouter({
 routes: [
 { path: '/a', component: A, alias: '/b' }
 ]
 })
關于“Vue中如何在新窗口打開頁面及使用Vue-router”這篇文章就分享到這里了,希望以上內容可以對大家有一定的幫助,使各位可以學到更多知識,如果覺得文章不錯,請把它分享出去讓更多的人看到。
免責聲明:本站發布的內容(圖片、視頻和文字)以原創、轉載和分享為主,文章觀點不代表本網站立場,如果涉及侵權請聯系站長郵箱:is@yisu.com進行舉報,并提供相關證據,一經查實,將立刻刪除涉嫌侵權內容。