溫馨提示×
您好,登錄后才能下訂單哦!
點擊 登錄注冊 即表示同意《億速云用戶服務條款》
您好,登錄后才能下訂單哦!
微信小程序頁面傳多個參數跳轉頁面的實現?相信很多沒有經驗的人對此束手無策,為此本文總結了問題出現的原因和解決方法,通過這篇文章希望你能解決這個問題。
index.js
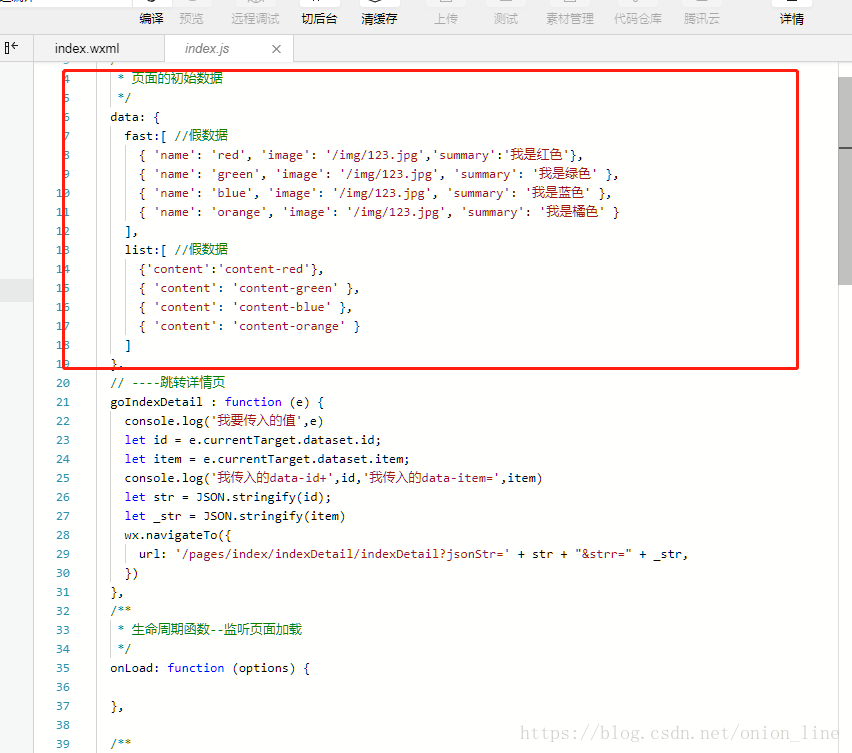
在 data 里我寫的是假數據
在跳轉頁面的函數里傳e 后面定義的東西根據e來確定 可以在console打印
console.log(e)
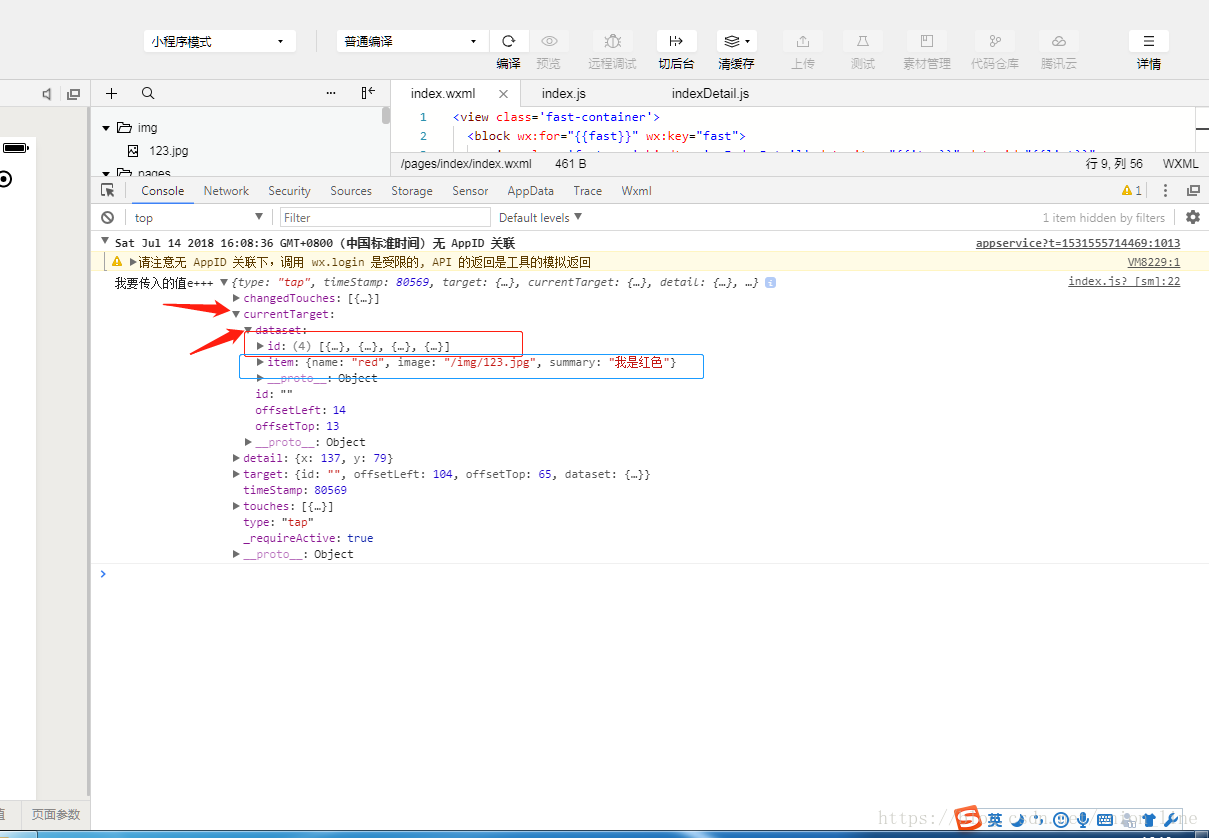
這樣我們就拿到了 傳遞的數據 然后進行定義等
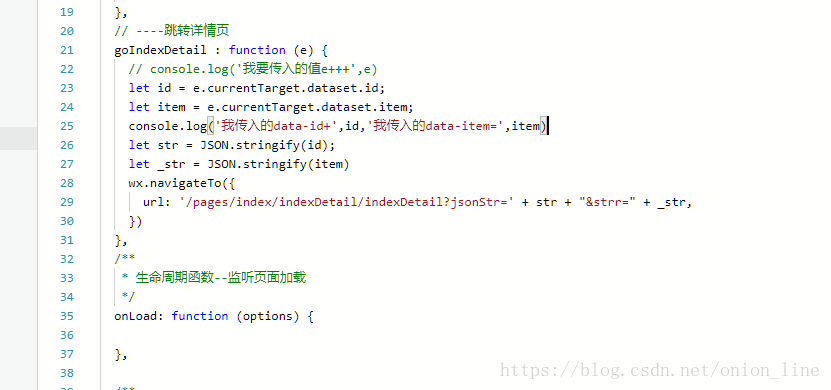
這里跳轉詳情頁的函數 wx.navigateTo 這是一種跳轉的方法 tabBar頁面要用wx.switchTab 路徑后面加上 jsonStr 等
在跳轉的詳情頁面的onload方法里面寫
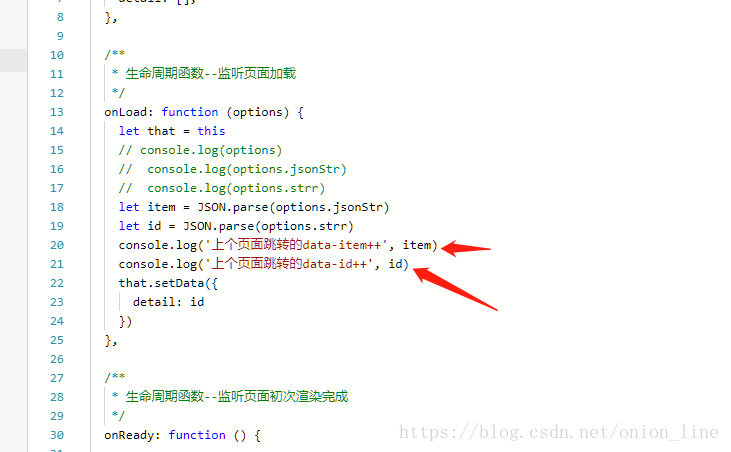
我們打印上個頁面傳入的數據
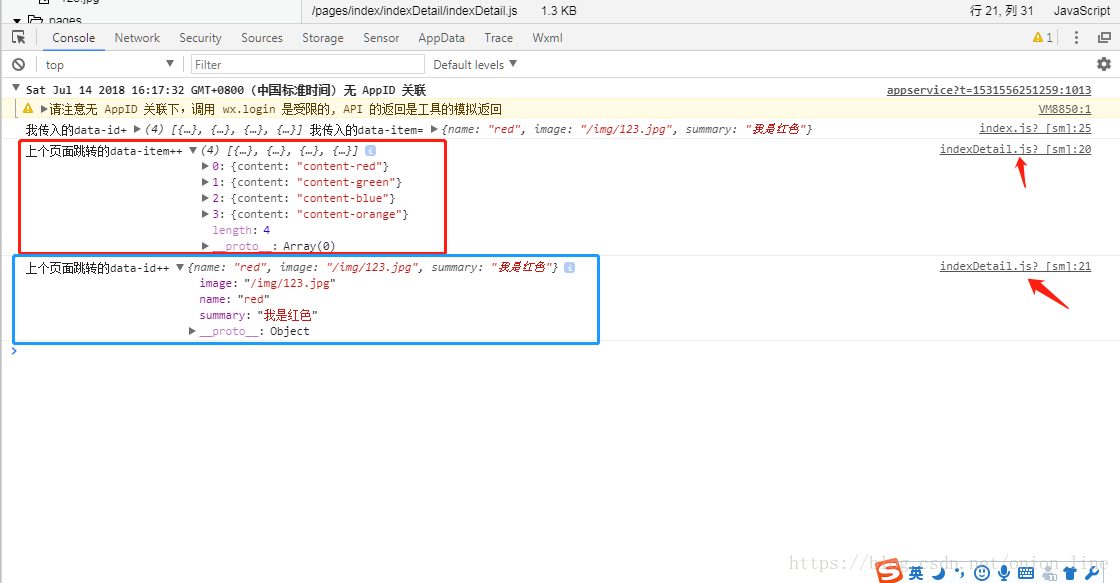
打印出上個頁面傳入的數據 在進行that.setData 就行了
wxml:
<view class='fast-container'>
 <block wx:for="{{fast}}" wx:key="fast">
  <view class='fast-row' bindtap='goIndexDetail' data-item="{{item}}" data-id="{{list}}">
    <view class='row-tou'>
      <image class='img' src='{{item.image}}'></image>
    </view>
    <view class='row-content'>
     <view class='text'>{{item.name}}</view>
     <view class='content'>{{item.summary}}</view>
    </view>
  </view>
 </block>
</view>
index.js
Page({
 /**
  * 頁面的初始數據
  */
 data: {
  fast:[ //假數據
   { 'name': 'red', 'image': '/img/123.jpg','summary':'我是紅色'},
   { 'name': 'green', 'image': '/img/123.jpg', 'summary': '我是綠色' },
   { 'name': 'blue', 'image': '/img/123.jpg', 'summary': '我是藍色' },
   { 'name': 'orange', 'image': '/img/123.jpg', 'summary': '我是橘色' }
  ],
  list:[ //假數據
   {'content':'content-red'},
   { 'content': 'content-green' },
   { 'content': 'content-blue' },
   { 'content': 'content-orange' }
  ]
 },
 // ----跳轉詳情頁
 goIndexDetail : function (e) {
  // console.log('我要傳入的值e+++',e)
  let id = e.currentTarget.dataset.id;
  let item = e.currentTarget.dataset.item;
  console.log('我傳入的data-id+',id,'我傳入的data-item=',item)
  let str = JSON.stringify(id);
  let _str = JSON.stringify(item)
  wx.navigateTo({
   url: '/pages/index/indexDetail/indexDetail?jsonStr=' + str + "&strr=" + _str,
  })
 },
 /**
  * 生命周期函數--監聽頁面加載
  */
 onLoad: function (options) {
 },
 /**
  * 生命周期函數--監聽頁面初次渲染完成
  */
 onReady: function () {
 },
 /**
  * 生命周期函數--監聽頁面顯示
  */
 onShow: function () {
 },
 /**
  * 生命周期函數--監聽頁面隱藏
  */
 onHide: function () {
 },
 /**
  * 生命周期函數--監聽頁面卸載
  */
 onUnload: function () {
 },
 /**
  * 頁面相關事件處理函數--監聽用戶下拉動作
  */
 onPullDownRefresh: function () {
 },
 /**
  * 頁面上拉觸底事件的處理函數
  */
 onReachBottom: function () {
 },
 /**
  * 用戶點擊右上角分享
  */
 onShareAppMessage: function () {
 }
})
indexDetail.js
Page({
 /**
  * 頁面的初始數據
  */
 data: {
  detail: [],
  detailList,
 },
 /**
  * 生命周期函數--監聽頁面加載
  */
 onLoad: function (options) {
  let that = this
  // console.log(options)
  // console.log(options.jsonStr)
  // console.log(options.strr)
  let item = JSON.parse(options.jsonStr)
  let id = JSON.parse(options.strr)
  console.log('上個頁面跳轉的data-item++', item)
  console.log('上個頁面跳轉的data-id++', id)
  that.setData({
   detail: id,
   detailList: item
  })
 },
 /**
  * 生命周期函數--監聽頁面初次渲染完成
  */
 onReady: function () {
 },
 /**
  * 生命周期函數--監聽頁面顯示
  */
 onShow: function () {
 },
 /**
  * 生命周期函數--監聽頁面隱藏
  */
 onHide: function () {
 },
 /**
  * 生命周期函數--監聽頁面卸載
  */
 onUnload: function () {
 },
 /**
  * 頁面相關事件處理函數--監聽用戶下拉動作
  */
 onPullDownRefresh: function () {
 },
 /**
  * 頁面上拉觸底事件的處理函數
  */
 onReachBottom: function () {
 },
 /**
  * 用戶點擊右上角分享
  */
 onShareAppMessage: function () {
 }
})
看完上述內容,你們掌握微信小程序頁面傳多個參數跳轉頁面的實現的方法了嗎?如果還想學到更多技能或想了解更多相關內容,歡迎關注億速云行業資訊頻道,感謝各位的閱讀!
免責聲明:本站發布的內容(圖片、視頻和文字)以原創、轉載和分享為主,文章觀點不代表本網站立場,如果涉及侵權請聯系站長郵箱:is@yisu.com進行舉報,并提供相關證據,一經查實,將立刻刪除涉嫌侵權內容。