溫馨提示×
您好,登錄后才能下訂單哦!
點擊 登錄注冊 即表示同意《億速云用戶服務條款》
您好,登錄后才能下訂單哦!
這篇文章主要介紹“vue怎么實現拖拽交換位置”的相關知識,小編通過實際案例向大家展示操作過程,操作方法簡單快捷,實用性強,希望這篇“vue怎么實現拖拽交換位置”文章能幫助大家解決問題。
具體代碼如下
<template>
  <div class="root">
    <transition-group tag="div" class="container">
      <div
        class="item"
        :class="'item' + i"
        v-for="(item, i) in items"
        :key="item.key"
        :
        draggable="true"
        @dragstart="handleDragStart($event, item)"
        @dragover.prevent="handleDragOver($event, item)"
        @dragenter="handleDragEnter($event, item)"
        @dragend="handleDragEnd($event, item)"
      >
        <div>{{ item }}</div>
      </div>
    </transition-group>
  </div>
</template>

<script>
export default {
  name: "Toolbar",
  data() {
    return {
      items: [
        { key: 1, color: "#3883a0" },
        { key: 2, color: "#4883a0" },
        { key: 3, color: "#5883a0" },
        { key: 4, color: "#6883a0" },
        { key: 5, color: "#7883a0" },
        { key: 6, color: "#8883a0" },
        { key: 7, color: "#9883a0" },
      ],
      ending: null,
      dragging: null,
    };
  },
  methods: {
    handleDragStart(e, item) {
      this.dragging = item;
    },
    handleDragEnd(e, item) {
      if (this.ending.key === this.dragging.key) {
        return;
      }
      let newItems = [...this.items];
      const src = newItems.indexOf(this.dragging);
      const dst = newItems.indexOf(this.ending);
      newItems.splice(src, 1, ...newItems.splice(dst, 1, newItems[src]));
      console.log(newItems);

      this.items = newItems;
      this.$nextTick(() => {
        this.dragging = null;
        this.ending = null;
      });
    },
    handleDragOver(e) {
      // 首先把div變成可以放置的元素,即重寫dragenter/dragover
      // 在dragenter中針對放置目標來設置
      e.dataTransfer.dropEffect = "move";
    },
    handleDragEnter(e, item) {
      // 為需要移動的元素設置dragstart事件
      e.dataTransfer.effectAllowed = "move";
      this.ending = item;
    },
  },
};
</script>

<style lang="less" scoped>
.container {
  display: flex;
  flex-wrap: wrap;
}
.item {
  width: 200px;
  height: 200px;
  margin: 10px;
  color: #fff;
  transition: all linear 0.3s;
}
.item0 {
  width: 400px;
}
</style>
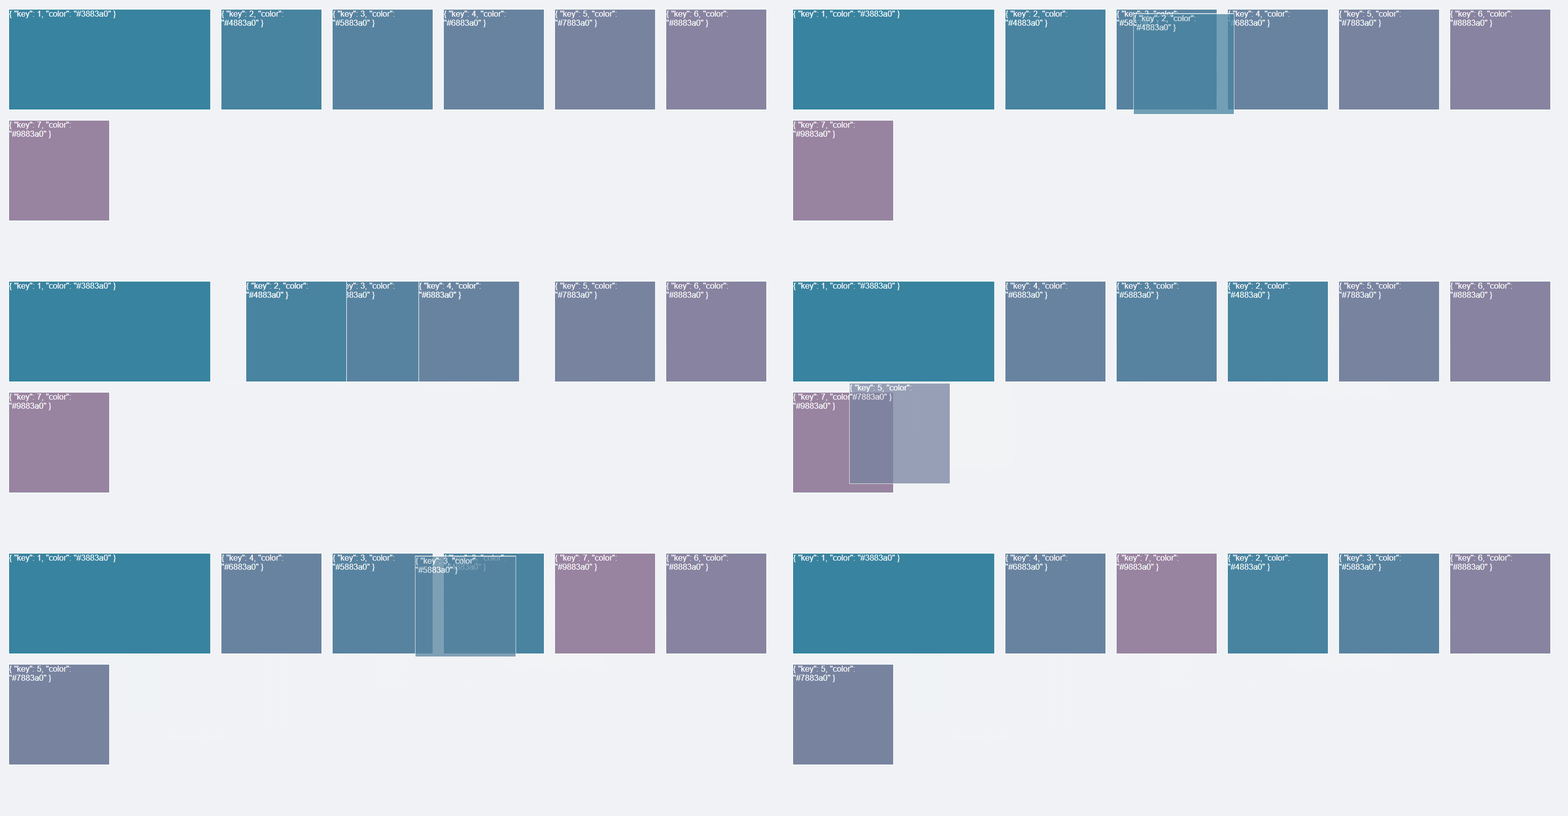
效果

關于“vue怎么實現拖拽交換位置”的內容就介紹到這里了,感謝大家的閱讀。如果想了解更多行業相關的知識,可以關注億速云行業資訊頻道,小編每天都會為大家更新不同的知識點。
免責聲明:本站發布的內容(圖片、視頻和文字)以原創、轉載和分享為主,文章觀點不代表本網站立場,如果涉及侵權請聯系站長郵箱:is@yisu.com進行舉報,并提供相關證據,一經查實,將立刻刪除涉嫌侵權內容。