您好,登錄后才能下訂單哦!
您好,登錄后才能下訂單哦!
這篇文章主要介紹了Javascript如何實現登錄框拖拽效果,具有一定借鑒價值,感興趣的朋友可以參考下,希望大家閱讀完這篇文章之后大有收獲,下面讓小編帶著大家一起了解一下。
具體內容如下
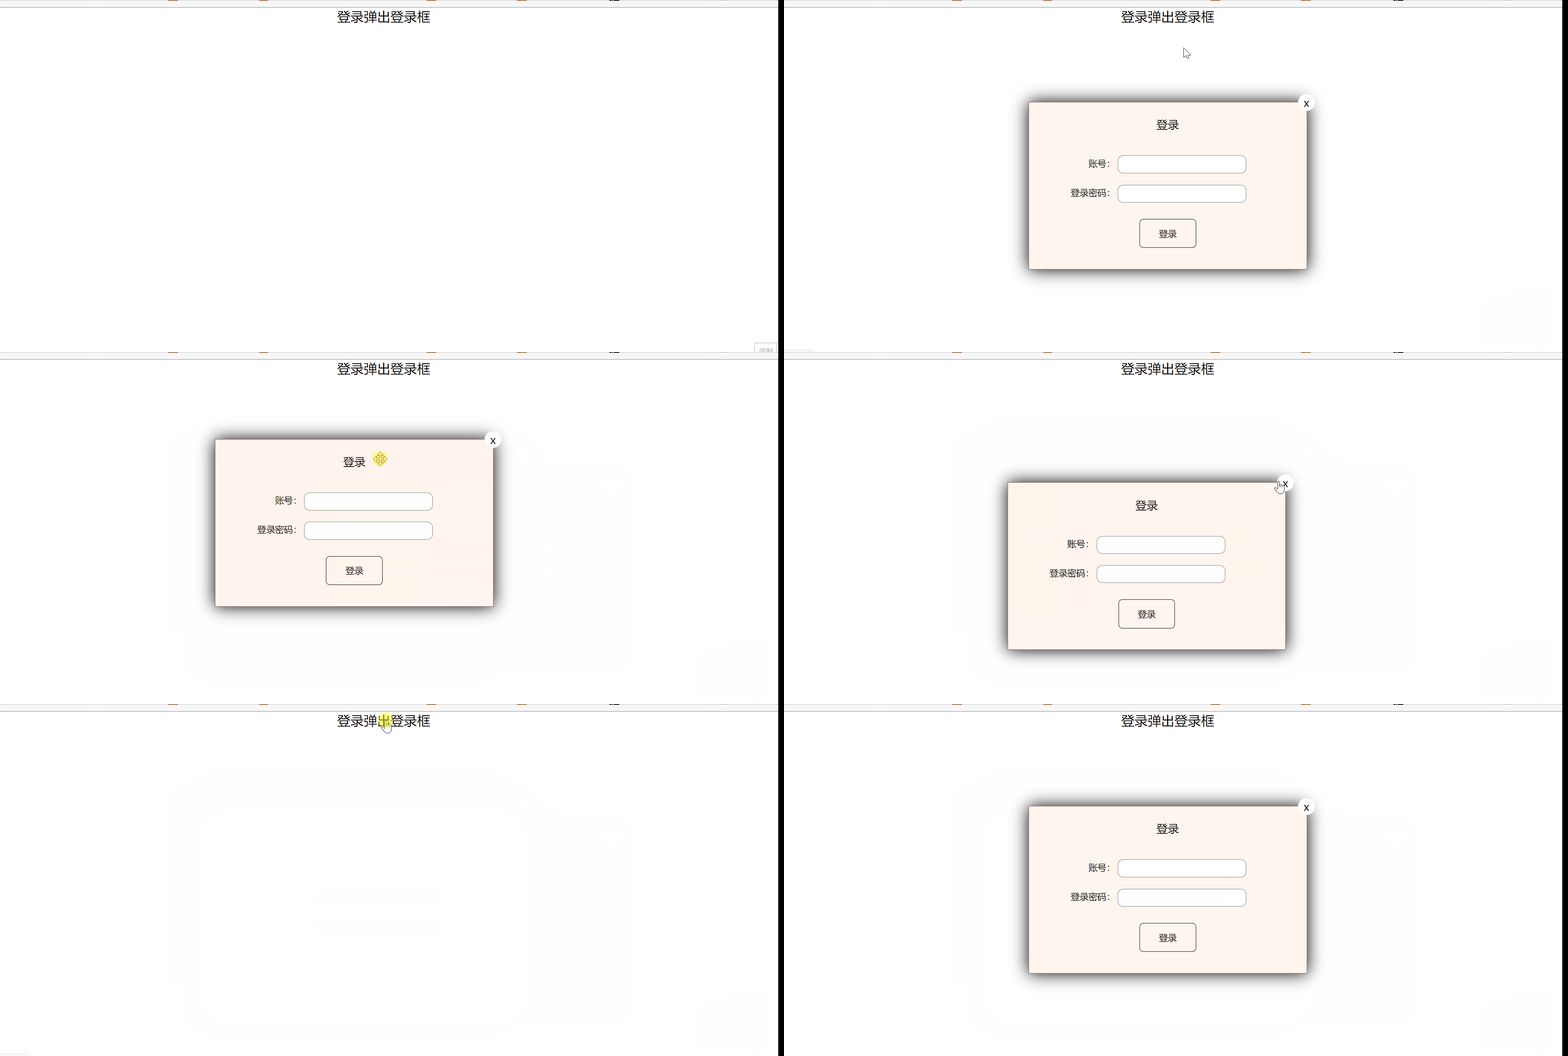
1、點擊彈出登錄框
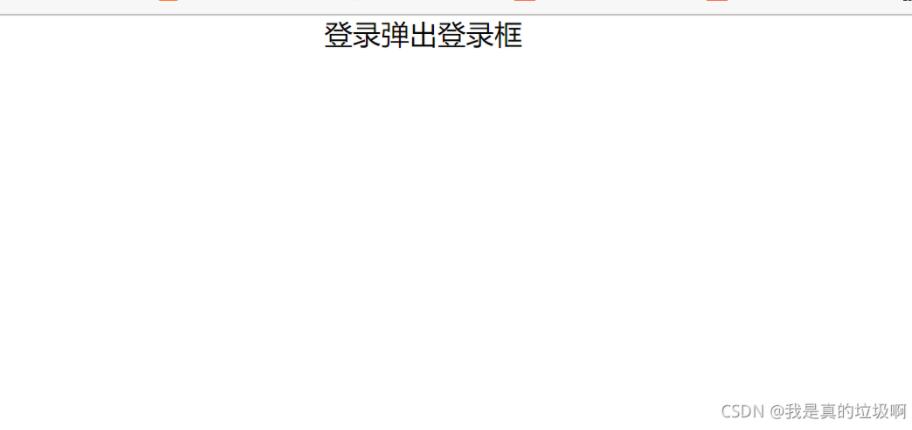
2、在登錄框的特定區域可以將登錄框拖拽至任意位置
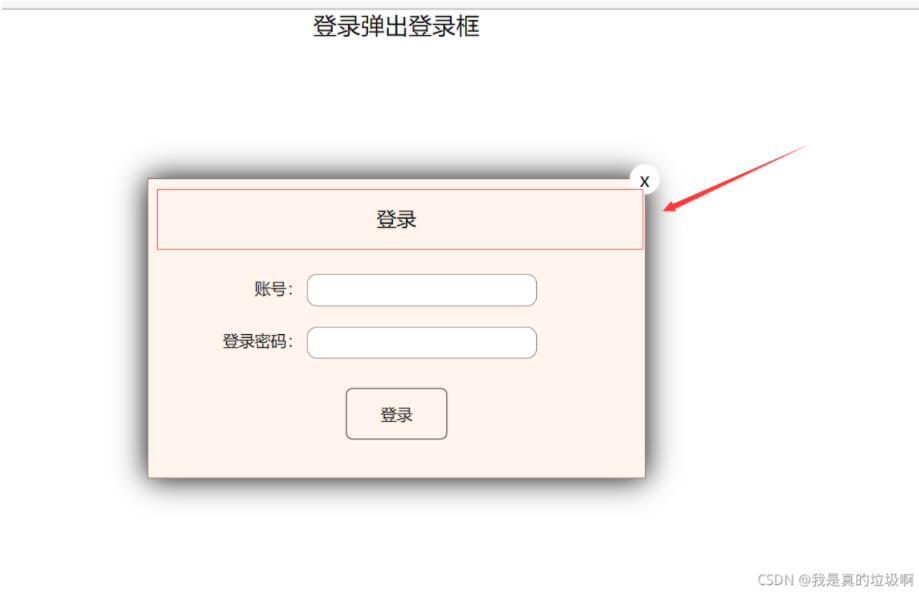
3、可以關閉登錄框,并且下一次點擊彈出登錄框歸位
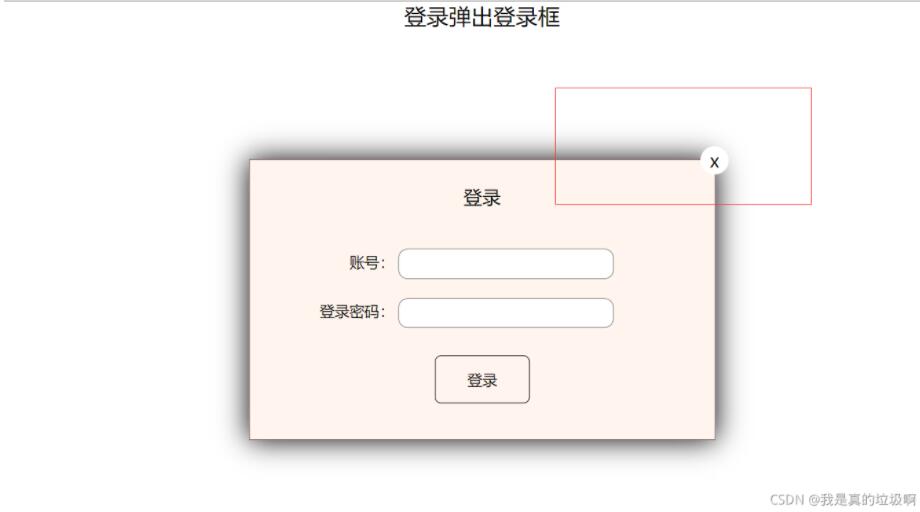
完整代碼
<!DOCTYPE html>
<html lang="en">
<head>
    <meta charset="UTF-8">
    <meta http-equiv="X-UA-Compatible" content="IE=edge">
    <meta name="viewport" content="width=device-width, initial-scale=1.0">
    <title>Document</title>
    <style>
        * {
            padding: 0;
            margin: 0;
        }
        a {
            text-decoration: none;
            color: black;
        }
        .login-header {
           /*  margin: 0 auto; */ /* 必須設置width才能起作用 */
            height: 30px;
            line-height: 30px;
            font-size: 24px;
            text-align: center;
        }
        .login {
            width: 500px;
            height: 300px;
            position: absolute;
            border: #725252 solid 1px;
           /*  transform: translate(-50%,-50%); */
            left: 50%;
            top: 50%;
            /* 這里不能有margin,因為我們只改變了left和right 的只,當移動過后 margin還會再次生效導致失敗 */
           /*  margin-left: -250px;
            margin-top: 50px; */
            background-color: seashell;
            transform: translate(-50%, -50%);
            z-index: 9999;
            box-shadow: 0 0 30px black;
            display: none;

        }
        .login-title {
            position: relative;
            margin: 20px 0 0 0;
            height: 40px;
            line-height: 40px;
            text-align: center;
            font-size: 20px;
            cursor: move;
        }
        .close-btn {
            position: absolute;
            width: 30px;
            height: 30px;
            right: -15px;
            top: -35px;
            border-radius: 50%;
            background-color: #ffffff;
            line-height: 30px;
        }
        .login-content{
            margin: 15px auto;
            width: 450px;
            height: 230px;
        }
        .login-input label{
            margin-top: 20px;
            margin-left: 30px;
            width: 100px;
            text-align: right;
            height: 30px;
            line-height: 30px;
            display: inline-block;
        }
        .login-input input {
            height: 30px;
            width: 230px;
            border-radius: 10px;
            border: 1px solid rgba(0, 0, 0, .5);
        }
        .login-btn {
            width: 100px;
            height: 50px;
            margin: 30px auto;
            border: 1px solid black;
            border-radius: 7px;
            line-height: 50px;
            text-align: center;
        }
    </style>
</head>
<body>
    <div class="login-header"><a href="javascript:;" >登錄彈出登錄框</a></div>
    <div class="login">
        <div class="login-title">登錄
            <span><a href="javascript:;" class="close-btn">x</a></span>
        </div>
        <div class="login-content">
                <div class="login-input">
                    <label for="name">賬號:</label>
                    <input type="text" id="name">
                </div>
                <div class="login-input">
                    <label for="pwd">登錄密碼:</label>
                    <input type="password" id="pwd">
                </div>
                <div class="login-btn">登錄</div>
        </div>
    </div>
    <script>
        let out = document.querySelector('.login-header');
        let login_box = document.querySelector('.login');
        let title = document.querySelector('.login-title');
        let close = document.querySelector('.close-btn');
        let move = document.querySelector('.login-content');
        out.addEventListener('click',function() {
            login_box.style.display = 'block';
        });
        close.addEventListener('click',function () {
            login_box.style.left = 50 + '%';
                login_box.style.top = 50 + '%' ;
            login_box.style.display = 'none';
        });
        /* 只有title可以移動 */
        title.addEventListener('mousedown',function(e) {
            /* 按下鼠標的一瞬間計算出鼠標在title中的距離,并在下一次按下鼠標前保持不變 */
            /* 這里必須要用login_box的offset,因為在title之前已經有絕對定位的login_box了,它的offset都為0 */
            let mousex = e.pageX - login_box.offsetLeft;
            let mousey = e.pageY - login_box.offsetTop;
            console.log(mousex,mousey);
            /* 這里為什么用的是doucument而不用title原因是鼠標可能移動過快超出了title的范圍,還有就是防止title盒子被遮擋,鼠標不在title上面從前無法觸發移動和取消事假,從而不能失效 */
            function movee(e) {
                login_box.style.left = e.pageX - mousex + 'px';
                login_box.style.top = e.pageY - mousey + 'px' ;

            }
            document.addEventListener('mousemove',movee)
            document.addEventListener('mouseup',function () {

                document.removeEventListener('mousemove',movee)
            })
        });

    </script>
</body>
</html>
點擊彈出登錄框的實現方式
使用JavaScript的點擊事件,當點擊彈出時將登錄框的display設置未block即可
out.addEventListener('click',function() {
            login_box.style.display = 'block';
        });
拖拽效果的實現
拖拽效果的實現分為三個步驟:
鼠標按下,獲取鼠標在登陸框中的坐標
鼠標移動,獲取登陸框移動的位置
松開鼠標,解除鼠標移動的事件
1.鼠標按下,獲取鼠標在登陸框中的坐標
如何獲得鼠標在登陸框中的位置呢? 在這里我們使用頁面中鼠標的坐標減去登錄框上左邊距的方法.
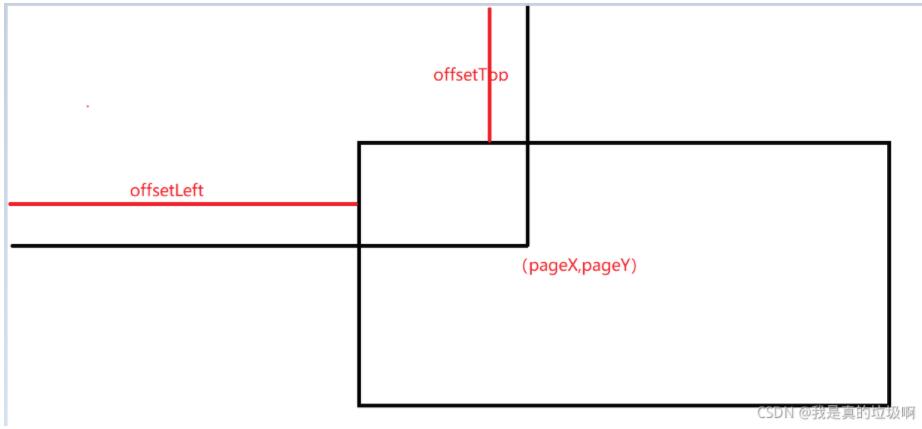
由上圖可得到,鼠標在登陸框內的坐標未:( x , y ) = ( p a g e X ? o f f s e t L e f t , P a g e Y ? o f f s e t T o p ) (x,y) = (pageX - offsetLeft, PageY - offsetTop)(x,y)=(pageX?offsetLeft,PageY?offsetTop)
當讓在這里是沒有考慮邊框對offset的影響.
/* 按下鼠標的一瞬間計算出鼠標在title中的距離,并在下一次按下鼠標前保持不變 */
/* 這里必須要用login_box的offset,因為在title之前已經有絕對定位的login_box了,它的offset都為0 */
let mousex = e.pageX - login_box.offsetLeft;
let mousey = e.pageY - login_box.offsetTop;
2.鼠標移動,獲取登錄框的位置
這時候鼠標在登錄框的位置在鼠標松開之前是不會在變化的,我們可以利用這個特性來得到當前登錄框的位置。那就是鼠標在頁面中的坐標減去鼠標在頁面中的坐標即可。這里就不再做過多的解釋了。
/* 這里為什么用的是doucument而不用title原因是鼠標可能移動過快超出了title的范圍,還有就是防止title盒子被遮擋,鼠標不在title上面從前無法觸發移動和取消事假,從而不能失效 */
            function movee(e) {
                login_box.style.left = e.pageX - mousex + 'px';
                login_box.style.top = e.pageY - mousey + 'px' ;

            }
            document.addEventListener('mousemove',movee)
3.松開鼠標,解除鼠標移動的事件
document.addEventListener('mouseup',function () {
                document.removeEventListener('mousemove',movee)
            })
關閉登錄框,位置歸位
將其display設置為none即可,具體看代碼。
close.addEventListener('click',function () {
            login_box.style.left = 50 + '%';
            login_box.style.top = 50 + '%' ;
            login_box.style.display = 'none';
        });
代碼實現時遇到的困難
1、使用margin居中時必須要有width,好久沒寫代碼了都有點忘記了。
2、因為給登錄框設置了margin導致移動錯位,這是因為我的坐標計算公式是沒有考慮margin的(只考慮了定位的left和right),導致登錄框到達了坐標位置又因為magin又調整了位置。解決的方法應該時在計算移動的坐標時減去margin即可。
3、offset是相對了有定位的父級節點來說的,要牢記。
4、為什么鼠標移動時是對document綁定的事件?
為了放置鼠標移動過快時間無法正確處理所以事件綁定到document上。若這個登錄框沒有加絕對定位,那么在移動的過程中可能會被其他的元素遮擋,所以移動事件不能綁定在登錄框上,而是綁定在document上。
感謝你能夠認真閱讀完這篇文章,希望小編分享的“Javascript如何實現登錄框拖拽效果”這篇文章對大家有幫助,同時也希望大家多多支持億速云,關注億速云行業資訊頻道,更多相關知識等著你來學習!
免責聲明:本站發布的內容(圖片、視頻和文字)以原創、轉載和分享為主,文章觀點不代表本網站立場,如果涉及侵權請聯系站長郵箱:is@yisu.com進行舉報,并提供相關證據,一經查實,將立刻刪除涉嫌侵權內容。