您好,登錄后才能下訂單哦!
您好,登錄后才能下訂單哦!
這篇文章給大家介紹怎么進行Selenium IDE的安裝使用,內容非常詳細,感興趣的小伙伴們可以參考借鑒,希望對大家能有所幫助。
今天將學習使用一個非常有用的瀏覽器插件Selenium IDE,用于網站的測試和自動化,這里以谷歌瀏覽器作為測試。
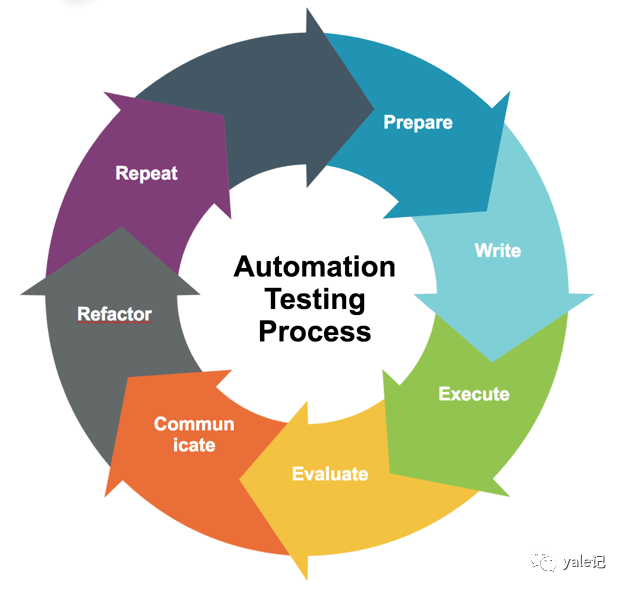
插件下載地址為:
https://chrome.google.com/webstore/detail/selenium-ide/mooikfkahbdckldjjndioackbalphokd
我們點擊添加至chrome完成插件的安裝:
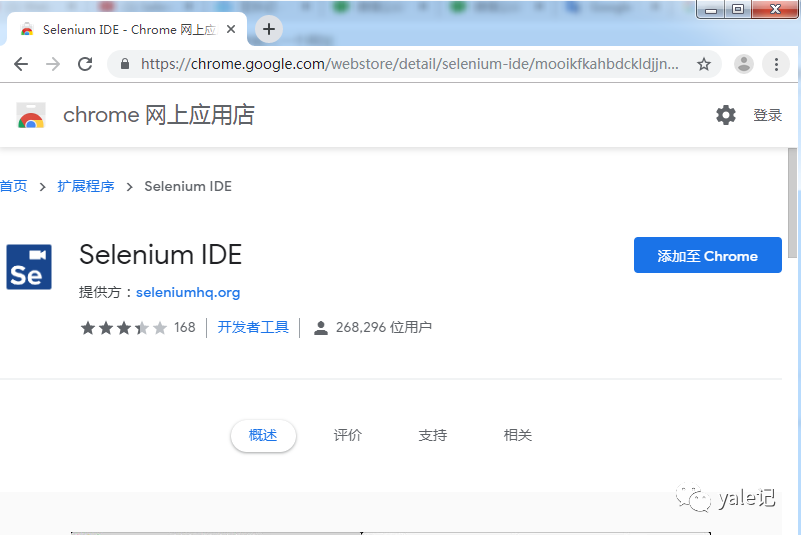
插件安裝完成后會在導航欄出現一個se的圖標:
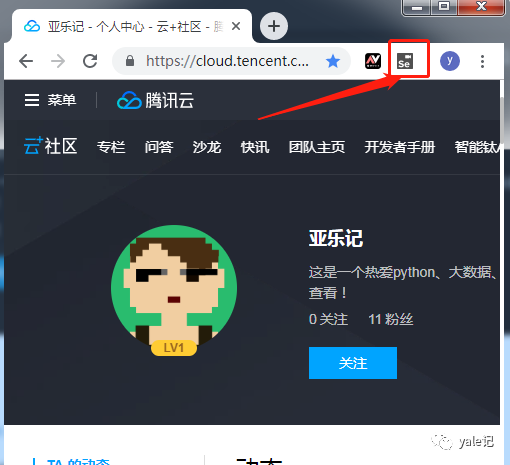
我們點擊圖標會彈出一個對話框,讓我們選擇如何創建項目:
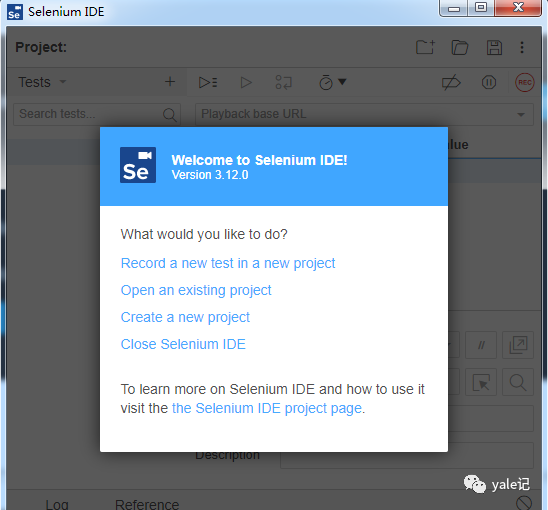
這里我們選擇第一項Record a new test in a new project(新建項目并記錄一個新的測試),輸入項目名稱taobao-serach(用淘寶作為測試網址):
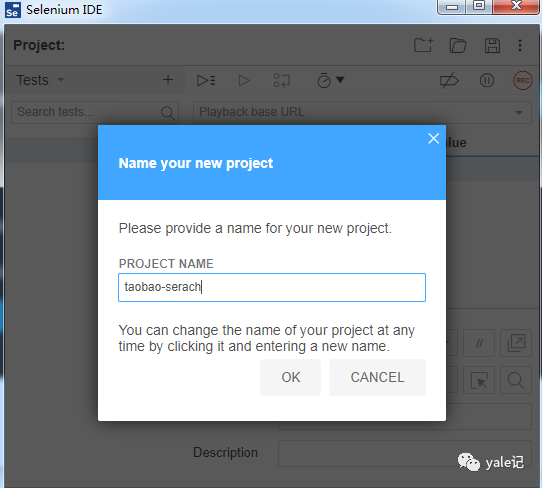
點擊ok后,輸入要監控的網址:
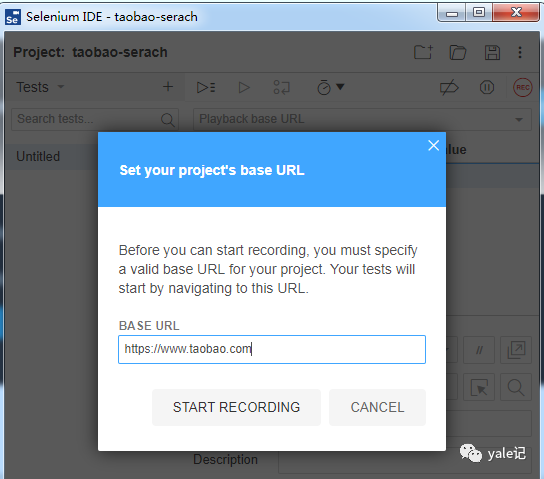
點擊START RECORDING開始記錄,會自動打開淘寶網頁 并出現記錄標記:
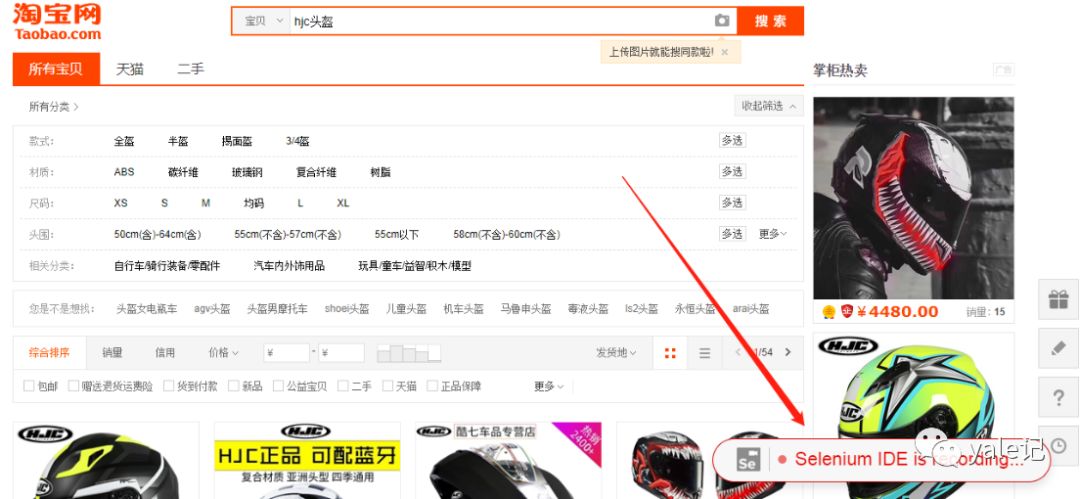
在彈出的IDE中點擊右上方的紅色停止記錄按鈕后中間會出現所有動作的記錄過程:
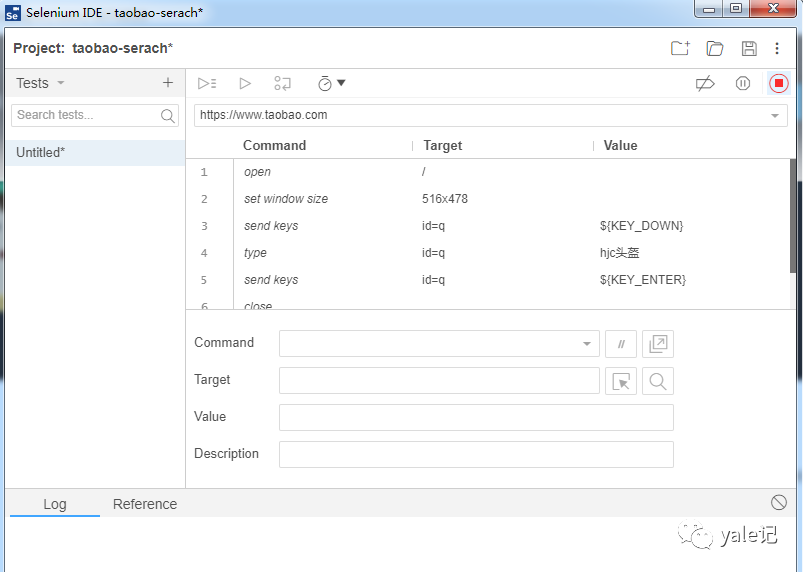
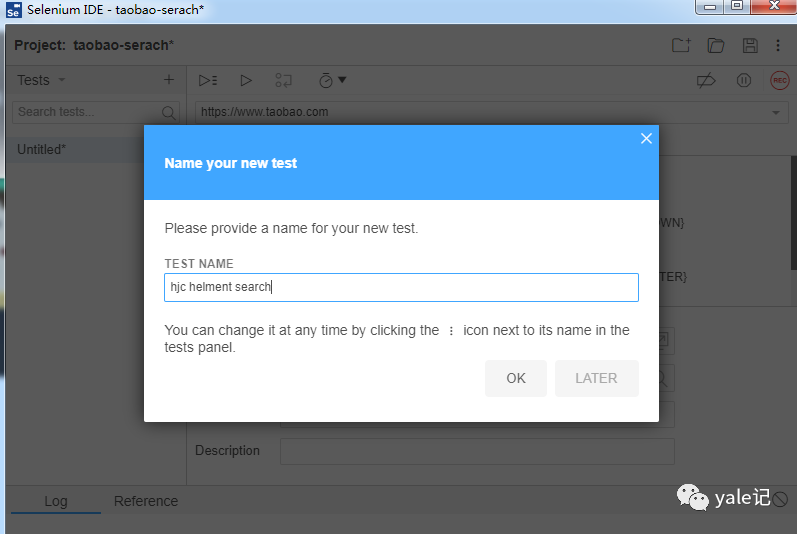
點擊上圖中左側區域中的Untitled為這個測試案例命名為hjc element search:
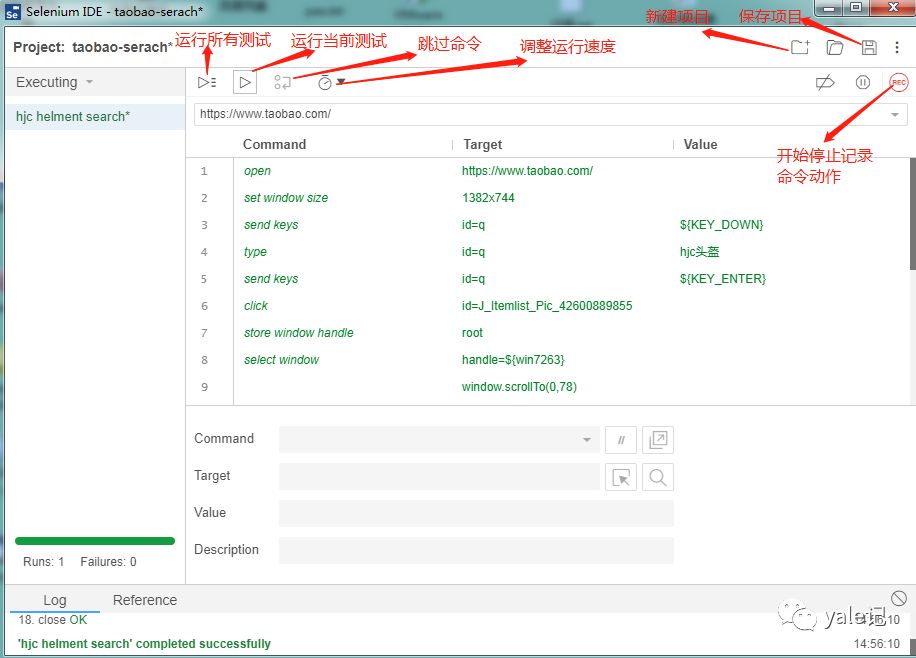
接下來看IDE中基本的操作按鈕釋義:
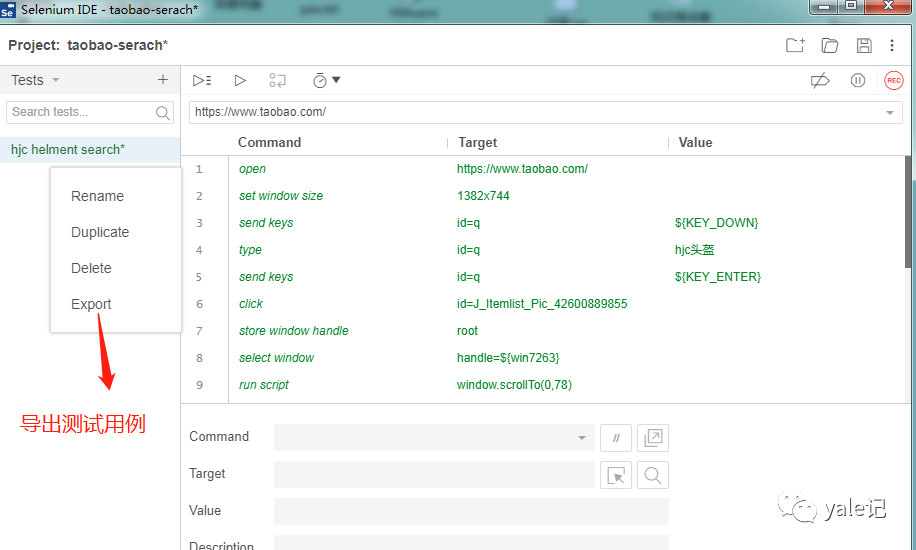
點擊左側測試案例可將用例導出:
這里我們導出為python的pytest用例:
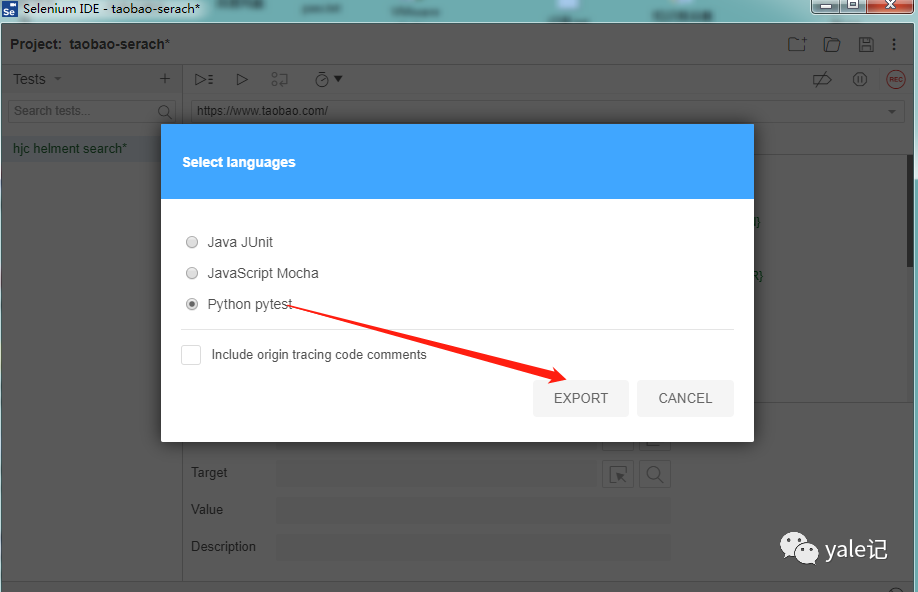
會生成一個python文件名字為test_hjchelmentsearch.py:
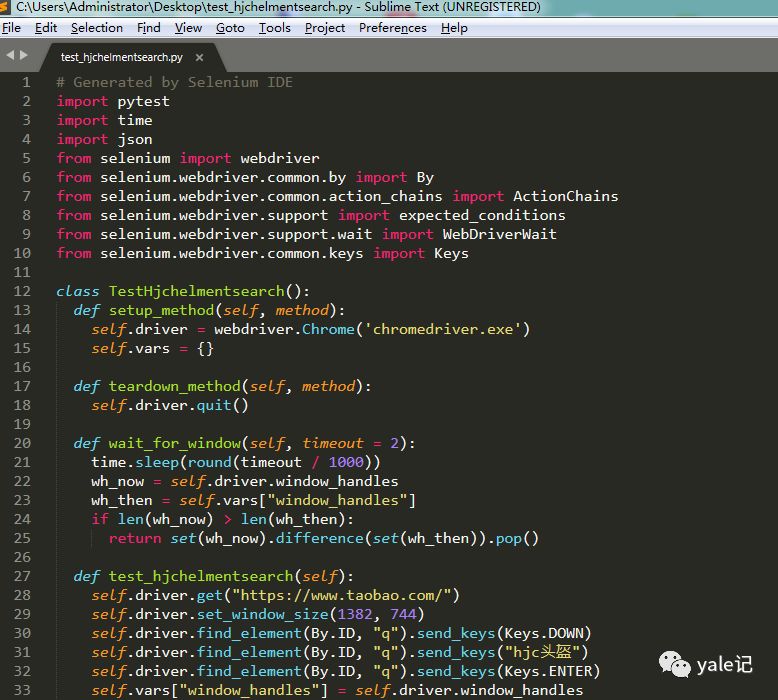
具體代碼如下:
# Generated by Selenium IDEimport pytestimport timeimport jsonfrom selenium import webdriverfrom selenium.webdriver.common.by import Byfrom selenium.webdriver.common.action_chains import ActionChainsfrom selenium.webdriver.support import expected_conditionsfrom selenium.webdriver.support.wait import WebDriverWaitfrom selenium.webdriver.common.keys import Keysclass TestHjchelmentsearch():def setup_method(self, method):self.driver = webdriver.Chrome('chromedriver.exe')self.vars = {}def teardown_method(self, method):self.driver.quit()def wait_for_window(self, timeout = 2):time.sleep(round(timeout / 1000))wh_now = self.driver.window_handleswh_then = self.vars["window_handles"]if len(wh_now) > len(wh_then):return set(wh_now).difference(set(wh_then)).pop()def test_hjchelmentsearch(self):self.driver.get("https://www.taobao.com/")self.driver.set_window_size(1382, 744)self.driver.find_element(By.ID, "q").send_keys(Keys.DOWN)self.driver.find_element(By.ID, "q").send_keys("hjc頭盔")self.driver.find_element(By.ID, "q").send_keys(Keys.ENTER)self.vars["window_handles"] = self.driver.window_handlesself.driver.find_element(By.ID, "J_Itemlist_Pic_42600889855").click()self.vars["win7263"] = self.wait_for_window(2000)self.vars["root"] = self.driver.current_window_handleself.driver.switch_to.window(self.vars["win7263"])self.driver.execute_script("window.scrollTo(0,78)")self.driver.find_element(By.CSS_SELECTOR, "li:nth-child(8) > a > span").click()element = self.driver.find_element(By.CSS_SELECTOR, ".tb-img > li:nth-child(6) span")actions = ActionChains(driver)actions.move_to_element(element).perform()element = self.driver.find_element(By.CSS_SELECTOR, "body")actions = ActionChains(driver)actions.move_to_element(element, 0, 0).perform()element = self.driver.find_element(By.CSS_SELECTOR, ".tb-prop:nth-child(1) li:nth-child(6) span")actions = ActionChains(driver)actions.move_to_element(element).perform()self.driver.find_element(By.CSS_SELECTOR, ".tb-prop:nth-child(1) li:nth-child(6) span").click()element = self.driver.find_element(By.CSS_SELECTOR, "body")actions = ActionChains(driver)actions.move_to_element(element, 0, 0).perform()self.driver.close()self.driver.switch_to.window(self.vars["root"])self.driver.close()#以下是我自己加入的初始化運行代碼hjc = TestHjchelmentsearch()hjc.setup_method(None)hjc.test_hjchelmentsearch()hjc.teardown_method()
如下代碼可運行作為測試用例。
關于怎么進行Selenium IDE的安裝使用就分享到這里了,希望以上內容可以對大家有一定的幫助,可以學到更多知識。如果覺得文章不錯,可以把它分享出去讓更多的人看到。
免責聲明:本站發布的內容(圖片、視頻和文字)以原創、轉載和分享為主,文章觀點不代表本網站立場,如果涉及侵權請聯系站長郵箱:is@yisu.com進行舉報,并提供相關證據,一經查實,將立刻刪除涉嫌侵權內容。