您好,登錄后才能下訂單哦!
您好,登錄后才能下訂單哦!
這期內容當中小編將會給大家帶來有關Ubuntu20.04中怎么安裝TensorFlow,文章內容豐富且以專業的角度為大家分析和敘述,閱讀完這篇文章希望大家可以有所收獲。
這里使用的是當前日期最新版的 Ubuntu20.04 作為操作系統平臺。20.04默認安裝了Python3.8版本,但是沒有安裝pip,所以可以使用apt先安裝pip:
$ sudo apt install python3-pip -y
查看pip的版本,如果不是最新版本順便將pip升級到最新版本:
$ pip3  -V
$ pip3 install --upgrade pip
安裝pip的方式很多,例如可以把pip下載到本地使用Python命令安裝等。安裝TensorFlow2需要使用高于19.0的pip版本
安裝之前需要把pip更新到最新版:
$ pip3 install --upgrade pip
安裝 virtualenv 來幫助我們創建虛擬環境,這里使用的是國內阿里云的鏡像源,下載速度會快很多:
$ pip3 install -U virtualenv -i https://mirrors.aliyun.com/pypi/simple
創建一個新的 Python 虛擬環境,創建一個 ./venv 目錄來存放它:
$ virtualenv ./venv/
如果我們想把系統中已有的庫也加入到虛擬環境中,可以加上--system-site-packages。指定Python版本適用-p參數,如:-p python3
激活該虛擬環境:
$ source venv/bin/activate
使用 pip 安裝支持 GPU 的 TensorFlow 軟件包,可以選擇穩定版或預覽版。安裝穩定版的TensorFlow:
(venv) thanlon@thanlon:~$ pip install tensorflow -i https://mirrors.aliyun.com/pypi/simple/
如果安裝只支持CPU版本:pip install tensorflow-cpu;同理安裝只支持GPU版本:pip install tensorflow-cpu。指定版本:pip install tensorflow-gpu==2.2.0
安裝預覽版使用下面的命令:
(venv) thanlon@thanlon:~$ pip install tf-nightly -i https://mirrors.aliyun.com/pypi/simple/
安裝之前一定要 保證/tmp空閑足夠充足,大概需要3G~4G,當然也可以通過命令臨時更改 /tmp 容量:
(venv) thanlon@thanlon:~$ sudo mount -t tmpfs -o size=4G /tmp(venv) thanlon@thanlon:~$ df -h
/dev/sda10      4.0G     0  4.0G    0% /tmp
查看已安裝的所有包:
(venv) thanlon@thanlon:~$ pip list
測試不指定 CPU 和 GPU 版本的 TensorFlow 是否不區分 CPU 和 GPU,是否會支持GPU。測試發現確實支持GPU:

直接安裝的TensorFlow,并沒有指定GPU版本,卻得到GPU的支持。實際上新版本的TensorFlow不指定GPU版本同樣支持GPU。對于1.15及更早版本,CPU和GPU軟件包是分開的。pip install tensorflow==1.15是CPU版本,pip install tensorflow-gpu==1.15是GPU版本。
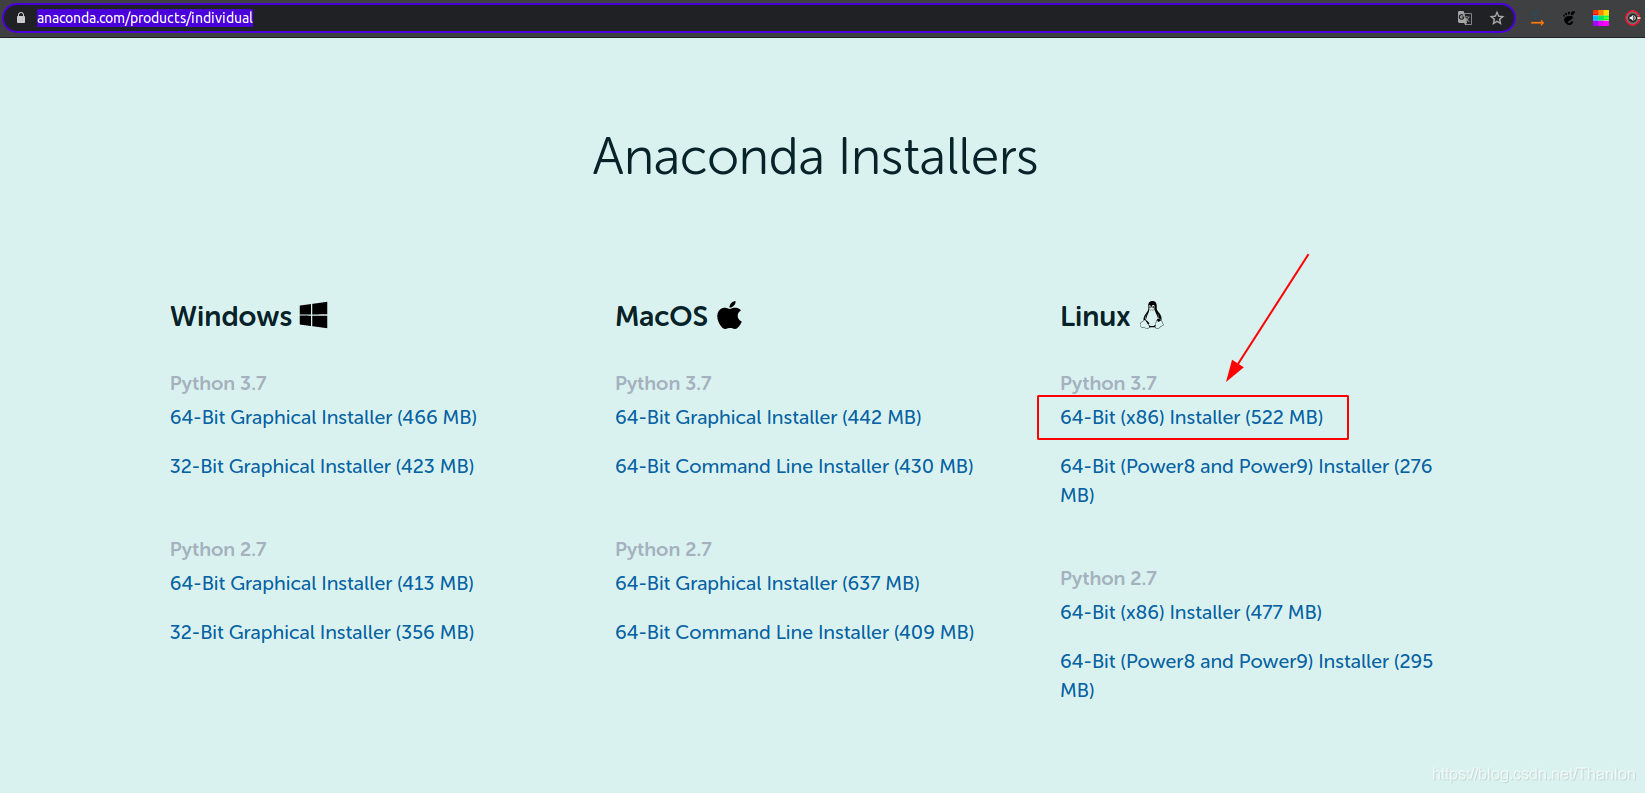
Anaconda是一個開源的Python發行版本,其中包含了很多流行的用于科學計算、數據分析的Python包。可以從官網下載,官網地址:https://www.anaconda.com/products/individual

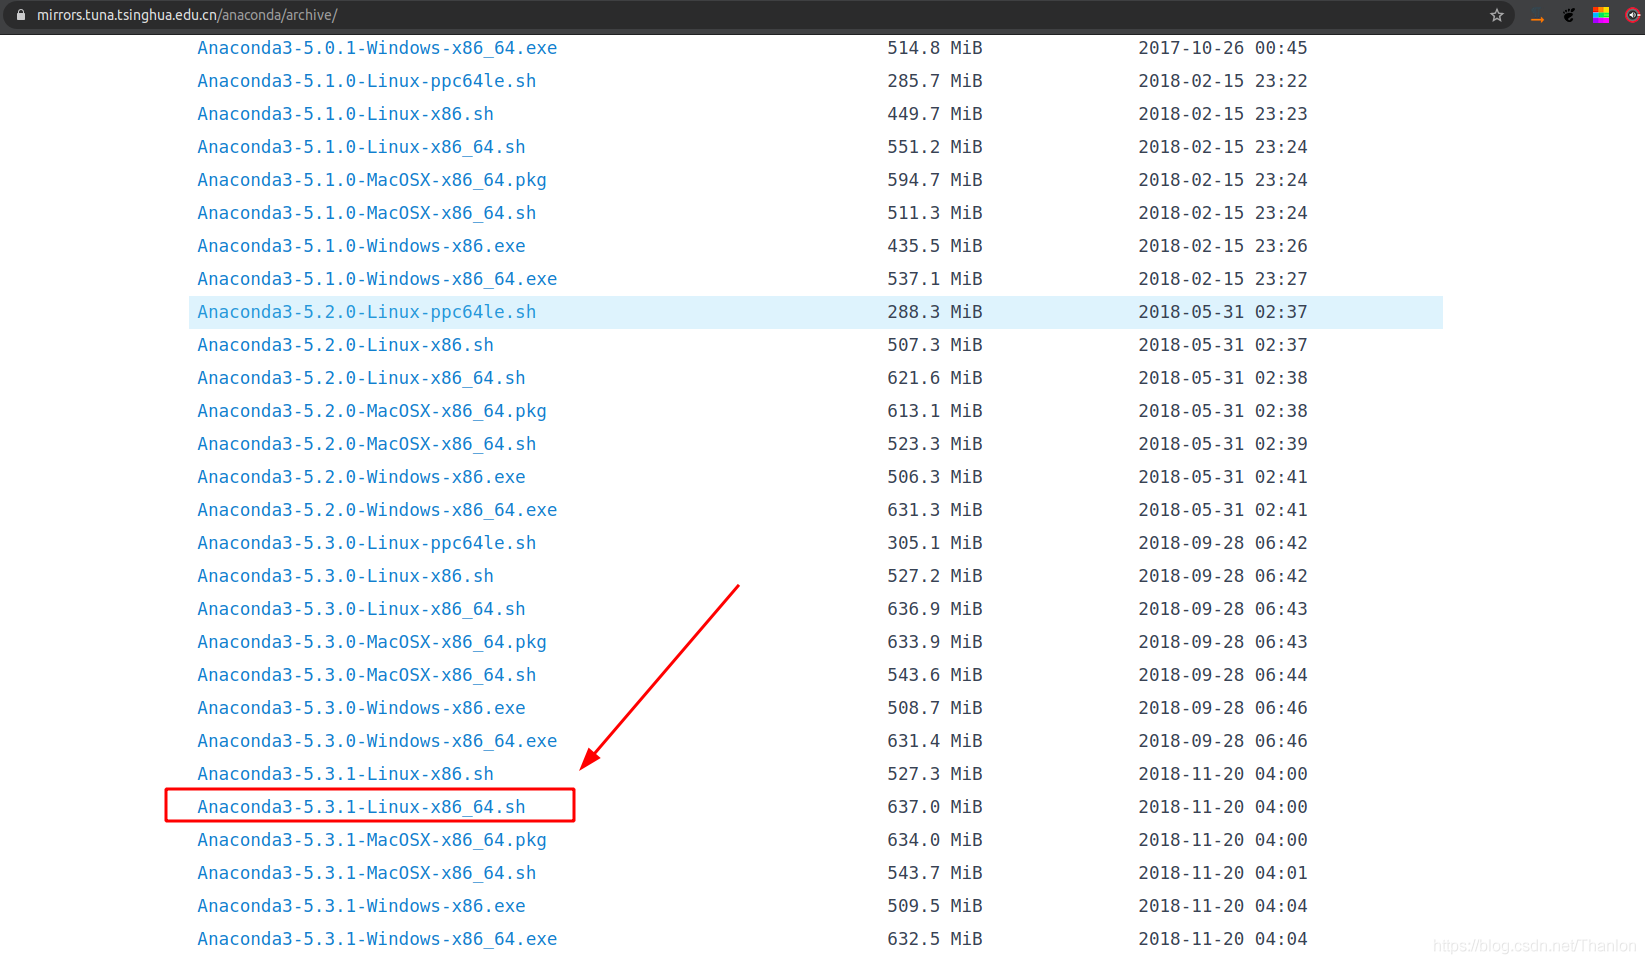
也可以到清華鏡像站下載,官網鏈接:https://mirrors.tuna.tsinghua.edu.cn/anaconda/archive/

我們這里直接從清華鏡像站復制了Anaconda最新版本的鏈接,使用 wget 或者 axel 先下載到本地:
$ axel https://mirrors.tuna.tsinghua.edu.cn/anaconda/archive/Anaconda3-5.3.1-Linux-x86_64.sh
執行腳本安裝Anaconda,安裝過程中根據提示結合自己需要做例如選擇安裝路徑、是否安裝Visual Stadio Code的一些操作:
$ ./Anaconda3-5.3.1-Linux-x86_64.sh
Anaconda安裝成功之后接下來就可以安裝TensorFlow了,Anaconda默認使用國外的鏡像源,在我們安裝TensorFlow之前先更換為國內的鏡像源,如更換為 中科大鏡像源,第一個是最重要且主要的鏡像源地址,第二個添不添加都可以:
thanlon@thanlon:~$ conda config --add channels https://mirrors.ustc.edu.cn/anaconda/pkgs/main
thanlon@thanlon:~$ conda config --add channels https://mirrors.ustc.edu.cn/anaconda/pkgs/free
更新conda:
thanlon@thanlon:~$ conda update -n base -c defaults conda
conda比pip更加強大,可以安裝非Python庫。所以,非常推薦使用Anaconda安裝TensorFlow!

創建并進入虛擬環境,離開虛擬環境使用 conda deactivate 命令:
thanlon@thanlon:~$ conda create -n venv python=3.8
thanlon@thanlon:~$ conda activate venv(venv) thanlon@thanlon:~$ conda deactivate
安裝 TensorFlow GPU 最新版本,當前最新版是 tensorflow-gpu-2.2.0,已知版本的情況下可以指定版本:
(venv) thanlon@thanlon:~$ conda install tensorflow-gpu
為了檢查安裝的 TensorFlow 是否是 GPU 版本,需要安裝 jupyter notebook 寫程序測試:
(venv) thanlon@thanlon:~$ conda install jupyter notebook(venv) thanlon@thanlon:~$ jupyter notebook
測試程序如下,說明我們已經成功安裝支持 GPU 的TensorFlow:

至此,Anaconda安裝TensorFlow已完成!
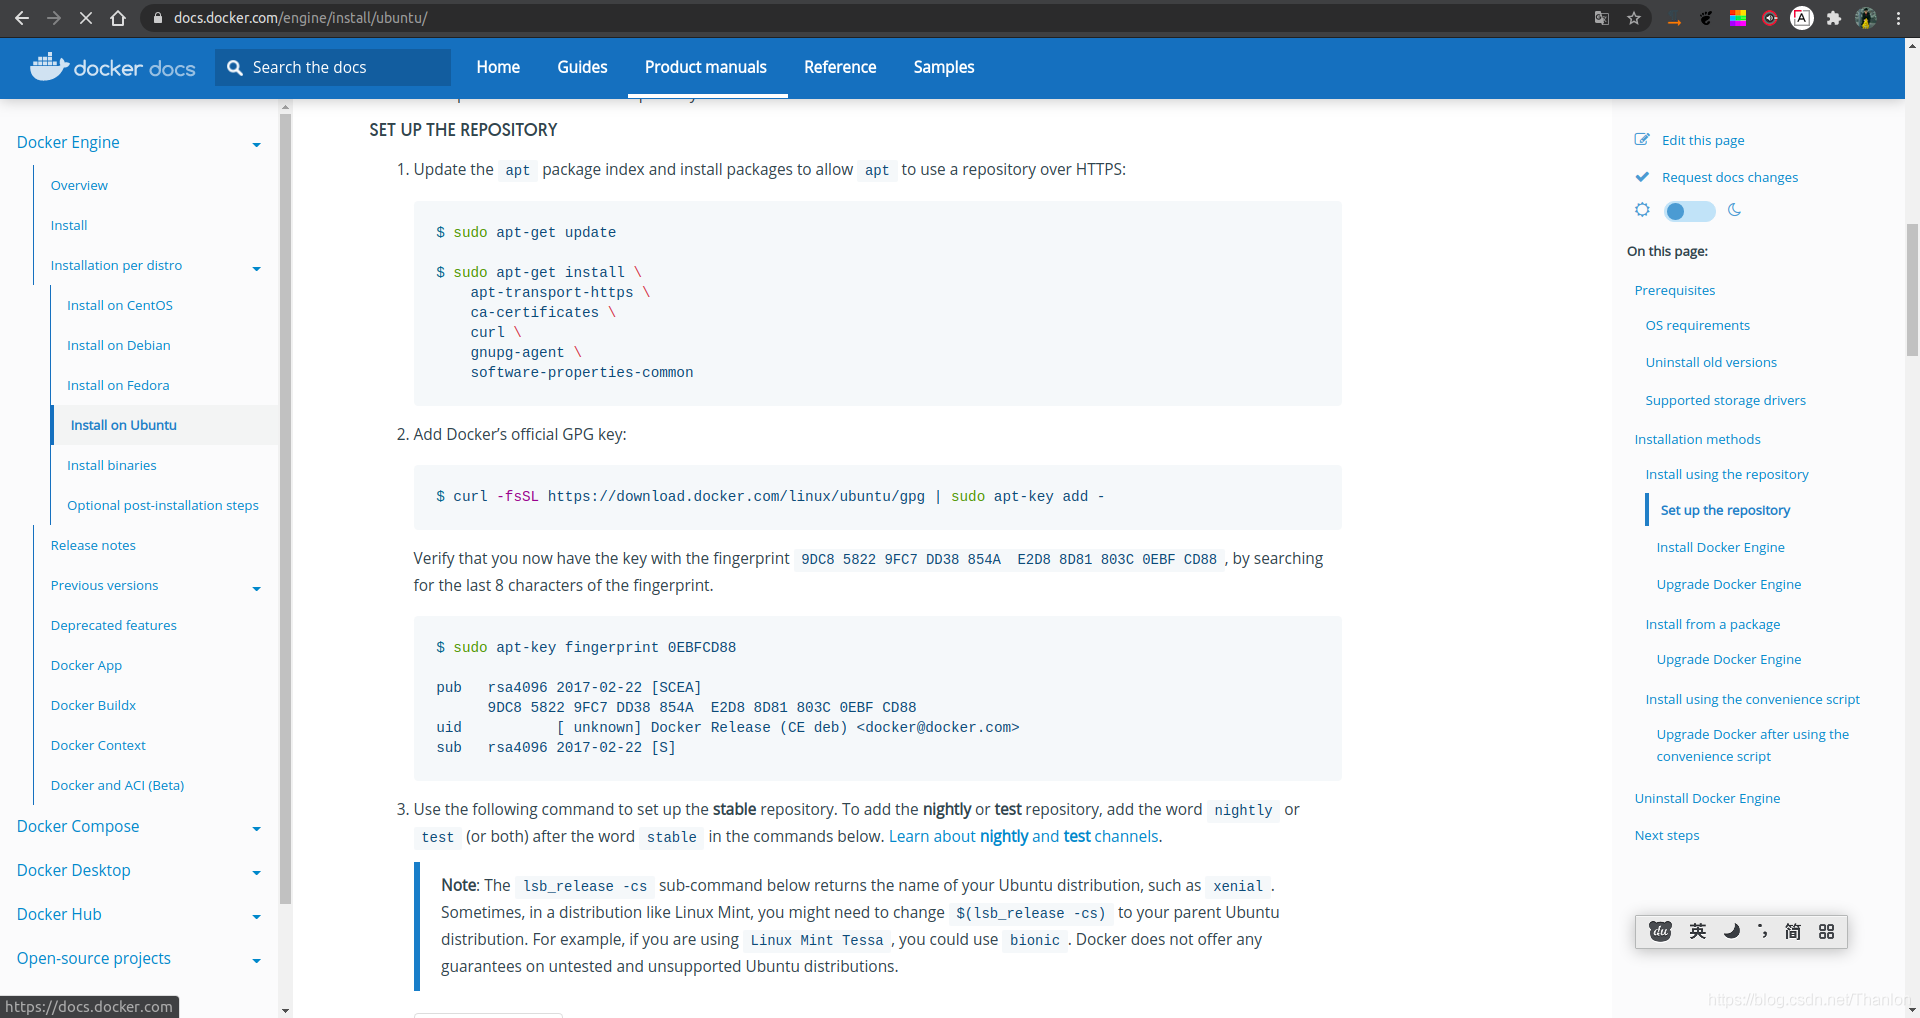
首先安裝Docker,Dockeer官方安裝文檔:https://docs.docker.com/engine/install/ubuntu/

安裝方式有三種,我這里選擇存儲庫安裝。卸載舊版本的Docker,如果之前安裝過:
$ sudo apt-get remove docker docker-engine docker.io containerd runc
設置Docker存儲庫:
$ sudo apt-get install \
    apt-transport-https \
    ca-certificates \curl \
    gnupg-agent \
    software-properties-common
添加Docker的官方GPG密鑰:
$ curl -fsSL https://download.docker.com/linux/ubuntu/gpg | sudo apt-key add -
設置穩定的存儲:
$ sudo add-apt-repository \   "deb [arch=amd64] https://download.docker.com/linux/ubuntu \   $(lsb_release -cs) \
   stable"
更新apt程序包索引,并安裝最新版本的Docker Engine和容器:
$ sudo apt-get update && sudo apt-get install docker-ce docker-ce-cli containerd.io
運行hello-world 映像來驗證是否正確安裝了Docker Engine:
$ sudo docker run -it hello-world
查看Docker是否啟動:
$ systemctl status docker.service
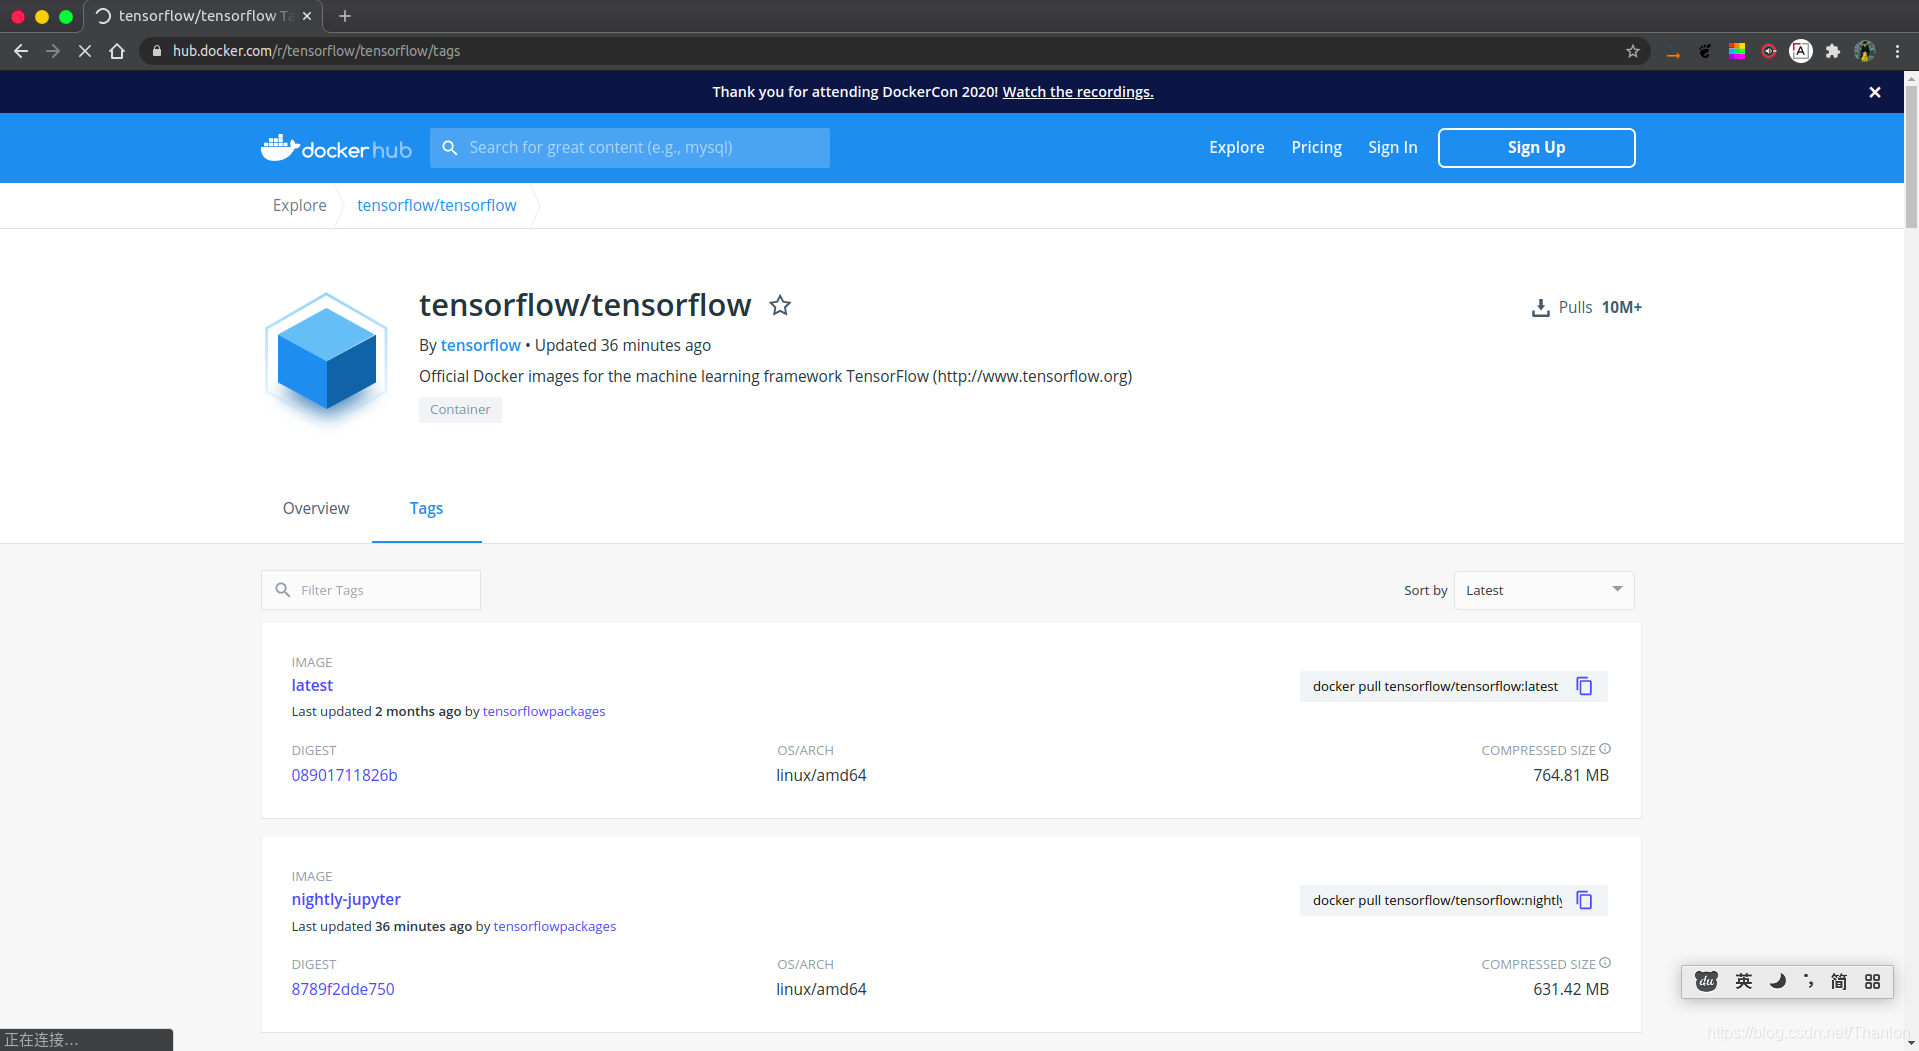
至此Docker安裝成功,下面開始安裝TensorFlow。首先下載 TensorFlow Docker 鏡像,TensorFlow 提供了很多ensorFlow Docker 鏡像。官方 TensorFlow Docker 映像位于 tensorflow/tensorflow Docker Hub 代碼庫中:

References:https://tensorflow.google.cn/install/docker#gpu_support
更換下載源為國內的鏡像源 Docker官方中國區:https://registry.docker-cn.com;阿里云:https://pee6w651.mirror.aliyuncs.com:
$ sudo vim /etc/docker/daemon.json
$ systemctl restart docker.service
$ cat /etc/docker/daemon.json{


   "registry-mirrors": ["https://pee6w651.mirror.aliyuncs.com"]}
這里就拉去一個支持 GPU 和 Jupyter 的版本:
$ docker pull tensorflow/tensorflow:latest-gpu-jupyter # latest release w/ GPU support and Jupyter

成功安裝:
thanlon@thanlon:~$ sudo docker images
REPOSITORY              TAG                  IMAGE ID            CREATED             SIZE
tensorflow/tensorflow   latest-gpu-jupyter   8d78dd1e1b64        8 weeks ago         3.99GB

查看本地已有的容器:
thanlon@thanlon:~$ sudo docker images
REPOSITORY              TAG                  IMAGE ID            CREATED             SIZE
tensorflow/tensorflow   latest-gpu-jupyter   8d78dd1e1b64        8 weeks ago         3.99GB
tensorflow/tensorflow   latest-gpu           f5ba7a196d56        8 weeks ago         3.84GB
接下來運行 TAG 是 latest-gpu 的容器,進入容器后可以查看內置的 Python 版本以及安裝好的 TensorFlow:
thanlon@thanlon:~$ sudo docker run -it tensorflow/tensorflow:latest-gpu
root@c4fceafad48c:/# python -VPython 3.6.9
root@c4fceafad48c:/# pip list...
tensorflow-gpu         2.2.0...
可以另外開一個Terminal,查看正在運行的鏡像:
thanlon@thanlon:~$ sudo docker psCONTAINER ID        IMAGE                              COMMAND             CREATED             STATUS              PORTS               NAMES
49b31ca53c49        tensorflow/tensorflow:latest-gpu   "/bin/bash"         17 seconds ago      Up 16 seconds                           gallant_shirley
運行 TAG 是 latest-gpu-jupyter 的容器:
thanlon@thanlon:~$ sudo docker run -p 8888:8888 tensorflow/tensorflow:latest-gpu-jupyter
瀏覽器訪問下面的鏈接就可以使用 jupyter notebook:


上述就是小編為大家分享的Ubuntu20.04中怎么安裝TensorFlow了,如果剛好有類似的疑惑,不妨參照上述分析進行理解。如果想知道更多相關知識,歡迎關注億速云行業資訊頻道。
免責聲明:本站發布的內容(圖片、視頻和文字)以原創、轉載和分享為主,文章觀點不代表本網站立場,如果涉及侵權請聯系站長郵箱:is@yisu.com進行舉報,并提供相關證據,一經查實,將立刻刪除涉嫌侵權內容。