您好,登錄后才能下訂單哦!
您好,登錄后才能下訂單哦!
這篇文章主要介紹了html5如何封裝下拉刷新,具有一定借鑒價值,感興趣的朋友可以參考下,希望大家閱讀完這篇文章之后大有收獲,下面讓小編帶著大家一起了解一下。
前端在工作當中難免會于原生的安卓和ios合作,去做一些H5嵌套的頁面。但是實際開發中常常會遇到各種兼容問題,具體問題我就不一一列舉了,這次我主要分享的是關于在原生中下拉刷新中雙系統出現的兼容問題,最典型的就是在ios中會出現下拉彈簧這會大大增加前端在開發中遇到的奇特問題,所以本文結合實際,對此做些功能上的實現,也希望大家可以看過我實現原理后理解并運用到實際的開發過程中,真正做到舉一反三,貨不多說直接上代碼。
首頁css+html部分
*{
            margin: 0;
            padding: 0;
            list-style: none;
        }
    body{
            display: flex;
            justify-content: center;
            align-items: center;
        }
    .one{
        width : 4rem;
        height: 7rem;
        border: 1px solid red;
        font-size: 0.35rem;
        box-sizing: border-box;
        overflow-y: auto;
       }
    .kl{
        position: relative;
       }
    .lis{
        width: 100%;
        height: 1rem;
        line-height: 1rem;
        text-align: center;
        background: red;
      }
    .lis:nth-child(2n+1){
    background: pink;
      }
    .scroll{
        height:100%;
        overflow: auto;
        -webkit-overflow-scrolling: touch;
        }
    .di{
    position: relative;
    color: #c8c9cc;
    font-size: 0;
    vertical-align: middle;
    }
    .k{
    width: 0.5rem;
    height: 0.5rem;
    display: inline-block;
    max-width: 100%;
    max-height: 100%;
    animation: theanimation 1s linear infinite;
    }
    .us{
    position: absolute;
    top: 0;
    left: 0;
    width: 100%;
    height: 100%;
   color:rgb(25, 137, 250)
    }
    .us:before{
    display: block;
    width: 2px;
    height: 25%;
    margin: 0 auto;
    background-color: currentColor;
    border-radius: 40%;
    content: ' ';
    }
    .us:nth-child(1){
    -webkit-transform: rotate(30deg);
    transform: rotate(30deg);
    opacity: 1;
    }
    .us:nth-child(2){
    -webkit-transform: rotate(60deg);
    transform: rotate(60deg);
    opacity: 0.9375;
    }
    .us:nth-child(3){
        -webkit-transform: rotate(90deg);
    transform: rotate(90deg);
    opacity: 0.875;
    }
    .us:nth-child(4){
    -webkit-transform: rotate(120deg);
    transform: rotate(120deg);
    opacity: 0.8125;
    }
    .us:nth-child(5){
        -webkit-transform: rotate(150deg);
    transform: rotate(150deg);
    opacity: 0.75;
    }
    .us:nth-child(6){
        -webkit-transform: rotate(180deg);
    transform: rotate(180deg);
    opacity: 0.6875;
    }
    .us:nth-child(7){
        -webkit-transform: rotate(210deg);
    transform: rotate(210deg);
    opacity: 0.625;
    }
    .us:nth-child(8){
    -webkit-transform: rotate(240deg);
    transform: rotate(240deg);
    opacity: 0.5625;
    }
    .us:nth-child(9){
        -webkit-transform: rotate(270deg);
    transform: rotate(270deg);
    opacity: 0.5;
    }
    .us:nth-child(10){
        -webkit-transform: rotate(300deg);
    transform: rotate(300deg);
    opacity: 0.4375;
    }
    .us:nth-child(11){
    -webkit-transform: rotate(330deg);
    transform: rotate(330deg);
    opacity: 0.375;
    }
    .us:nth-child(12){
         -webkit-transform: rotate(360deg);
    transform: rotate(360deg);
    opacity: 0.3125;
    }
    @keyframes theanimation{
  from {   transform: rotate(0deg);}
    to { transform: rotate(360deg);}
     } <!DOCTYPE html><html>	<head>		<meta charset="UTF-8">		<title>下拉刷新</title>		<link rel="stylesheet" type="text/css" href="botm_x.css"/>	</head>	<style type="text/css"> </style>	<body>		<div class="one" >			<div class="kl">			<li class="lis">這是一個內容</li>			<li class="lis">這是一個內容</li>			<li class="lis">這是一個內容</li>			<li class="lis">這是一個內容</li>		    <li class="lis">這是一個內容</li>		 	<li class="lis">這是一個內容</li>		    <li class="lis">這是一個內容</li>			<li class="lis">這是一個內容</li>			<li class="lis">這是一個內容</li>			<li class="lis">這是一個內容</li>			<li class="lis">這是一個內容</li>			</div>
	</div>
</body>
<script type="text/javascript" src="適配.js">
</script>
<script type="text/javascript" src="下拉刷新.js">
</script>
</html>
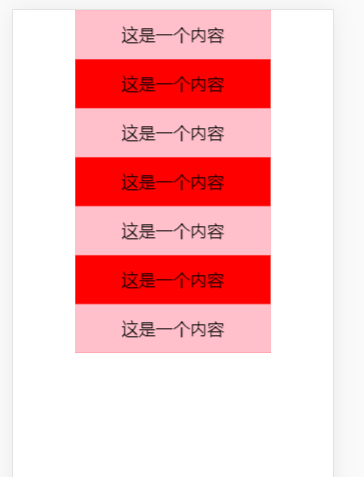
這里是模擬了一個簡單的下拉刷新的模板。

接下來是js部分也是最主要的部分
window.loading = function() {
    var sin = 0;
    var sel = null; //計時器
    var br = true; //判斷是否請求完所有的數據
    var bl = true; //判斷是否ios an
    var all_H; //下拉高度
    var xl_xu, sl_xu; //下拉選和上拉選
    var str;
    let box = document.getElementsByClassName('one')[0] //獲取到整個的body
    let box_childer = document.getElementsByClassName('kl')[0]
    let li = document.querySelectorAll('li') //所有的li
    box.addEventListener('touchstart', start) //摁下事件
    box.addEventListener('scroll', (e) => scrol(e)) //移動事件
    box.addEventListener('touchend', end) //摁下離開事件
    //    box.addEventListener('touchmove',move_lin)//拖拽事件
    function scrol(e) { //滾動事件
        let move_scroll = br && bl ? e.target.scrollTop : NaN
        all_H = box.clientHeight + move_scroll
        if(all_H >= e.target.scrollHeight) { //觸底了
            bl = false
            if(sin ^ 3) {
                ++sin
            } else {
                if(xl_xu) {
                    return
                }
                establish(2)
                return false
            }
            br = false
            //創建一個節點來顯示所示內容
            establish();
        }
    }
    function end() { //鼠標離開事件
        bl = true
    }
    function start(e) { //摁下事件
        bl = true
    }
    function establish(a = 0) { //創建dom加載元素
        if(a == 2) { //說明是最後一頁
            xl_xu = document.createElement('div');
            xl_xu.style.textAlign = 'center'
            xl_xu.innerHTML = '已經最後一頁了'
            box_childer.appendChild(xl_xu)
            return
        }
        if(xl_xu) { //說明有 那就先刪除
            box_childer.removeChild(xl_xu)
        }
        xl_xu = document.createElement('div')
        xl_xu.style.textAlign = 'center'
        xl_xu.innerHTML = str
        box_childer.appendChild(xl_xu)
        sel = setTimeout(() => {
            box_childer.removeChild(xl_xu)
            xl_xu = null
            clearTimeout(sel);
            let a = Array.from({length: 5}, _ =>document.createElement('li'))
            for(let i = 0;i<a.length; i++)    {
                a[i].classList.add('lis')
                box_childer.appendChild(a[i])
                }
            sel = null
            br = true
        }, 1500)
    }

    function move_lin(e) { //托轉事件
        if(!br) {
            var eve = e || event
            var touch = eve.touches[0]
            var clientW = box.scrollWidth;
            var clientH = box.clientHeight
            var start_y = (750 / clientW) * (touch.pageY) / 75 //距離當前頁面的高度
            var start_x = (750 / clientW) * (touch.pageX) / 75 //距離當前頁面的寬度
            console.log(start_y, start_x)
        }

        //        console.log('托轉了',box_childer,all_H)
    }
    (function() {
        str =`<div class="di"'>
                <div class="k">
            <li class="us"></li>
            <li class="us"></li>
            <li class="us"></li>
            <li class="us"></li>
            <li class="us"></li>
            <li class="us"></li>             這里我寫了一個下拉刷新的deom
            <li class="us"></li>
            <li class="us"></li>
            <li class="us"></li>
            <li class="us"></li>
            <li class="us"></li>
            <li class="us"></li>
            </div></div>`
    })()
}()
整個代碼的思想不是簡單意義上的根據滾動長度和實際高度做判斷,以為開頭說過ios這方面會有彈簧的一個特性,所以不能這么判斷,我這邊通過監聽摁下松開事件來多上了一層鎖,這樣更加的安全和高效。
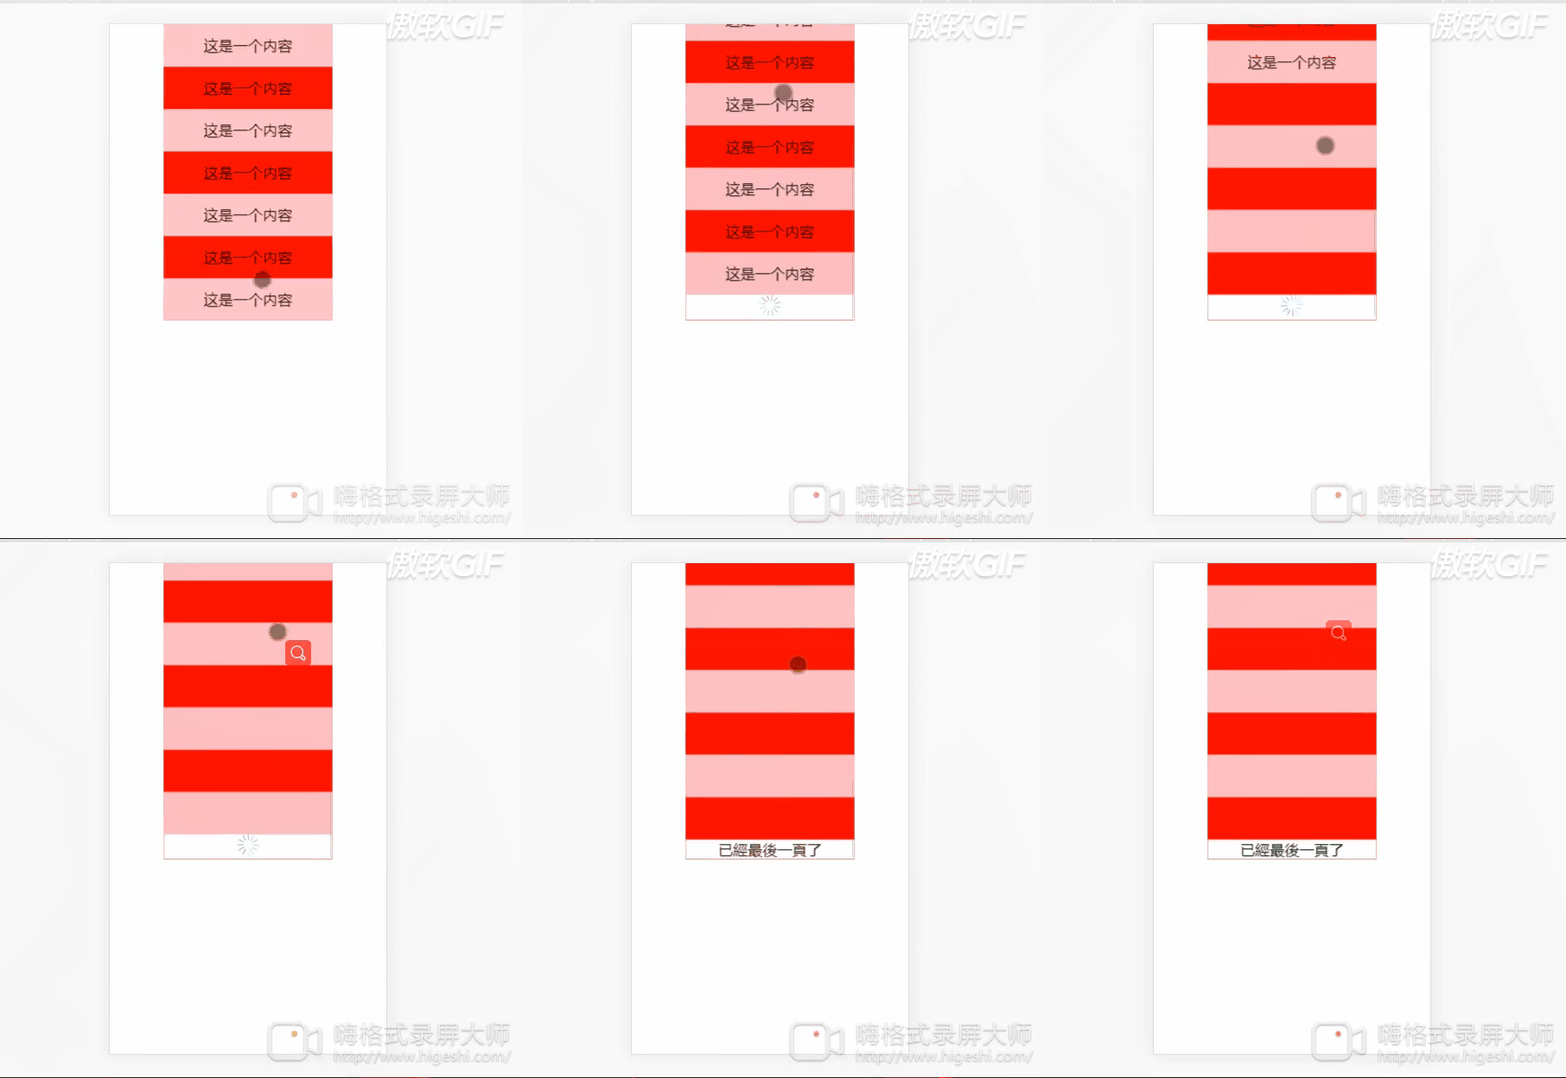
下面是我的效果演示,實際開發中可根據自己的用途來修改代碼

感謝你能夠認真閱讀完這篇文章,希望小編分享的“html5如何封裝下拉刷新”這篇文章對大家有幫助,同時也希望大家多多支持億速云,關注億速云行業資訊頻道,更多相關知識等著你來學習!
免責聲明:本站發布的內容(圖片、視頻和文字)以原創、轉載和分享為主,文章觀點不代表本網站立場,如果涉及侵權請聯系站長郵箱:is@yisu.com進行舉報,并提供相關證據,一經查實,將立刻刪除涉嫌侵權內容。