您好,登錄后才能下訂單哦!
您好,登錄后才能下訂單哦!
這篇文章主要講解了“CSS3怎么制作氣泡對話框”,文中的講解內容簡單清晰,易于學習與理解,下面請大家跟著小編的思路慢慢深入,一起來研究和學習“CSS3怎么制作氣泡對話框”吧!
創建一個100%CSS的氣泡,我們從下面的標記考試。
XML/HTML Code復制內容到剪貼板
<div class="speech-bubble">Hi there!</div>
接下來,應用一些基本樣式。
CSS Code復制內容到剪貼板
.speech-bubble {
position: relative;
background-color: #292929;
width: 200px;
height: 150px;
line-height: 150px; /* 垂直居中 */
color: white;
text-align: center;
}
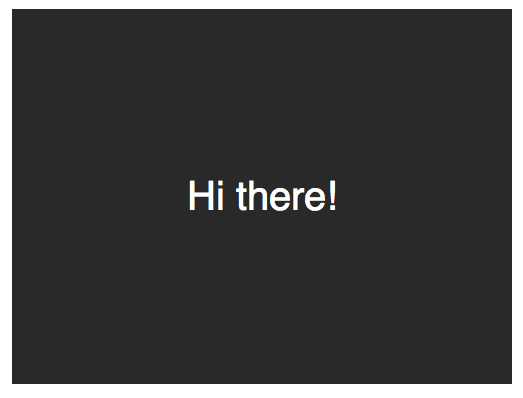
箭頭將通過after偽元素實現。
CSS Code復制內容到剪貼板
.speech-bubble:after {
content: '';
}
:before和:after偽元素可以用來在元素內容之前或之后插入生成內容。 接下來,只是簡單復制箭頭,并定位到適當的位置。我們開始通過絕對定位的內容,重置寬度和高度,并應用邊界顏色。
.speech-bubble:after {
content: '';
position: absolute;
width: 0;
height: 0;
border: 10px solid;
border-color: red green blue yellow;
}
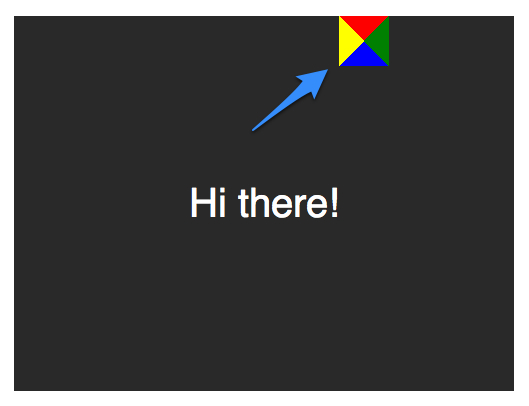
因為我們知道我們想要向下的箭頭,上面的圖片表明,除了紅色(或上)邊境其他的都應該被省略,或者設置為透明。
CSS Code復制內容到剪貼板
.speech-bubble:after {
content: '';
position: absolute;
width: 0;
height: 0;
border: 10px solid;
border-top-color: red;
}
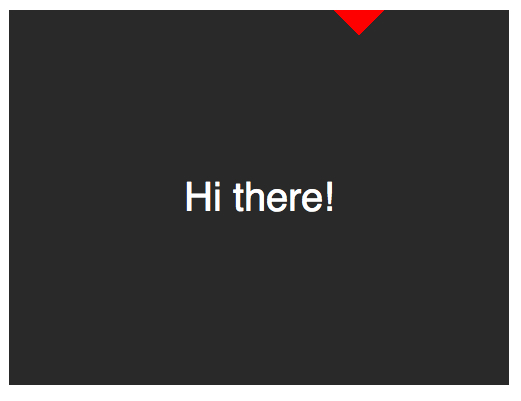
當創建CSS形狀是,因為我們不能使用width屬性來指定箭頭的寬度,而是應該使用border-width屬性。在這種情況下,箭頭應該更大點;所以border-width可以增加到15px。我們將箭頭定位到容器的底部居中,通過利用top和left屬性。
CSS Code復制內容到剪貼板
.speech-bubble:after {
content: '';
position: absolute;
width: 0;
height: 0;
border: 15px solid;
border-top-color: red;
top: 100%;
left: 50%;
}
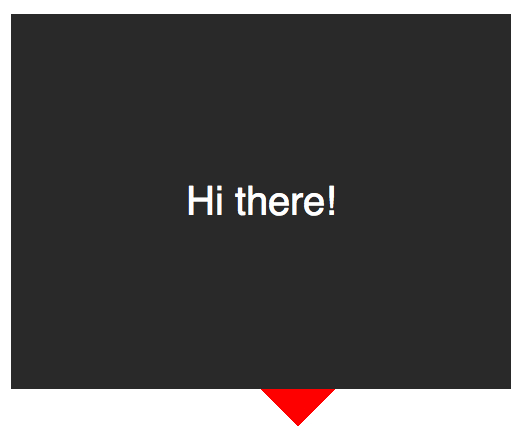
到這里就差不多了;最后一個步驟是更新箭頭的顏色和容器的背景顏色相同。定位也需要修改,根據邊界的寬度(15 px)。當我們在這里,我們還將應用一個微妙border-radius屬性來使容器更像氣泡。
CSS Code復制內容到剪貼板
.speech-bubble {
/* … 其他樣式 */
border-radius: 10px;
}
.speech-bubble:after {
content: '';
position: absolute;
width: 0;
height: 0;
border: 15px solid;
border-top-color: #292929;
top: 100%;
left: 50%;
margin-left: -15px; /* 調整邊框寬度 */
}
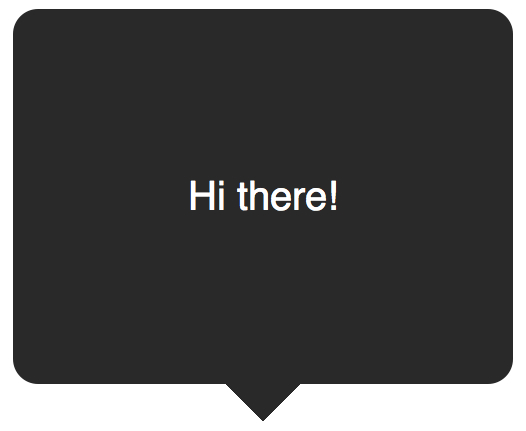
不錯,不是嗎?將這代碼抽象為幾個可重用的類,好應用到你將來的項目。
CSS Code復制內容到剪貼板
/*
對話氣泡
用法:使用.speech-bubble和.speech-bubble-DIRECTION類
<div class="speech-bubble speech-bubble-top">Hi there</div>
*/
.speech-bubble {
position: relative;
background-color: #292929;
width: 200px;
height: 150px;
line-height: 150px; /* 垂直居中 */
color: white;
text-align: center;
border-radius: 10px;
font-family: sans-serif;
}
.speech-bubble:after {
content: '';
position: absolute;
width: 0;
height: 0;
border: 15px solid;
}
/* 箭頭的位置 */
.speech-bubble-top:after {
border-bottom-color: #292929;
left: 50%;
bottombottom: 100%;
margin-left: -15px;
}
.speech-bubble-rightright:after {
border-left-color: #292929;
left: 100%;
top: 50%;
margin-top: -15px;
}
.speech-bubble-bottombottom:after {
border-top-color: #292929;
top: 100%;
left: 50%;
margin-left: -15px;
}
.speech-bubble-left:after {
border-right-color: #292929;
top: 50%;
rightright: 100%;
margin-top: -15px;
}

補充:更好的垂直居中
使用line-height實現垂直居中的一個缺點是僅限于一行。當文本需要兩行或兩行以上時,每一行的高度將會太大。一個聰明的解決辦法是設置氣泡的display屬性為table,和包裝段落文本的display為table-cell。這就允許我們將文本設為垂直居中。
XML/HTML Code復制內容到剪貼板
<div class="speech-bubble speech-bubble-top">
<p>Text goes here.</p>
</div>
接下來,修改CSS。
CSS Code復制內容到剪貼板
.speech-bubble {
/* 其他樣式 */
display: table;
}
.speech-bubble p {
display: table-cell;
vertical-align: middle;
}
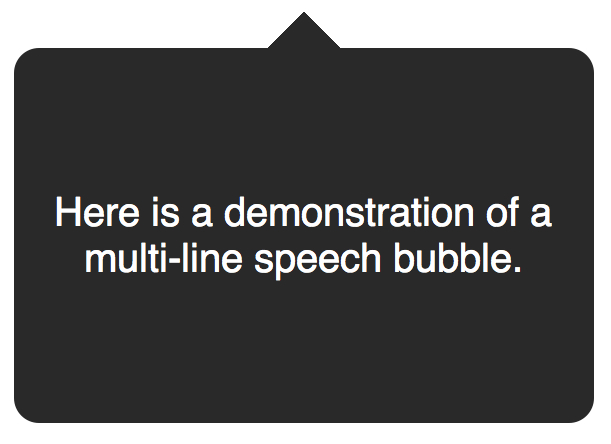
如果引用display: table 帶來可怕的表格布局的老式回憶,別擔心。這些屬性是指顯示一個元素的樣式。
我們不局限于三角形;CSS能產生各種各樣的形狀,甚至心和生物危害標志!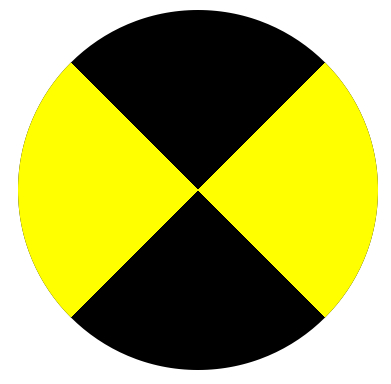
CSS Code復制內容到剪貼板
.biohazard {
width: 0; height: 0;
border: 60px solid;
border-radius: 50%;
border-top-color: black;
border-bottom-color: black;
border-left-color: yellow;
border-right-color: yellow;
}
感謝各位的閱讀,以上就是“CSS3怎么制作氣泡對話框”的內容了,經過本文的學習后,相信大家對CSS3怎么制作氣泡對話框這一問題有了更深刻的體會,具體使用情況還需要大家實踐驗證。這里是億速云,小編將為大家推送更多相關知識點的文章,歡迎關注!
免責聲明:本站發布的內容(圖片、視頻和文字)以原創、轉載和分享為主,文章觀點不代表本網站立場,如果涉及侵權請聯系站長郵箱:is@yisu.com進行舉報,并提供相關證據,一經查實,將立刻刪除涉嫌侵權內容。