您好,登錄后才能下訂單哦!
您好,登錄后才能下訂單哦!
小編給大家分享一下如何實現Vue.js中Line第三方登錄api,希望大家閱讀完這篇文章后大所收獲,下面讓我們一起去探討方法吧!
國際化的項目就會用用到一些第三方的登錄api,這次記錄一下Line 的!
按步驟來:
注冊Line賬號就不說了,雖然麻煩,這就自己去想辦法了!
demo 請狠狠的戳這里 http://download.lllomh.com/cliect/#/product/J417081951162505
一:開發者平臺配置
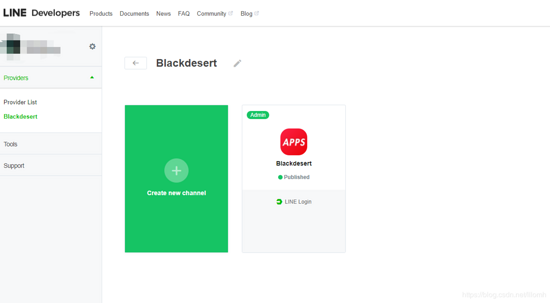
去Line 的開發者平臺 新建一個App:
https://developers.line.biz/en/
 ​
​
 ​
​
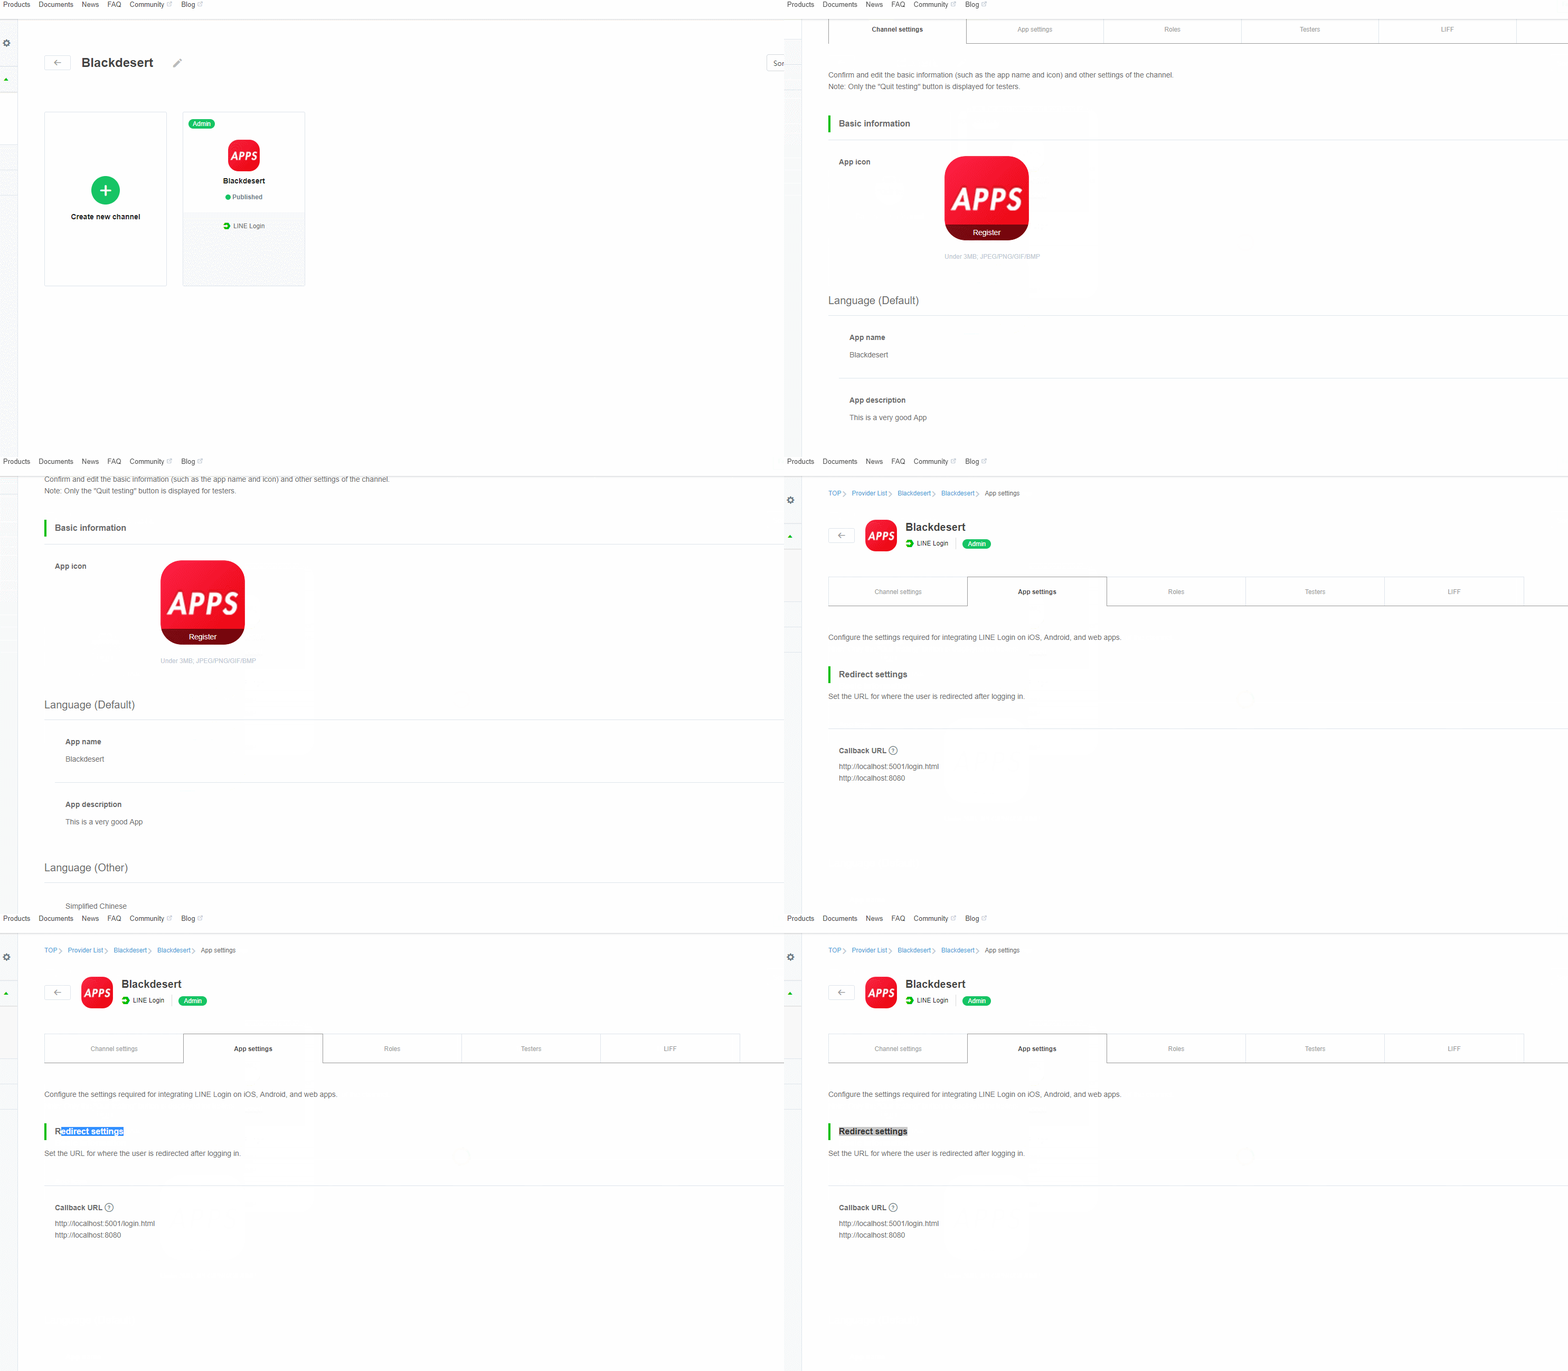
順便寫好資料:
 ​
​
動態演示:
 ​
​
這要 用到的 就是2個:
Channel ID 跟 Channel secret 對應
'client_id'  => '5431649755',
'client_secret'=> '234b6e64c13285e6d058ff7b1bbc8e'
關鍵是這里的重定向地址要填(幾乎所有第三方都要):
 ​
​
二:代碼部署
核心獲取第三方的部分
壹:組件封裝:
1,起始:這里就
const { code } = queryString.parse(window.location.search.replace('?', ''))

      if(!code) return
這里 頁面回調刷新的時候發現url 有這個code 這個值的話 就執行獲取 token 的方法,反之不執行:
async created() {
      const { code } = queryString.parse(window.location.search.replace('?', ''))

      if(!code) return

      const result = await this.getToken(code)

      const { data } = await this.getProfile(result.token)

      if(this.friendRequired) {
        const flag = await this.checkFriend(result.token)

        if(!flag) {
          this.error = this.friendErrorTest
        }
      }

      if(!this.error) {
        const response = Object.assign(data, result.getPostable())
        this.$emit('result', response)
      }
    },
async getToken(code) {
const result = new OAuthRequest({
code: code,
clientId: this.clientId,
clientSecret: this.clientSecret,
redirectUri: this.callbackUri
})
const params = new URLSearchParams()
linq.from(result.getPostable()).select(x => params.append(x.key, x.value)).toArray()
const { data } = await axios.post('https://api.line.me/oauth3/v2.1/token', params)
console.log(data,"data")// 這里拿到返回的第三方的結果個人信息
return new OAuthResult(data)
},貳:組件封裝:
1,組件使用:
除了 那個 三個參數,其他的一些 就看著修改整合吧
<template>
 <div id="app">
   <line-login-button
       :client-id="clientId"
       :client-secret="clientSecret"
       :callback-uri="callbackUri"
       @result="result"
       add-friend
       friend-required></line-login-button>
   1232131
 </div>
</template>
<script>
import LineLoginButton from './components/LineLoginButton'
export default {
data() {
return {
clientId: '2323649755',
clientSecret: '323128b6e64c13285e6d058ff7b1bbc8e',
callbackUri: 'http://localhost:8080' //這里要跟開發者平臺中填寫的一致
}
},
// created() {
// this.clientId = process.env.VUE_APP_LINE_CLIENT_ID
// this.clientSecret = process.env.VUE_APP_LINE_CLIENT_SECRET
// this.callbackUri = process.env.VUE_APP_LINE_CALLBACK_URL
// },
components: {
LineLoginButton
},
methods: {
result(res) {
console.log(res)
}
}
}
</script>
<style>
#app {
font-family: 'Avenir', Helvetica, Arial, sans-serif;
-webkit-font-smoothing: antialiased;
-moz-osx-font-smoothing: grayscale;
text-align: center;
color: #2c3e50;
}
#nav {
padding: 30px;
}
#nav a {
font-weight: bold;
color: #2c3e50;
}
#nav a.router-link-exact-active {
color: #42b983;
}
</style>記得安裝 這個插件所需的插件:
import queryString from 'querystring'
  import axios from 'axios'
  import OAuthRequest from '../Entities/OAuthRequest'
  import linq from 'linq'
  import OAuthResult from '../Entities/OAuthResult'
結果:
 ​
​
 ​
​
看完了這篇文章,相信你對如何實現Vue.js中Line第三方登錄api有了一定的了解,想了解更多相關知識,歡迎關注億速云行業資訊頻道,感謝各位的閱讀!
免責聲明:本站發布的內容(圖片、視頻和文字)以原創、轉載和分享為主,文章觀點不代表本網站立場,如果涉及侵權請聯系站長郵箱:is@yisu.com進行舉報,并提供相關證據,一經查實,將立刻刪除涉嫌侵權內容。