您好,登錄后才能下訂單哦!
您好,登錄后才能下訂單哦!
這篇文章將為大家詳細講解有關使用SpringBoot如何實現注冊與發現服務,文章內容質量較高,因此小編分享給大家做個參考,希望大家閱讀完這篇文章后對相關知識有一定的了解。
微服務
實踐“微服務”自然要學習如何做服務注冊與發現
基于SpringBoot來進行微服務的學習,自然選擇了與之息息相關的SpringCloud;當然可以選擇其他的技術進行,比如dubbo
也可以用zookeeper來實現服務注冊與發現,至于zookeeper來實現此功能好還是不好,各家之言都有
SpringCloud
Spring Cloud provides tools for developers to quickly build some of the common patterns in distributed systems .SpringCloud
SpringCloud 包含了 Distributed/versioned configuration、Distributed/versioned configuration等很多子項目。
服務注冊與發現
SpringCloud模塊
spring-cloud-starter-eureka-server
工程module
服務注冊中心
創建discovery module,并在 build.gradle中引入 spring-cloud-starter-eureka-server依賴
apply plugin: 'org.springframework.boot'

dependencyManagement {
  imports {
    mavenBom "org.springframework.cloud:spring-cloud-dependencies:"+ springCloudVersion
  }
}
repositories {
  mavenCentral()
}
dependencies {
  compile ('org.springframework.cloud:spring-cloud-starter-eureka-server')
}
jar {
  baseName = 'discovery-bootcwenao'
}
通過注解 @EnableEurekaServer 提供注冊中心服務
/**
 * @author cwenao
 * @version $Id DiscoveryBootcwenaoApplication.java, v 0.1 2017-01-12 9:56 cwenao Exp $$
 */
@EnableEurekaServer
@SpringBootApplication
public class DiscoveryBootcwenaoApplication {
  public static void main(String[] args) {
    new SpringApplicationBuilder(DiscoveryBootcwenaoApplication.class).web(true).run(args);
  }
}
application.yml 配置eureka屬性
server:
 port: 8761
eureka:
 instance:
  hostname: discovery
 client:
  registerWithEureka: false
  fetchRegistry: false
  service-url:
   defaultZone: http://discovery:${server.port}/eureka/
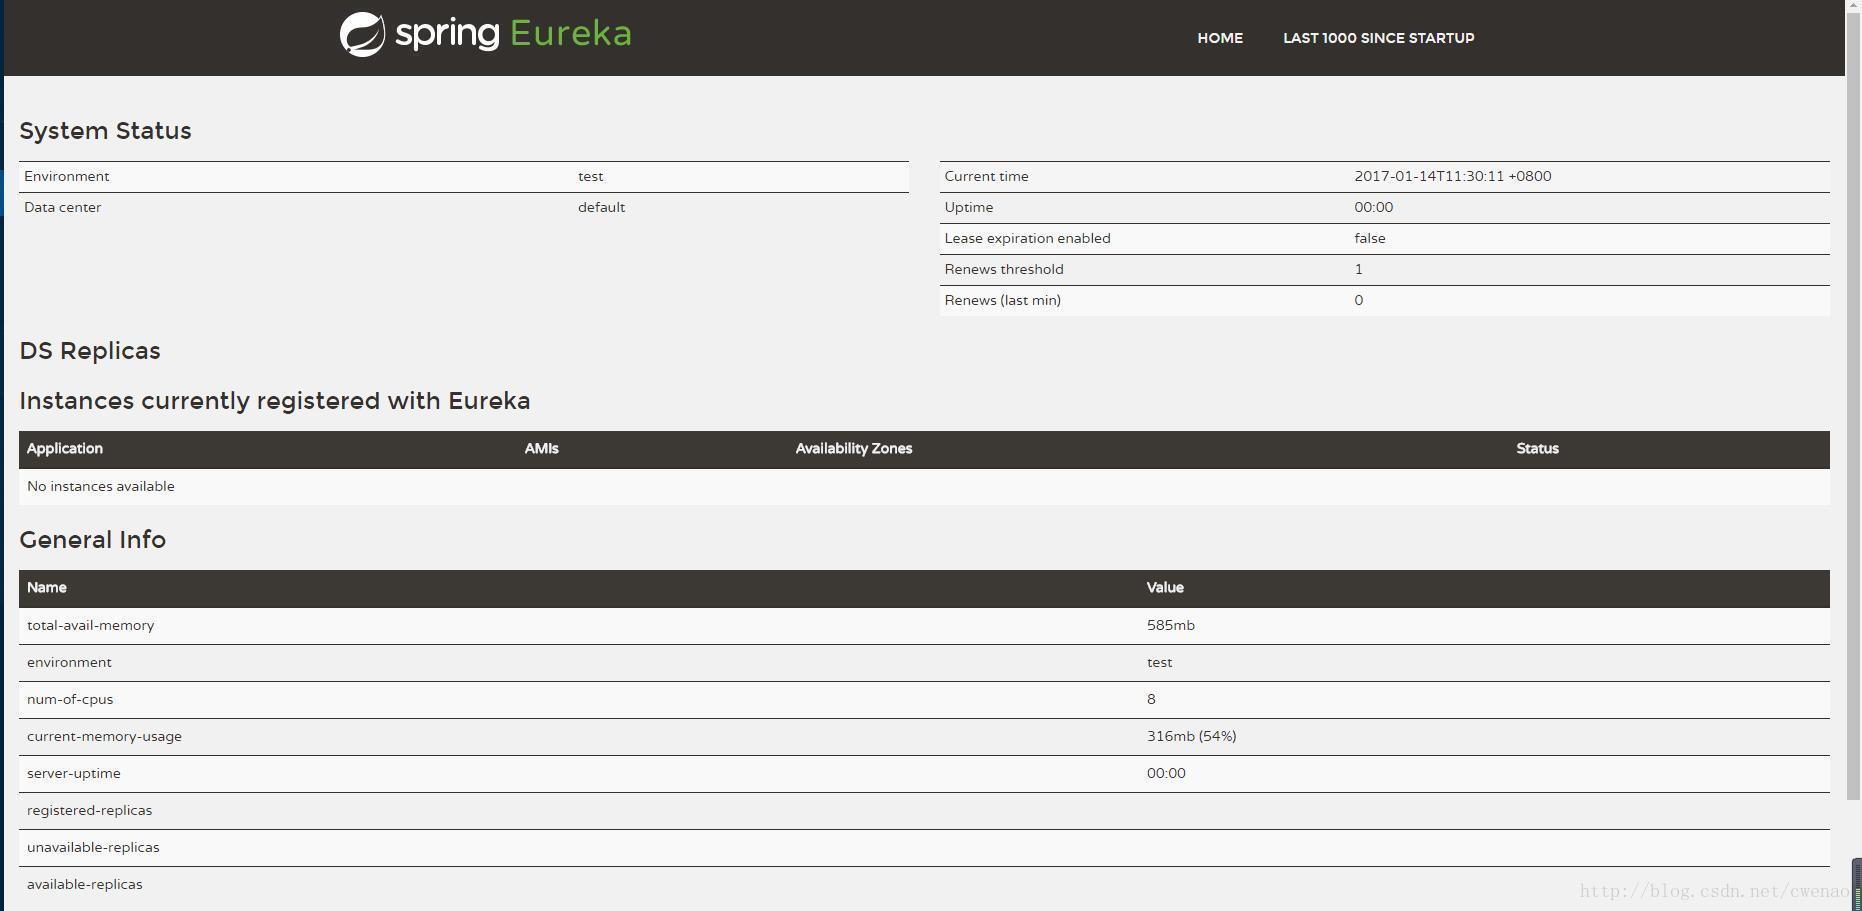
訪問 http://localhost:8761

服務注冊
創建服務module, 在build.gradle中引入 spring-cloud-starter-eureka
apply plugin: 'org.springframework.boot'
dependencyManagement {
  imports {
    mavenBom "org.springframework.cloud:spring-cloud-dependencies:"+ springCloudVersion
  }
}

dependencies {
  compile('org.springframework.cloud:spring-cloud-starter-eureka')
  compile('org.springframework.cloud:spring-cloud-stream')
}
sourceSets {
  main {
    resources.srcDirs = ['src/main/resources', 'src/main/java']
    resources.includes = ['**/*.xml', '**/*.yml']
  }
}
jar {
  baseName = 'apigateway-bootcwenao'
}
通過注解 @EnableDiscoveryClient 進行服務注冊
@SpringBootApplication
@EnableDiscoveryClient
public class ApiGatewayBootcwenaoApplication {
  public static void main(String[] args) {
    SpringApplication.run(ApiGatewayBootcwenaoApplication.class, args);
  }
}
application.yml 配置eureka屬性
server:
 port: 10002
spring:
 application:
  name: apigateway
eureka:
 client:
  registerWithEureka: true
  fetchRegistry: true
  serviceUrl:
   defaultZone: http://localhost:8761/eureka/
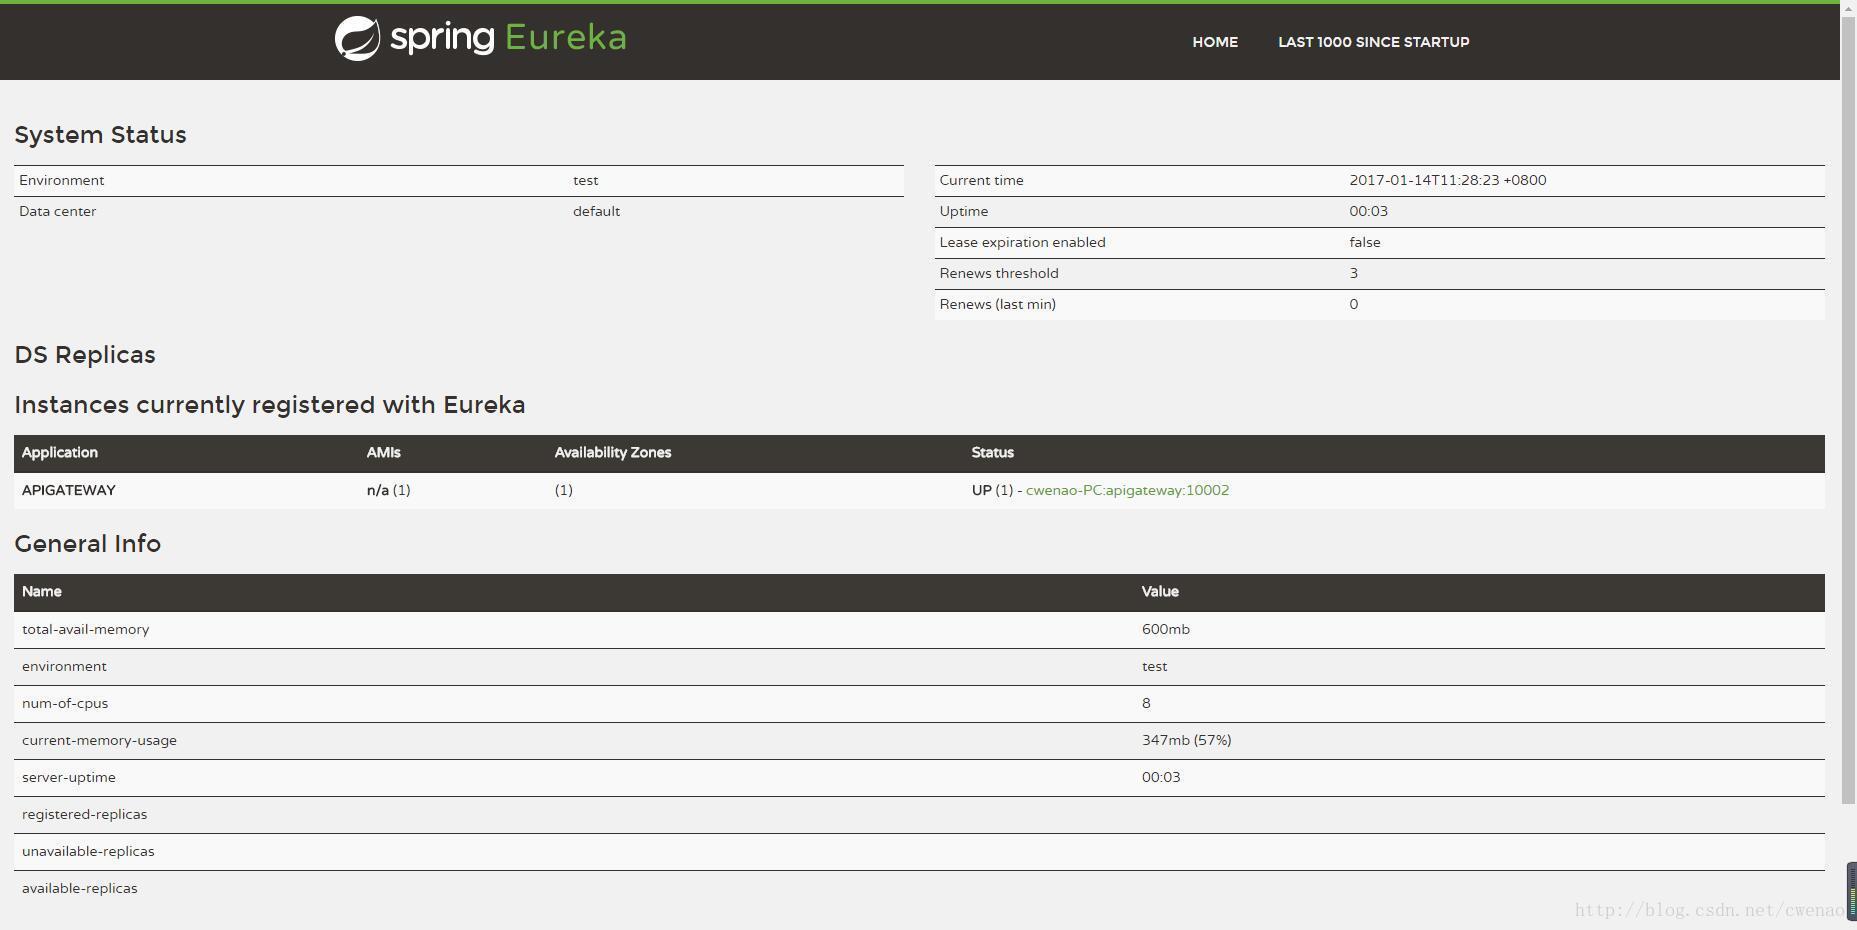
注冊完成后,可以通過 spring.application.name 的配置來訪問該服務
訪問 http://localhost:8761 發現服務已經在注冊中心上注冊

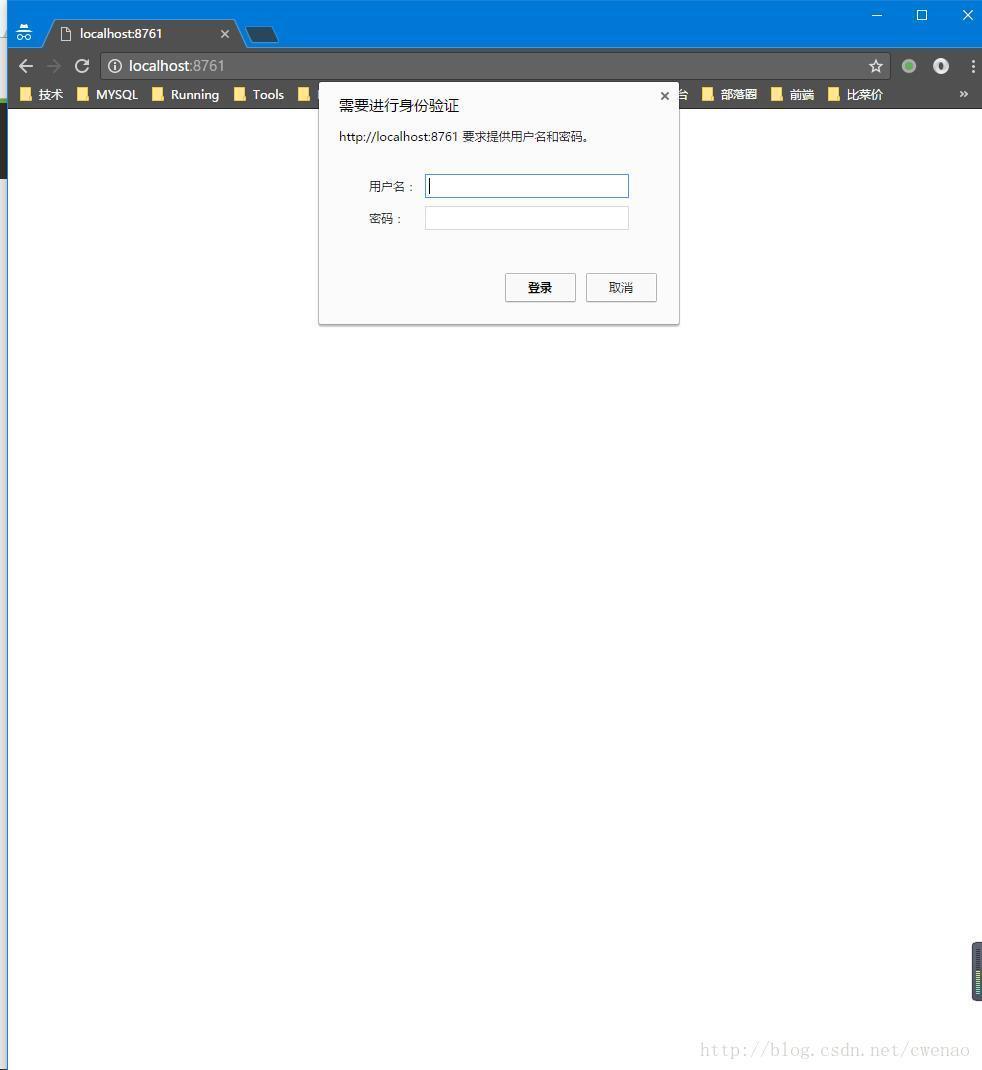
服務注冊中心啟用用戶名密碼
通過配置applicaiton.yml用戶名密碼
security:
 basic:
  enabled: true
 user:
  name: aa
  password: abcd
配置服務提供方application.yml
eureka:
 instance:
  hostname: configserver
  prefer-ip-address: true
 client:
  registerWithEureka: true
  fetchRegistry: true
  service-url:
   defaultZone: http://aa:abcd@localhost:8761/eureka/

關于使用SpringBoot如何實現注冊與發現服務就分享到這里了,希望以上內容可以對大家有一定的幫助,可以學到更多知識。如果覺得文章不錯,可以把它分享出去讓更多的人看到。
免責聲明:本站發布的內容(圖片、視頻和文字)以原創、轉載和分享為主,文章觀點不代表本網站立場,如果涉及侵權請聯系站長郵箱:is@yisu.com進行舉報,并提供相關證據,一經查實,將立刻刪除涉嫌侵權內容。