溫馨提示×
您好,登錄后才能下訂單哦!
點擊 登錄注冊 即表示同意《億速云用戶服務條款》
您好,登錄后才能下訂單哦!
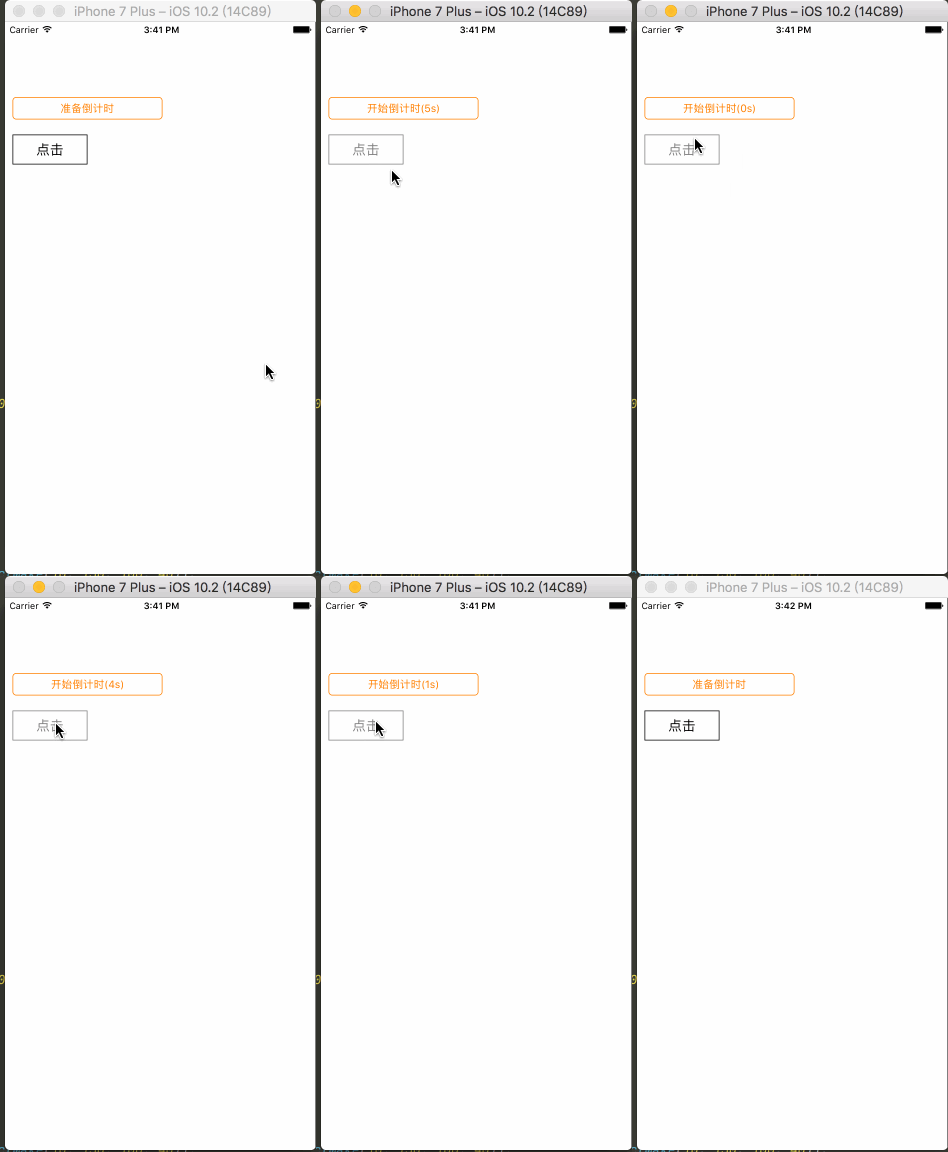
本文實例為大家分享了iOS倒計時的具體實現代碼,供大家參考,具體內容如下
效果

用法
1.導入Timer.h/.m文件
2.所需界面導入頭文件 #import “Timer.h”,其他設置參考源碼
源碼
github:https://github.com/makingitbest/CountDownTimer
細節
#import "ViewController.h"
#import "Timer.h"

@interface ViewController ()<TimerDelegate>

@property (nonatomic, strong) UIButton *button;
@property (nonatomic, strong) Timer *timer;

@end

@implementation ViewController

- (void)viewDidLoad {

 [super viewDidLoad];

 // 倒計時界面
 self.timer   = [[Timer alloc] initWithFrame:CGRectMake(10, 100, 200, 30)];
 self.timer.delegate = self; // 記得遵守代理
 self.timer.sceonds = 5;
 self.timer.layer.borderWidth = 1;
 self.timer.layer.cornerRadius = 5;
 self.timer.layer.borderColor = [UIColor orangeColor].CGColor;
 self.timer.label.font   = [UIFont systemFontOfSize:14];
 self.timer.label.textColor = [UIColor orangeColor];
 [self.view addSubview:self.timer];

 self.button     = [[UIButton alloc] initWithFrame:CGRectMake(10, 150, 100, 40)];
 self.button.layer.borderWidth = 1.0f;
 self.button.layer.borderColor = [UIColor blackColor].CGColor;
 [self.button setTitle:@"點擊" forState:UIControlStateNormal];
 [self.button setTitleColor:[UIColor blackColor] forState:UIControlStateNormal];
 [self.button setTitleColor:[UIColor redColor] forState:UIControlStateHighlighted];
 [self.button setTitleColor:[UIColor grayColor] forState:UIControlStateDisabled];
 [self.view addSubview:self.button];
 [self.button addTarget:self action:@selector(buttonEvent) forControlEvents:UIControlEventTouchUpInside];
}

- (void)buttonEvent {

 // 啟動倒計時的方法,啟動之后設置button點擊失效
 [self.timer timerStart];
 self.button.enabled = NO;
 self.button.layer.borderColor = [UIColor grayColor].CGColor;
}

- (void)timerFinished:(Timer *)timer {

 // 計時完成之后,button恢復點擊
 self.button.enabled = YES;
 self.button.layer.borderColor = [UIColor blackColor].CGColor;
}

@end
以上就是本文的全部內容,希望對大家的學習有所幫助,也希望大家多多支持億速云。
免責聲明:本站發布的內容(圖片、視頻和文字)以原創、轉載和分享為主,文章觀點不代表本網站立場,如果涉及侵權請聯系站長郵箱:is@yisu.com進行舉報,并提供相關證據,一經查實,將立刻刪除涉嫌侵權內容。