溫馨提示×
您好,登錄后才能下訂單哦!
點擊 登錄注冊 即表示同意《億速云用戶服務條款》
您好,登錄后才能下訂單哦!
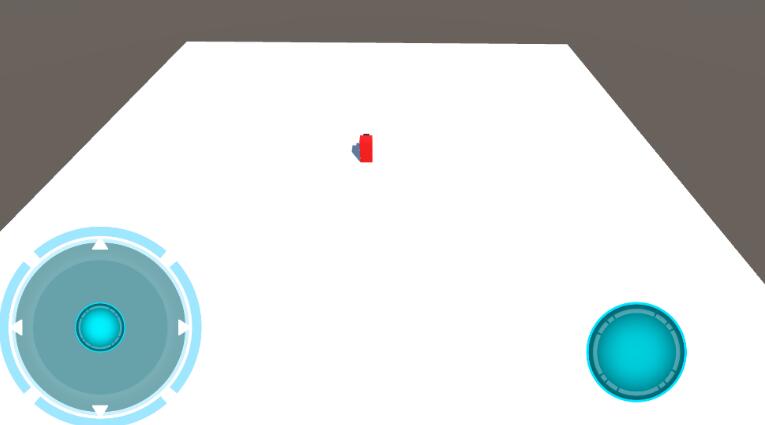
這篇文章主要講解了unity實現虛擬搖桿控制Virtual Joystick的方法,內容清晰明了,對此有興趣的小伙伴可以學習一下,相信大家閱讀完之后會有幫助。

using UnityEngine;
using UnityEngine.UI;

public class TouchJoystick : MonoBehaviour
{

  public GameObject go;//需要通過虛擬搖桿控制的目標物體
  public float moveSpeed = 3;//移動速度

  public Image touchPoint;//搖桿軸對象

  private Vector3 OriginalPos_TP;//搖桿軸的初始位置
  private RectTransform rectTransform_TP;//搖桿軸的位置組件

  private float radius;//搖桿軸移動的最大半徑

  void Start()
  {
    radius = this.GetComponent<RectTransform>().rect.width*0.5f;
    rectTransform_TP = touchPoint.GetComponent<RectTransform>();
    OriginalPos_TP = rectTransform_TP.position;
  }

  void Update()
  {
    //第一次觸摸屏幕時,整個虛擬搖桿的位置更新
    if (Input.GetMouseButtonDown(0))
    {
      this.GetComponent<RectTransform>().position = Input.mousePosition;
      OriginalPos_TP = rectTransform_TP.position;
    }

    if (Input.GetMouseButton(0))
    {
      //取得觸摸點與虛擬軸初始點的距離
      float distance = Vector3.Distance(Input.mousePosition, OriginalPos_TP);
      //取得一個初始軸點指向觸摸點的向量
      Vector3 pos = Input.mousePosition - OriginalPos_TP;
      //如果距離大于可移動半徑
      if (distance > radius)
        rectTransform_TP.position = OriginalPos_TP + pos.normalized*radius;//設置軸點到最大半徑位置
      else
        rectTransform_TP.position = Input.mousePosition;//否則軸點在當前觸摸位置

      //以(0,1,0)為參考點,計算單位軸向量與之夾角
      float angle = Vector3.Angle(new Vector3(0, 1, 0), new Vector3(pos.normalized.x, pos.normalized.y, 0));
      //移動物體
      go.transform.Translate(new Vector3(0, 0, pos.normalized.magnitude*moveSpeed)*Time.deltaTime);
      //更新控制物體的旋轉與軸向方向一致
      if (pos.normalized.x > 0)
        go.transform.rotation = Quaternion.AngleAxis(angle, Vector3.up);
      else
        go.transform.rotation = Quaternion.AngleAxis(-angle, Vector3.up);
    }
    else
      rectTransform_TP.position = OriginalPos_TP;//沒有觸摸時回到初始位置
  }
}
看完上述內容,是不是對unity實現虛擬搖桿控制Virtual Joystick的方法有進一步的了解,如果還想學習更多內容,歡迎關注億速云行業資訊頻道。
免責聲明:本站發布的內容(圖片、視頻和文字)以原創、轉載和分享為主,文章觀點不代表本網站立場,如果涉及侵權請聯系站長郵箱:is@yisu.com進行舉報,并提供相關證據,一經查實,將立刻刪除涉嫌侵權內容。