您好,登錄后才能下訂單哦!
您好,登錄后才能下訂單哦!
使用Angular4怎么實現組件通訊?相信很多沒有經驗的人對此束手無策,為此本文總結了問題出現的原因和解決方法,通過這篇文章希望你能解決這個問題。
1.父→子 input
parent.ts
import { Component } from '@angular/core';

@Component({
 selector: 'page-parent',
 templateUrl: 'parent.html',
})
export class ParentPage {
 i: number = 0;
 constructor() {
  setInterval(() => {
   this.i++;
  }, 1000)
 }
}
parent.html
<ion-header>
 <ion-navbar>
  <ion-title>Parent</ion-title>
 </ion-navbar>
</ion-header>

<ion-content padding>
 <h3>Parent</h3>
 <page-child [content]="i"></page-child>
</ion-content>
child.ts
import { Component,Input } from '@angular/core';

@Component({
 selector: 'page-child',
 templateUrl: 'child.html',
})
export class ChildPage {
@Input() content:string;
 constructor() {
 }
}
child.html
<ion-content padding>
child:{{content}}
</ion-content>
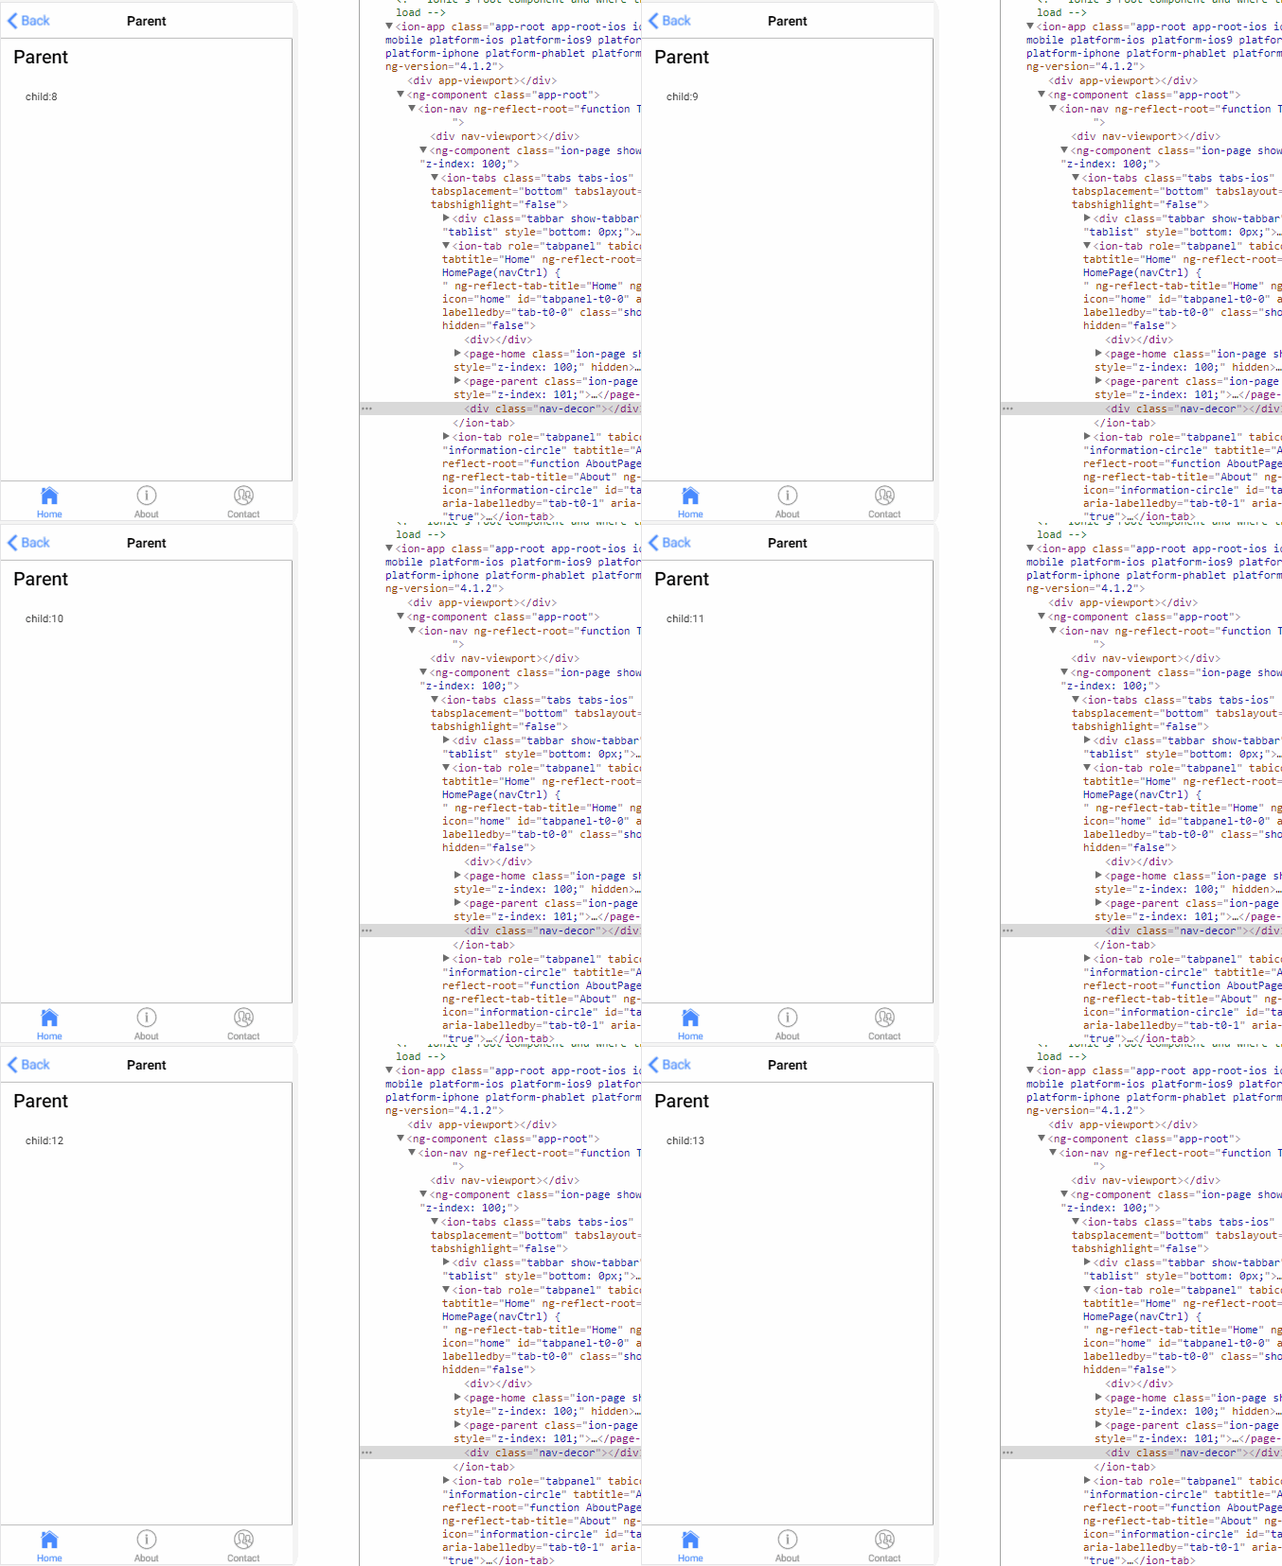
結果:
2.子→父 output
parent.ts
import { Component } from '@angular/core';

@Component({
 selector: 'page-parent',
 templateUrl: 'parent.html',
})
export class ParentPage {
 i: number = 0;

 numberIChange(i:number){
   this.i = i;
 }
}
parent.html
<ion-header>
 <ion-navbar>
  <ion-title>Parent</ion-title>
 </ion-navbar>
</ion-header>

<ion-content padding>
 <h3>Parent:{{i}}</h3>
 <page-child (changeNumber)="numberIChange($event)"></page-child>
</ion-content>
child.ts
import { Component, EventEmitter, Output } from '@angular/core';

@Component({
 selector: 'page-child',
 templateUrl: 'child.html',
})

export class ChildPage {
 @Output() changeNumber: EventEmitter<number> = new EventEmitter();
 Number: number = 0;
 constructor() {
  setInterval(() => {
   this.changeNumber.emit(++this.Number);
  }, 1000)
 }
}
child.html
<ion-content padding>
   child
</ion-content>
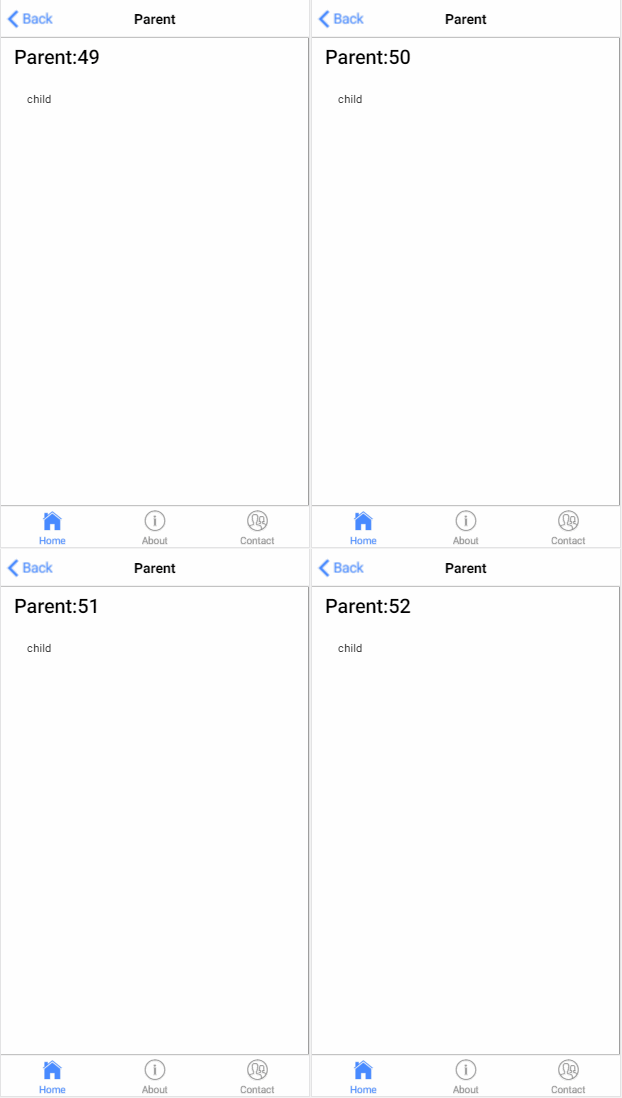
結果:
3.子獲得父實例
parent.ts
import { Component } from '@angular/core';

@Component({
 selector: 'page-parent',
 templateUrl: 'parent.html',
})
export class ParentPage {
 i:number = 0;
}
parent.html
<ion-header>
 <ion-navbar>
  <ion-title>Parent</ion-title>
 </ion-navbar>
</ion-header>

<ion-content padding>
 <h2>parent: {{i}}</h2>
 <page-child></page-child>
</ion-content>
child.ts
import { Component, Input, EventEmitter, Output,Host,Inject,forwardRef } from '@angular/core';
import{ParentPage} from '../parent/parent';
@Component({
 selector: 'page-child',
 templateUrl: 'child.html',
})
export class ChildPage {
  constructor( @Host() @Inject(forwardRef(() => ParentPage)) app: ParentPage) {
    setInterval(() => {
      app.i++;
    }, 1000);
  }
}
child.html
<ion-content padding>
 child
</ion-content>
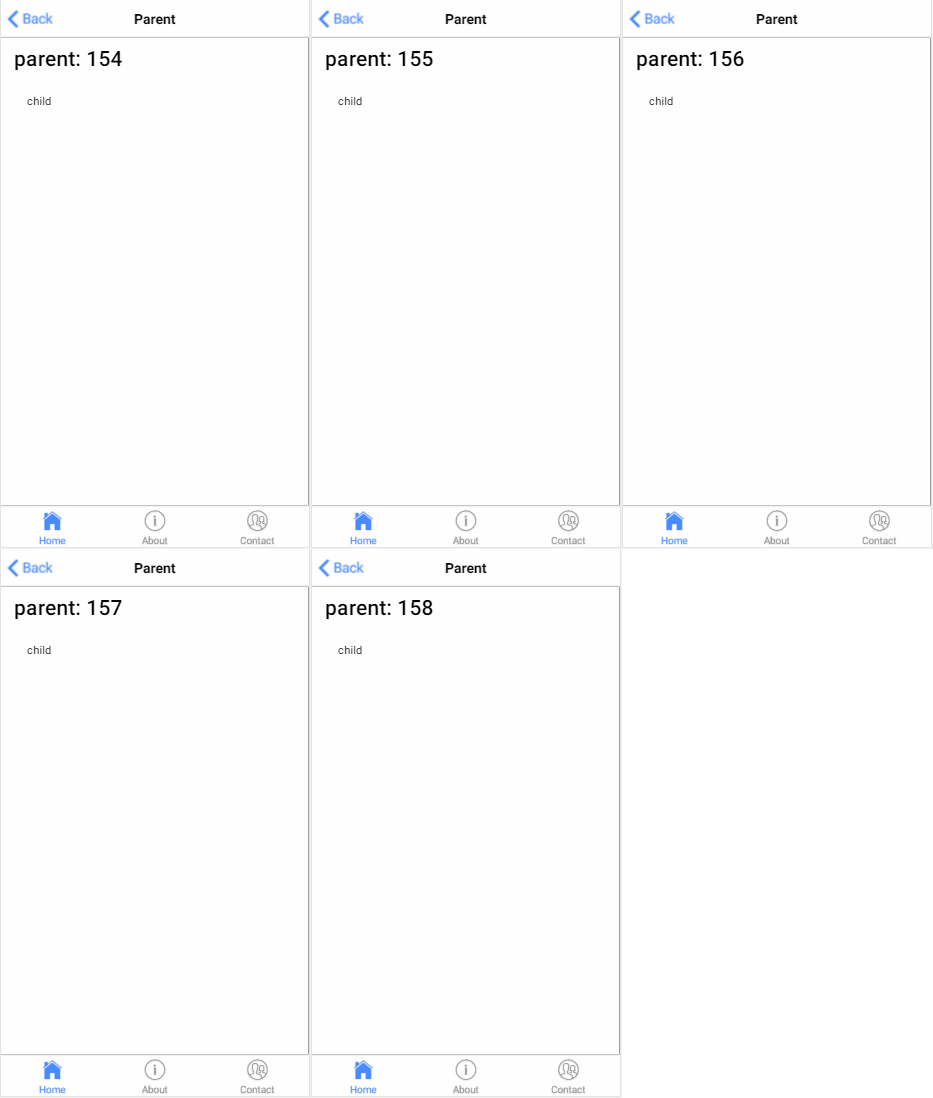
結果:
4.父獲得子實例
parent.ts
import {ViewChild, Component } from '@angular/core';
import{ChildPage}from '../child/child';

@Component({
 selector: 'page-parent',
 templateUrl: 'parent.html',
})
export class ParentPage {
 @ViewChild(ChildPage) child:ChildPage;
  ngAfterViewInit() {
    setInterval(()=> {
      this.child.i++;
    }, 1000)
  }
}
parent.html
<ion-header>
 <ion-navbar>
  <ion-title>Parent</ion-title>
 </ion-navbar>
</ion-header>

<ion-content padding>
 <h2>parent {{i}}</h2>
 <page-child></page-child>
</ion-content>
child.ts
import { Component, Input, EventEmitter, Output,Host,Inject,forwardRef } from '@angular/core';


@Component({
 selector: 'page-child',
 templateUrl: 'child.html',
})
export class ChildPage {
  i:number = 0;
}
child.html
<ion-content padding>
<h3>child {{i}}</h3>
</ion-content>
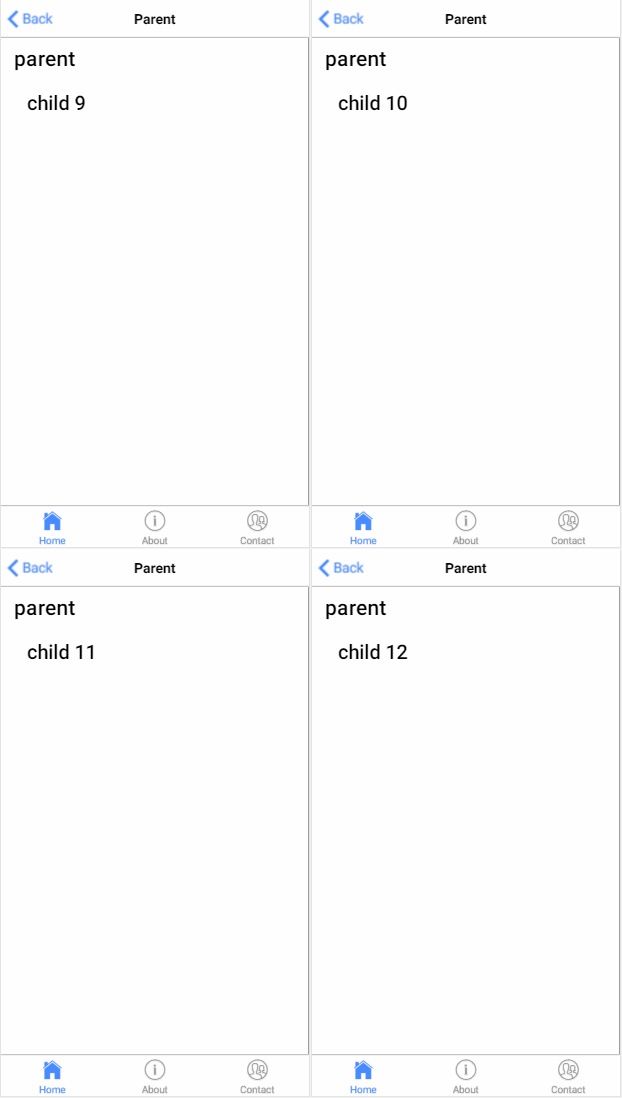
結果:
5.service
parent.ts
import { Component } from '@angular/core';
import{myService}from '../child/myService'

@Component({
 selector: 'page-parent',
 templateUrl: 'parent.html',
})
export class ParentPage {

   i:number=0;

  constructor(service:myService) {
    setInterval(()=> {
      service.i++;
    }, 1000)
  }
}
parent.html
<ion-header>
 <ion-navbar>
  <ion-title>Parent</ion-title>
 </ion-navbar>
</ion-header>

<ion-content padding>
  <h2>parent {{i}}</h2>
  <page-child></page-child>
</ion-content>
child.ts
import { Component} from '@angular/core';
import{myService}from "../child/myService"
@Component({
 selector: 'page-child',
 templateUrl: 'child.html',
})
export class ChildPage {
  constructor(public service:myService){
  }
}
child.html
<ion-content padding>
<h3>child {{service.i}}</h3>
</ion-content>
myService.ts
ps:記得在app.module.ts 加上providers: [KmyService]
import{Injectable } from '@angular/core';
@Injectable()
export class KmyService {
  i:number = 0;
}
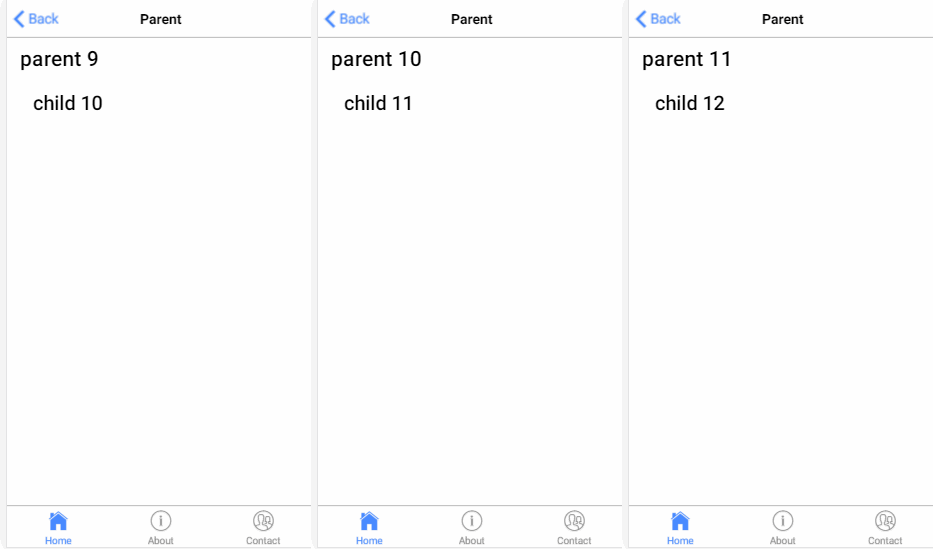
結果:
6.EventEmitter
myService.ts
import {Component,Injectable,EventEmitter} from '@angular/core';
@Injectable()
export class myService {
  change: EventEmitter<number>;

  constructor(){
    this.change = new EventEmitter();
  }
}
parent.ts
import { Component } from '@angular/core';
import{myService}from '../child/myService'

@Component({
 selector: 'page-parent',
 templateUrl: 'parent.html',
})
export class ParentPage {
  i:number = 0;
  constructor(service:myService) {
    setInterval(()=> {
      service.change.emit(++this.i);
    }, 1000)
  }
}
parent.html
<ion-header>
 <ion-navbar>
  <ion-title>Parent</ion-title>
 </ion-navbar>
</ion-header>

<ion-content padding>
  <h2>parent {{i}}</h2>
  <page-child></page-child>
</ion-content>
child.ts
import { Component, EventEmitter} from '@angular/core';

import{myService}from "../child/myService"
@Component({
 selector: 'page-child',
 templateUrl: 'child.html',
})
export class ChildPage {

  i:number = 0;

  constructor(public service:myService){
    service.change.subscribe((value:number)=>{
      this.i = value;
    })
  }

}
child.html
<ion-content padding>
 <h3>child {{i}}</h3>
</ion-content>
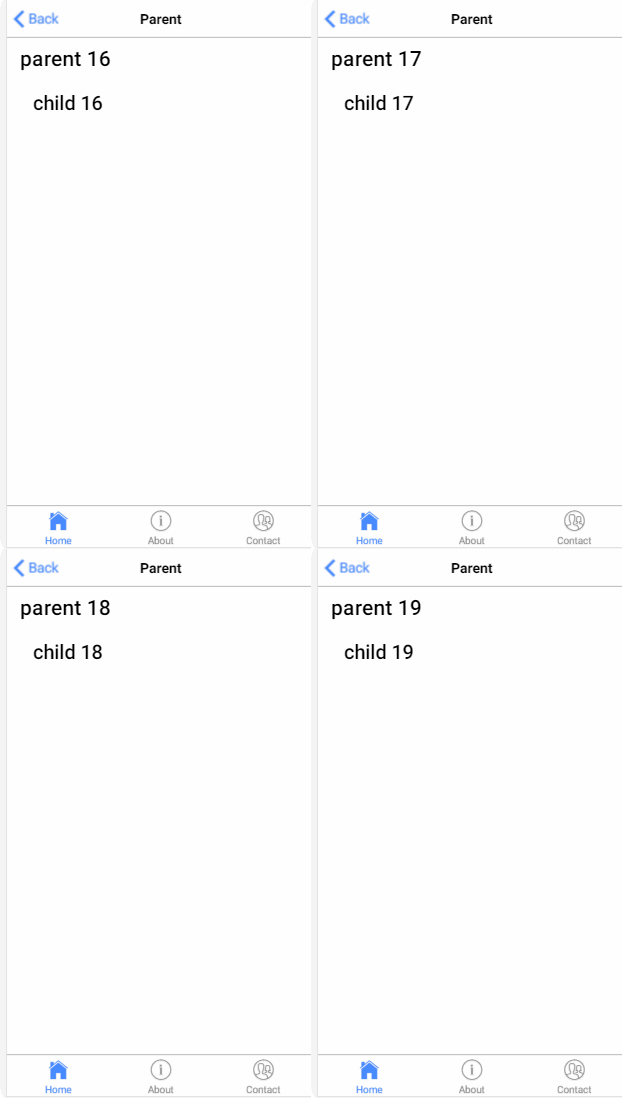
結果:
7.訂閱
parent.ts
import { Component } from '@angular/core';
import{myService}from '../child/myService'

@Component({
 selector: 'page-parent',
 templateUrl: 'parent.html',
})
export class ParentPage {
  i:number=0;
  constructor(public service:myService) {
    setInterval(()=> {
       this.service.StatusMission(this.i++);
    }, 1000)
  }
}
parent.html
<ion-header>
 <ion-navbar>
  <ion-title>Parent</ion-title>
 </ion-navbar>
</ion-header>

<ion-content padding>
  <h2>parent</h2>
  <page-child></page-child>
</ion-content>
child.ts
import { Component, Injectable } from '@angular/core'
import { myService } from "../child/myService"
import { Subscription } from 'rxjs/Subscription';
@Component({
  selector: 'page-child',
  templateUrl: 'child.html',
})
export class ChildPage {
  i:number=0;
  subscription: Subscription;
  constructor(private Service: myService) {
    this.subscription = Service.Status$.subscribe(message => {
      this.i=message;
    });
  }

  ngOnDestroy() {
    this.subscription.unsubscribe();
  }
}
child.html
<ion-content padding>
 <h3>child {{i}}</h3>
</ion-content>
myService.ts
import { Injectable } from '@angular/core';
import { Subject } from 'rxjs/Subject';

@Injectable()
export class myService {

  private Source=new Subject<any>();
  Status$=this.Source.asObservable();
  StatusMission(message: any) {
    this.Source.next(message);
  }
}
看完上述內容,你們掌握使用Angular4怎么實現組件通訊的方法了嗎?如果還想學到更多技能或想了解更多相關內容,歡迎關注億速云行業資訊頻道,感謝各位的閱讀!
免責聲明:本站發布的內容(圖片、視頻和文字)以原創、轉載和分享為主,文章觀點不代表本網站立場,如果涉及侵權請聯系站長郵箱:is@yisu.com進行舉報,并提供相關證據,一經查實,將立刻刪除涉嫌侵權內容。