您好,登錄后才能下訂單哦!
您好,登錄后才能下訂單哦!
這篇文章主要介紹如何使用Vue實現類似Spring官網圖片滑動效果,文中介紹的非常詳細,具有一定的參考價值,感興趣的小伙伴們一定要看完!

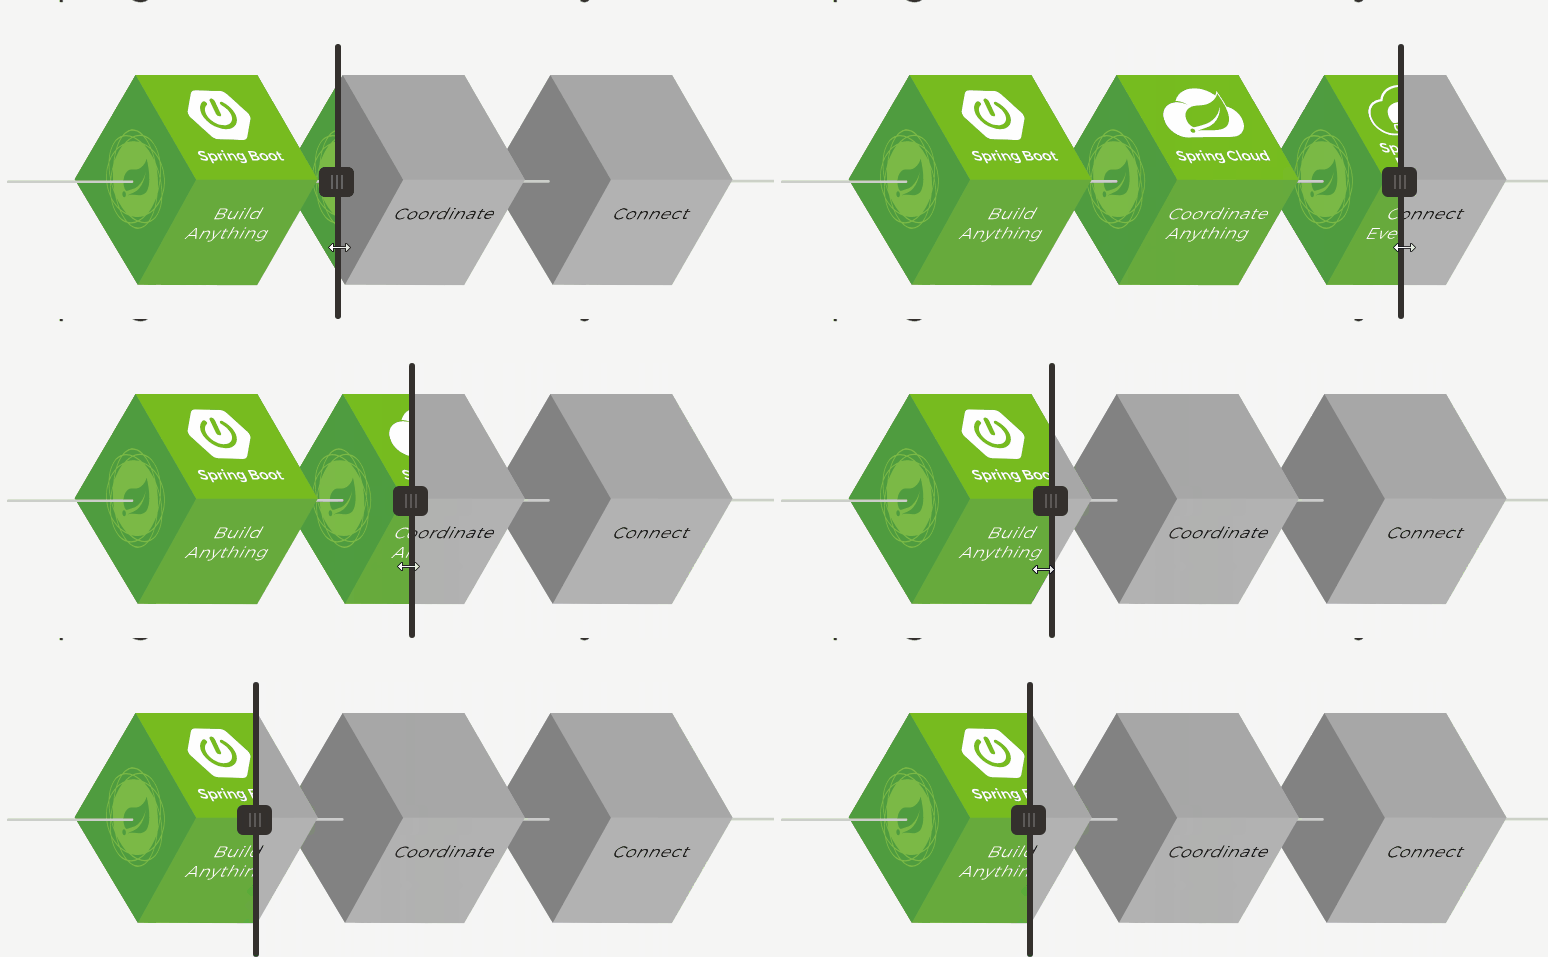
可以看到, 隨著鼠標的滑動,綠色圖片和灰色圖片可以無縫的在鼠標倆兩邊切換顯示。
顯示這樣的效果其實很簡單,利用固定定位保證兩張圖片在同一位置下, 我們可以將灰色圖片當做背景層圖片,然后根據獲取到的實時X軸坐標, 動態改變綠色圖片的寬度, 隱藏超出X軸坐標的部分, 就可以達到這樣的效果, 簡單來說, 這效果就是動態改變上層圖片的寬度。
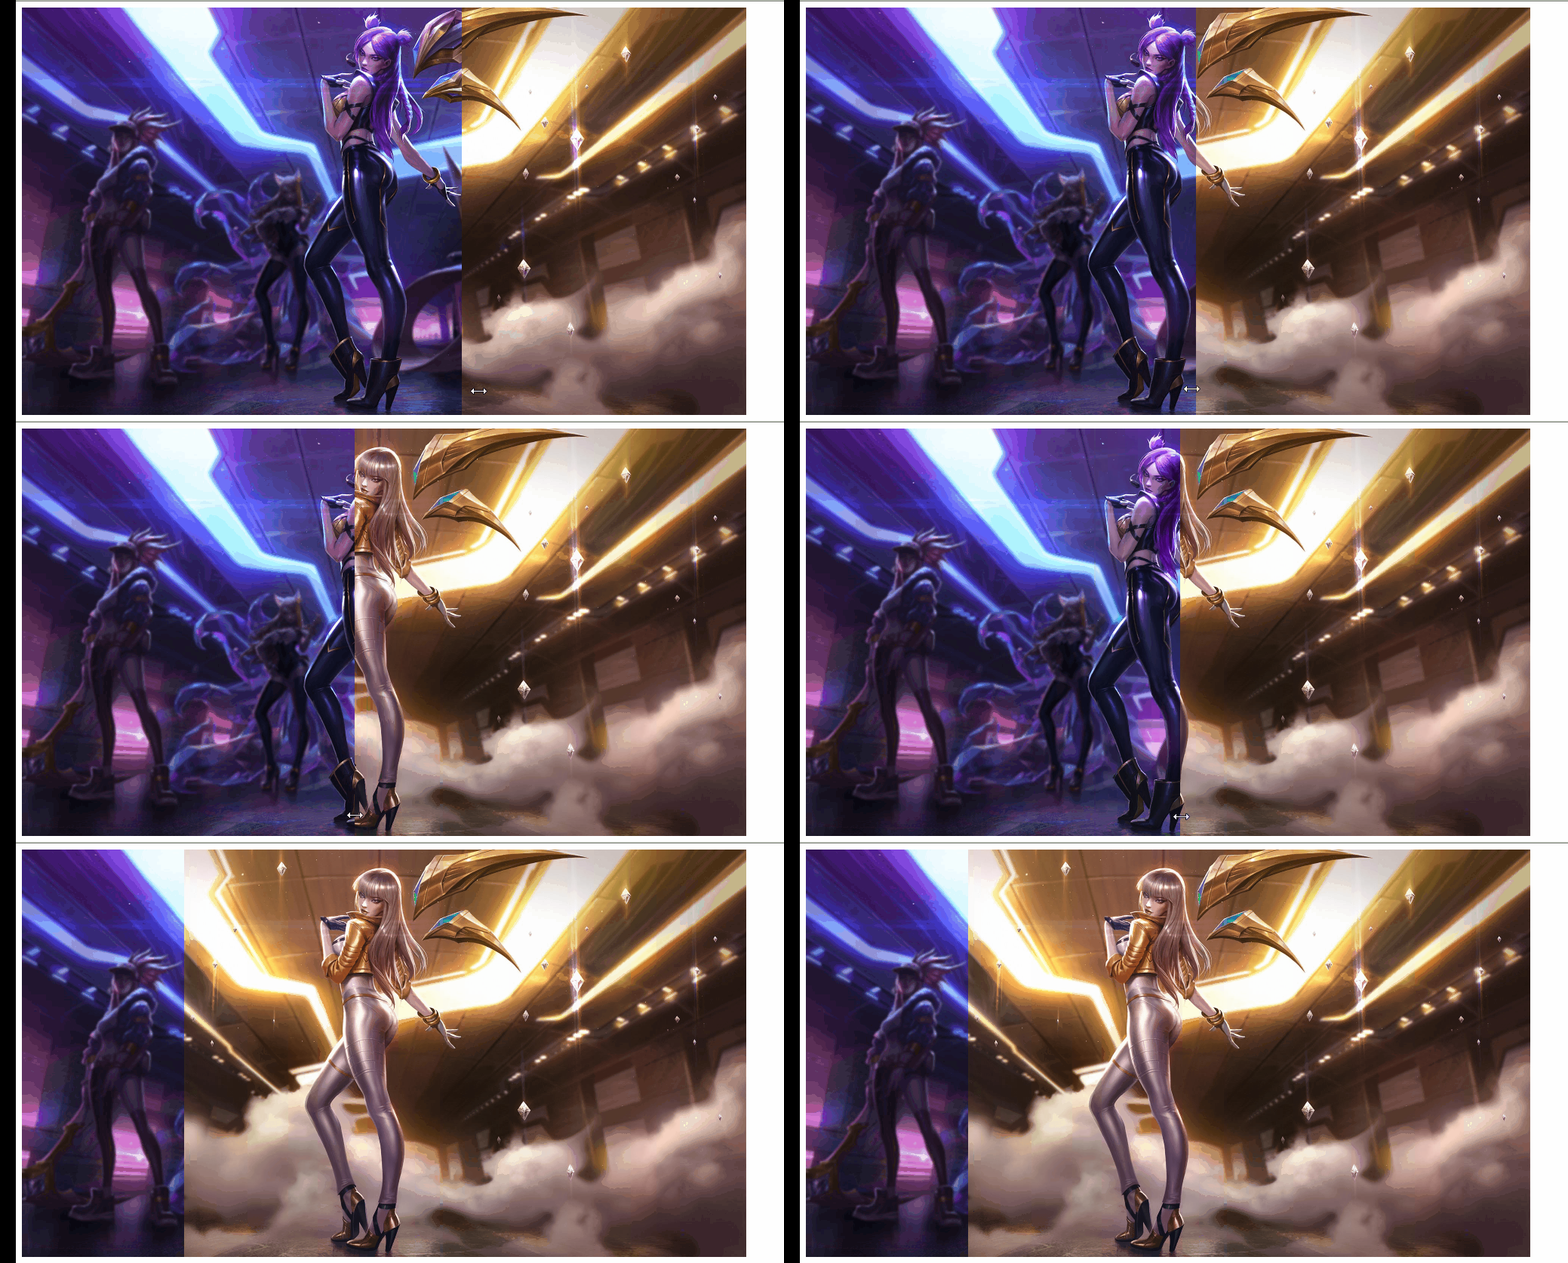
實現效果:

我這邊選擇了兩張同樣大小的KDA卡莎的圖片, 將金色圖作為背景圖,暗黑圖作為左側圖, 用了Vue的mousemove來獲取X軸坐標值, 并通過監聽坐標軸變化來實時改變左側圖片的寬度。
鼠標部分, 簡化了Spring官網上鼠標位置出軸承的顯示, 采用了cursor: ew-resize樣式, 使得鼠標看起來可以左右滑動。
代碼粘貼
<template>
  <div class="scroll">
    <div class="container" @mousemove="mousemove">
      <div class="base"></div>
      <div class="left" ref="left">
        <img src="../../static/image/kda-karsa.jpg" alt="">
      </div>
    </div>
  </div>
</template>
<script>
export default {
  data() {
    return {
      posX: 0
    }
  },
  methods: {
    mousemove(e) {
      // 獲取x 坐標
      this.posX = e.offsetX
    }
  },
  watch: {
    posX(curX) {
      this.$refs.left.style.width = `${curX}px`
    }
  }
}
</script>
<style lang="scss" scoped>
.scroll{
  .container{
    width: 960px;
    height: 540px;
    background-color: #cccccc;
    position: relative;
    cursor: ew-resize;
    .base{
      position: absolute;
      width: 960px;
      height: 540px;
      top: 0;
      left: 0;
      background: url('../../static/image/kda-karsa-golden.jpg') no-repeat;
      background-size: 100%;
    }
    .left{
      position: absolute;
      width: 480px;
      height: 540px;
      overflow: hidden;
      top: 0;
      left: 0;
      img{
       width: 960px;
       height: 540px;
      }
    }
  }
}
</style>
以上是“如何使用Vue實現類似Spring官網圖片滑動效果”這篇文章的所有內容,感謝各位的閱讀!希望分享的內容對大家有幫助,更多相關知識,歡迎關注億速云行業資訊頻道!
免責聲明:本站發布的內容(圖片、視頻和文字)以原創、轉載和分享為主,文章觀點不代表本網站立場,如果涉及侵權請聯系站長郵箱:is@yisu.com進行舉報,并提供相關證據,一經查實,將立刻刪除涉嫌侵權內容。