您好,登錄后才能下訂單哦!
您好,登錄后才能下訂單哦!
這篇文章主要介紹了怎么使用Python實現個人微信號自動監控告警的示例,具有一定借鑒價值,感興趣的朋友可以參考下,希望大家閱讀完這篇文章之后大有收獲,下面讓小編帶著大家一起了解一下。
wechat_sender 是基于 wxpy 和 tornado 實現的一個可以將你的網站、爬蟲、腳本等其他應用中各種消息 (日志、報警、運行結果等) 發送到微信的工具。
運行環境
Python 2.7 及以上 Python 3 及以上
實現過程
安裝 pip 工具
[root@server1 ~]# wget https://bootstrap.pypa.io/get-pip.py
[root@server1 ~]# python get-pip.py
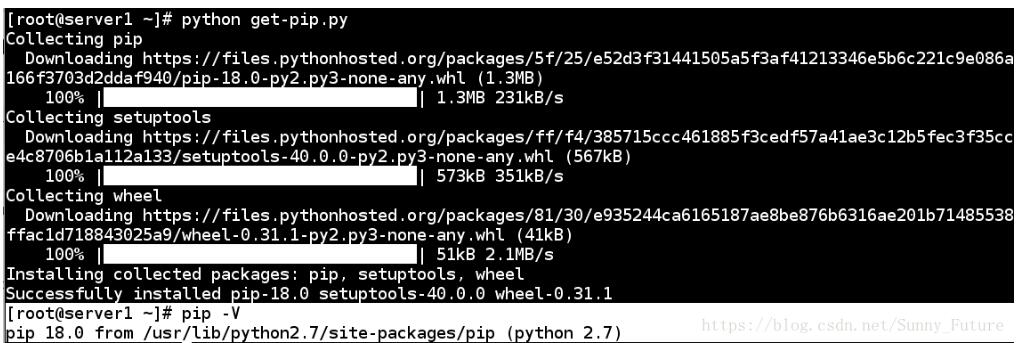
pip 安裝模塊
##安裝依賴軟件
[root@server1 ~]# yum install -y gcc python-devel
##安裝
[root@server1 ~]# pip install wechat_sender
Web登錄微信發送消息
安裝web服務器
[root@server1 ~]# yum install -y httpd
[root@server1 ~]# systemctl start http
[root@server1 ~]# systemctl stop firewalld
[root@server1 ~]# cat /var/www/html/index.html
<html>
<head><meta http-equiv="refresh" content="2"></head>
<style>
  body {
    width: 35em;
    margin: 0 auto;
    font-family: Tahoma, Verdana, Arial, sans-serif;
  }
</style>
<body>
<img src="/qr.png">
</body>
</html>
python腳本代碼
[root@server1 ~]# cat /var/www/html/sender.py
#!/bin/bash/env python
#coding:utf-8

from wxpy import *
from wechat_sender import *
from wechat_sender import Sender

#bot = Bot()  ##windows直接掃
#下面這個是服務器版(Linux)
#bot = Bot(qr_path="qr.png")
#避免重復登錄重復掃二維碼
bot = Bot(qr_path="qr.png",cache_path=True)
##通過文件助手給登錄的微信號發消息
bot.file_helper.send('Hello world!')
web登錄微信
##執行python腳本,占用終端,web登錄后會有提示
[root@server1 ~]# cd /var/www/html/
[root@server1 ~]# python sender.py
Getting uuid of QR code.
Downloading QR code.
xdg-open: no method available for opening 'qr.png'
Please scan the QR code to log in.
另一方面,打開瀏覽器輸入 ip or localhost,微信掃一掃
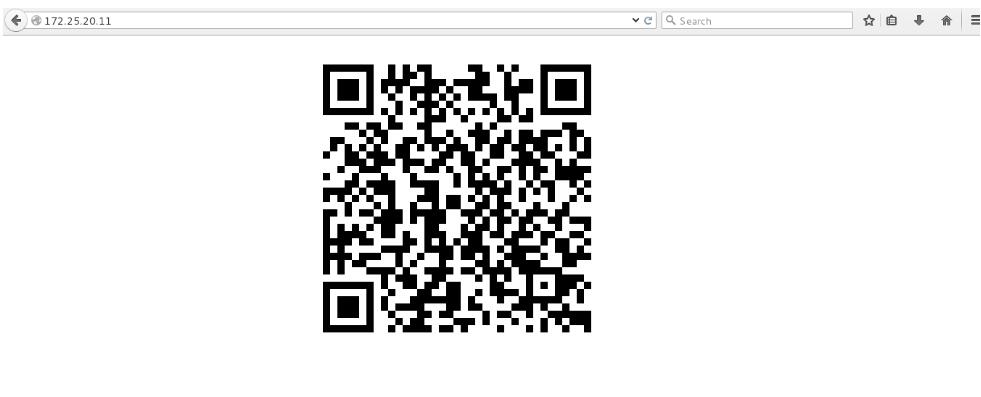
微信登錄后,終端釋放,提示成功,消息同時發送,并且web二維碼失效
Login successfully as someone
微信點擊確認

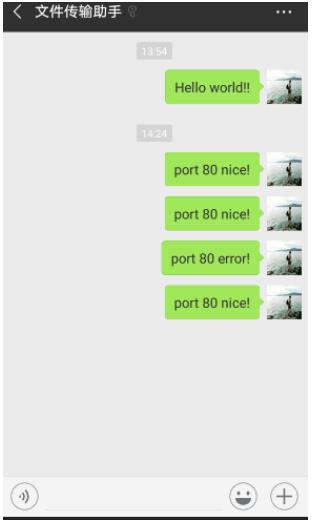
查看手機助手,消息已經收到!

監控80端口,自動告警
若是web服務也是80端口,請先登錄成功后,如下操作。
shell腳本
[root@server1 ~]# cat /var/www/html/check_80.sh
#!/bin/sh

x=$(netstat -antlp | grep '\<80\>'|awk -F' ' '{print $4}'|awk -F: '{print $2}')

if [ "$x" != 80 ];then
 python /var/www/html/check_80.py &
else
 python /var/www/html/check01_80.py &
fi
##添加執行權限
[root@server1 ~]# chomd +x /var/www/html/check_80.sh
[root@server1 ~]# cat /var/www/html/check01_80.py
#!/bin/sh/env python
#coding:utf-8
from wxpy import *
from wechat_sender import *
from wechat_sender import Sender
bot = Bot(qr_path="qr.png",cache_path=True)
##通過文件助手給登錄的微信號發消息
bot.file_helper.send('port 80 nice!')[root@server1 ~]# cat /var/www/html/check_80.py
#!/bin/sh/env python
#coding:utf-8
from wxpy import *
from wechat_sender import *
from wechat_sender import Sender
bot = Bot(qr_path="qr.png",cache_path=True)
##通過文件助手給登錄的微信號發消息
bot.file_helper.send('port 80 error!')[root@server1 ~]# cat /mnt/check.sh #!/bin/sh cd /var/www/html sh check_80.sh
[root@server1 ~]# chmod +x /mnt/check.sh
測試腳本
1.httpd 服務開啟時,端口 80 存在
[root@server1 ~]# sh /mnt/check.sh
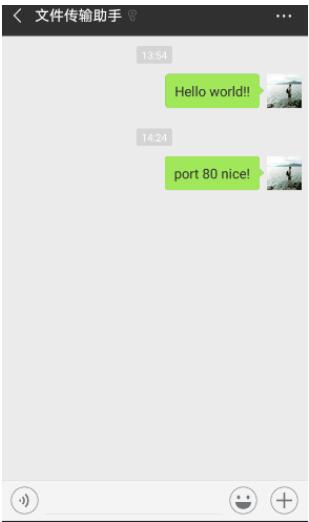
2.httpd 服務關閉后,端口 80 不存在
[root@server1 ~]# systemctl stop httpd
[root@server1 ~]# sh /mnt/check.sh
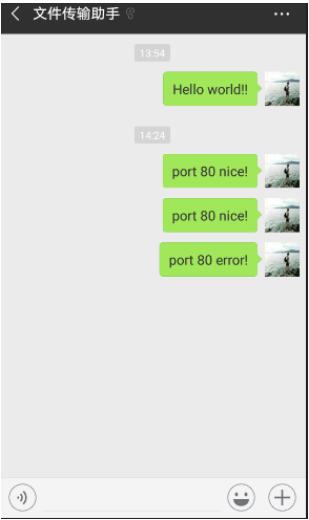
3.httpd 服務再次開啟,端口 80 存在
[root@server1 ~]# systemctl start httpd
[root@server1 ~]# sh /mnt/check.sh
添加任務計劃自動監控進行告警
[root@server1 ~]# crontab -e
* 1 * * * sh /mnt/check.sh
投入使用
添加任務計劃后,妥善修改腳本,避免頻繁告警。
感謝你能夠認真閱讀完這篇文章,希望小編分享的“怎么使用Python實現個人微信號自動監控告警的示例”這篇文章對大家有幫助,同時也希望大家多多支持億速云,關注億速云行業資訊頻道,更多相關知識等著你來學習!
免責聲明:本站發布的內容(圖片、視頻和文字)以原創、轉載和分享為主,文章觀點不代表本網站立場,如果涉及侵權請聯系站長郵箱:is@yisu.com進行舉報,并提供相關證據,一經查實,將立刻刪除涉嫌侵權內容。