溫馨提示×
您好,登錄后才能下訂單哦!
點擊 登錄注冊 即表示同意《億速云用戶服務條款》
您好,登錄后才能下訂單哦!
本篇內容主要講解“Vue組件設計Sticky布局效果怎么實現”,感興趣的朋友不妨來看看。本文介紹的方法操作簡單快捷,實用性強。下面就讓小編來帶大家學習“Vue組件設計Sticky布局效果怎么實現”吧!
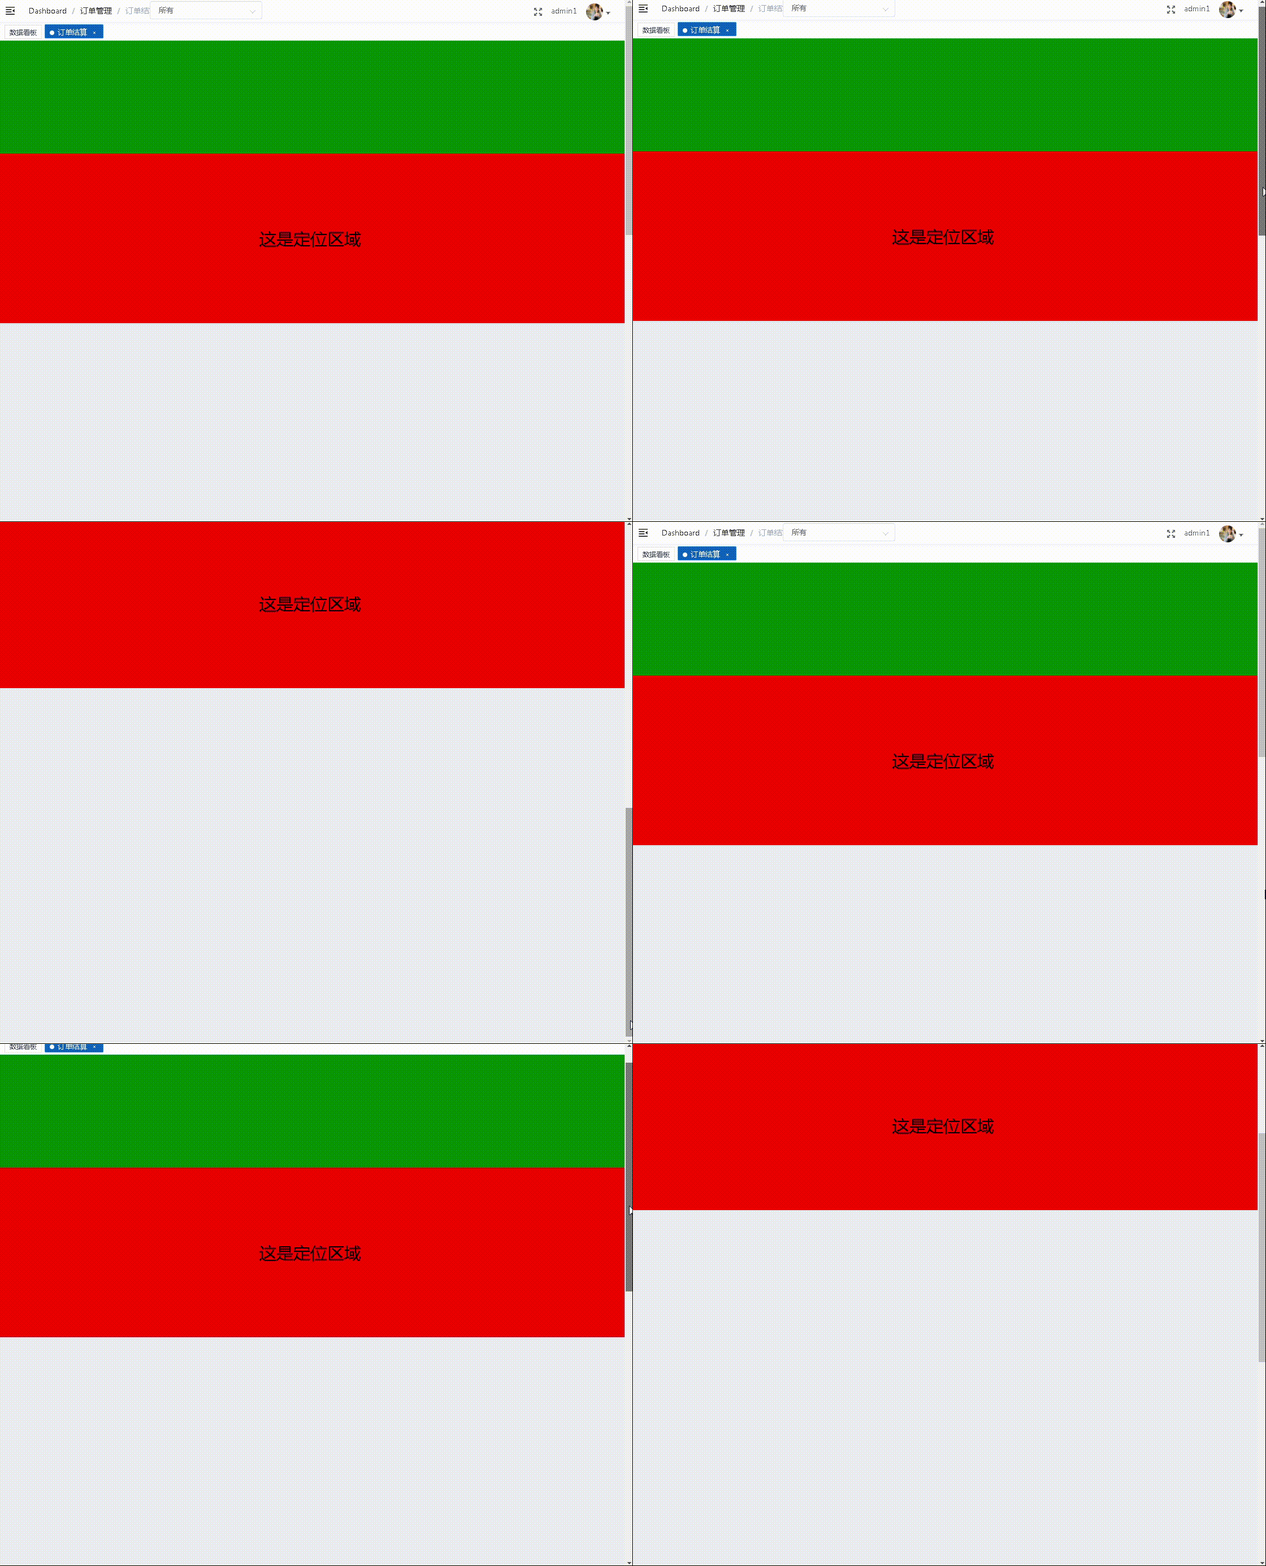
Sticky布局即為粘性定位,常見于一些重要的頁面區域在向上滾動時不會被卷起來,在CSS中可以通過設置position:sticky來實現這一功能,但是如果出于兼容性考慮或是一些復雜的場景,就需要我們用傳統的方法來實現。

<template>
    <div :>
        <div
            :class="className"
            :style="{
                width: width,
                zIndex: zIndex,
                position: position,
                height: height + 'px',
                top: isSticky ? stickyTop + 'px' : '',
            }">
            <slot>
            </slot>
        </div>
    </div>
</template>
<script>
export default {
    name: "Sticky",
    props: {
        stickyTop: {
            type: Number,
            default: 0,
        },
        zIndex: {
            type: Number,
            default: 1,
        },
        className: {
            type: String,
            default: "",
        },
    },
    data() {
        return {
            position: "",
            active: false,
            isSticky: false,
            width: undefined,
            height: undefined,
        };
    },
    mounted() {
        this.height = this.$el.getBoundingClientRect().height;
        window.addEventListener("scroll", this.handleScroll);
        window.addEventListener("resize", this.handleResize);
    },
    // 組件激活時調用
    activated() {
        this.handleScroll();
    },
    destroyed() {
        window.removeEventListener("scroll", this.handleScroll);
        window.removeEventListener("resize", this.handleResize);
    },
    methods: {
        sticky() {
            if (this.active) {
                return;
            }
            this.active = true;
            this.isSticky = true;
            this.position = "fixed";
            this.width = this.width + "px";
        },
        handleReset() {
            if (!this.active) {
                return;
            }
            this.reset();
        },
        reset() {
            this.position = "";
            this.width = "auto";
            this.active = false;
            this.isSticky = false;
        },
        handleScroll() {
            // 粘性定位區域的寬度
            const width = this.$el.getBoundingClientRect().width;
            this.width = width || "auto";
            // 粘性定位距屏幕頂部的高度
            const offsetTop = this.$el.getBoundingClientRect().top;
            // 如果滾動高度小于設定的定位高度
            if (offsetTop < this.stickyTop) {
                this.sticky();
                return;
            };
            this.handleReset();
        },
        handleResize() {
            if (this.isSticky) {
                this.width = this.$el.getBoundingClientRect().width + "px";
            }
        },
    },
};
</script><template>
<div >
<div ></div>
<Sticky>
<div >
這是定位區域
</div>
</Sticky>
</div>
</template>
<script>
import Sticky from "@/components/Sticky";
export default {
components:{
Sticky:Sticky
}
};
</script>到此,相信大家對“Vue組件設計Sticky布局效果怎么實現”有了更深的了解,不妨來實際操作一番吧!這里是億速云網站,更多相關內容可以進入相關頻道進行查詢,關注我們,繼續學習!
免責聲明:本站發布的內容(圖片、視頻和文字)以原創、轉載和分享為主,文章觀點不代表本網站立場,如果涉及侵權請聯系站長郵箱:is@yisu.com進行舉報,并提供相關證據,一經查實,將立刻刪除涉嫌侵權內容。