您好,登錄后才能下訂單哦!
您好,登錄后才能下訂單哦!
這篇文章主要介紹了vue+qiankun項目如何搭建的相關知識,內容詳細易懂,操作簡單快捷,具有一定借鑒價值,相信大家閱讀完這篇vue+qiankun項目如何搭建文章都會有所收獲,下面我們一起來看看吧。
1、前期工作:查看cli安裝情況與安裝
npm install -g @vue/cli
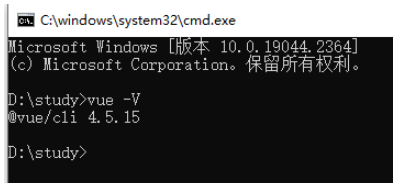
已安裝情況查看:vue -V(大寫的V)
2、新建項目
vue create main-project
3、選擇自定義配置
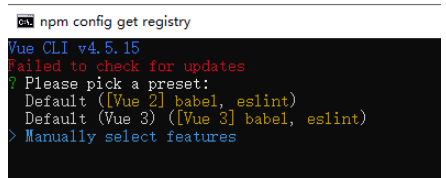
配置選擇
選擇vue版本、babel、router、vuex、css預處理器、lint格式校驗
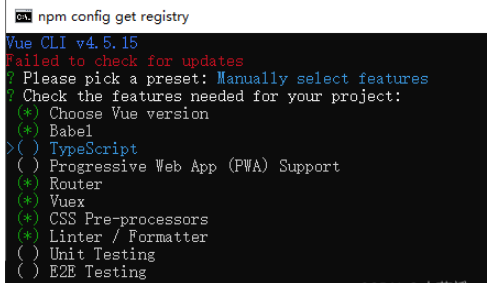
選擇vue 2.x

qiankun 子應用建議使用 history路由模式

選擇自己喜歡的css預處理器

選擇eslint標準配置

提交保存eslint都需要驗證

單獨的配置文件

不保存這個配置

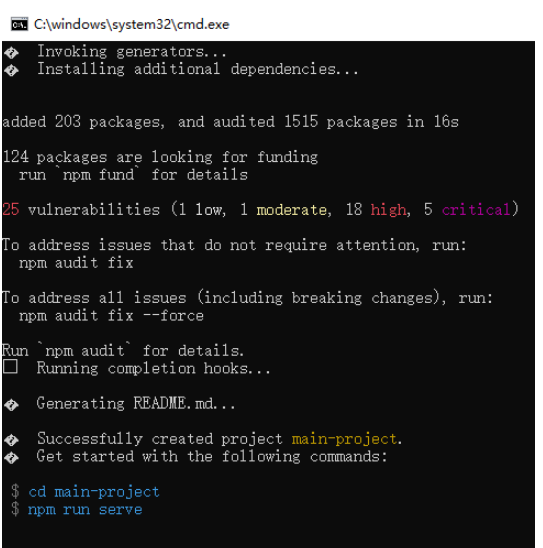
項目創建成功
自己喜歡的eslint配置eslintrc.js
module.exports = {
    root: true,
    env: {
            node: true
    },
    extends: [
        'plugin:vue/essential',
        '@vue/standard'
    ],
    parserOptions: {
        parser: 'babel-eslint'
    },
    rules: {
        'semi': 'off',
        'quotes': 'off',
        'indent': ["error", 4],
        "space-before-function-paren": "off",
        'no-console': process.env.NODE_ENV === 'production' ? 'warn' : 'off',
        'no-debugger': process.env.NODE_ENV === 'production' ? 'warn' : 'off'
    }
}
4、進入項目文件夾內 cd frame安裝插件
安裝依賴的插件 element ui、 axios
安裝element ui:
npm i element-ui -S

安裝完成后修改main.js
import Vue from 'vue'
import ElementUI from 'element-ui'
import 'element-ui/lib/theme-chalk/index.css'
import App from './App.vue'
import router from './router'
import store from './store'

Vue.use(ElementUI)

Vue.config.productionTip = false

new Vue({
  router,
  store,
  render: h => h(App)
}).$mount('#app')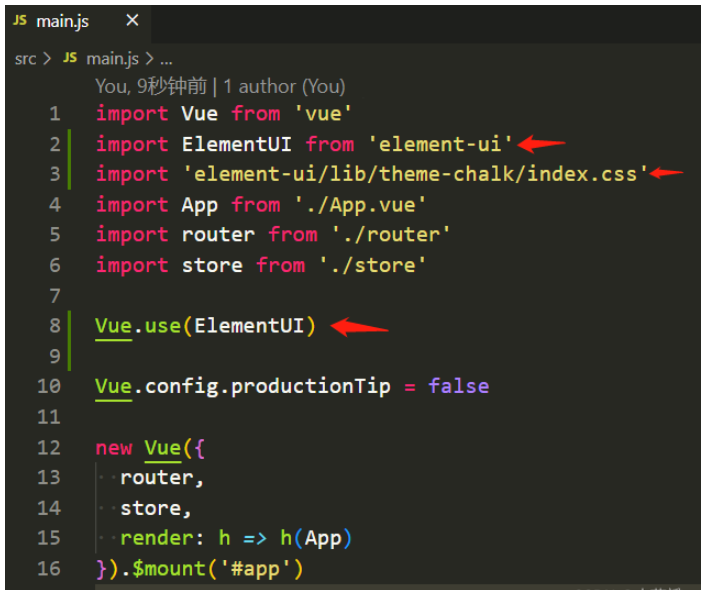
安裝axios:
npm install axios
新建了個文件夾api index.js 引用axios,統一處理api與使用qiankun與此無關
import Axios from 'axios'
到此只是建項目,兩個項目一個main-project 和sub-project
主應用 main-project:

子應用 sub-project:

1、 主應用安裝qiankun
npm install qiankun --save
2、給菜單增加一個router-link,to值為"/subProject",并且在router-view的下面增加一個id為VueContainer的盒子,用于承載子應用。

3、 新增一個qiankun文件夾里面加個index.js。導入qiankun中的registerMicroApps和star兩個方法,注冊子應用并啟動qiankun
import { registerMicroApps, start } from "qiankun";

export const useQiankun = () => {
    const apps = [
        {
            name: "sub-project",
            entry: "http://localhost:8091", // 主應用端口用8090,子應用8091
            container: "#VueContainer",
            activeRule: "/subProject", // 與route-link to的相同
            props: {
                msg: "這是父應用傳過來的值,傳遞給子應用sub-project"
            }
        }
    ]

    registerMicroApps(apps, {
        beforeLoad: [
            (app) => {
                console.log(`${app.name}的beforeLoad`);
            }
        ],
        beforeMount: [
            (app) => {
                console.log(`${app.name}的beforeMount`);
            }
        ],
        afterMount: [
            (app) => {
                console.log(`${app.name}的afterMount`);
            }
        ],
        beforeUnmount: [
            (app) => {
                console.log(`${app.name}的beforeUnmount`);
            }
        ],
        afterUnmount: [
            (app) => {
                console.log(`${app.name}的afterUnmount`);
            }
        ]
    });

    start({ experimentalStyleIsolation: true, prefetch: "all" });
};
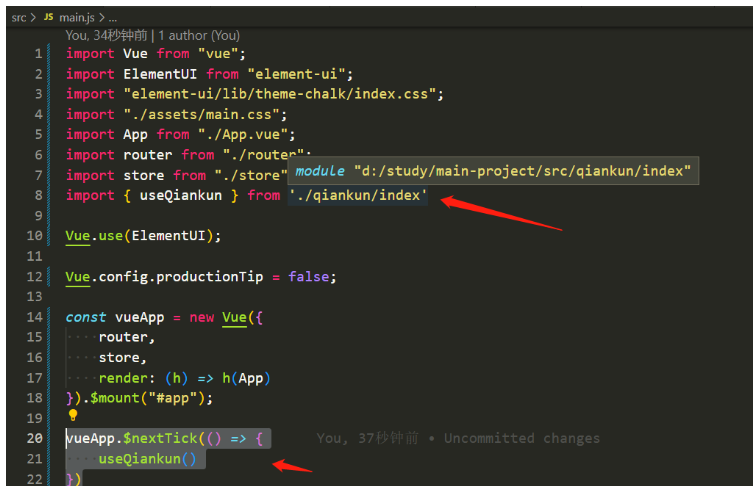
4、在main.js里 導入 qiankun/index, 注冊子應用并啟動
import { useQiankun } from './qiankun/index'

vueApp.$nextTick(() => {
    useQiankun()
})
1、 主應用安裝qiankun
npm install qiankun --save
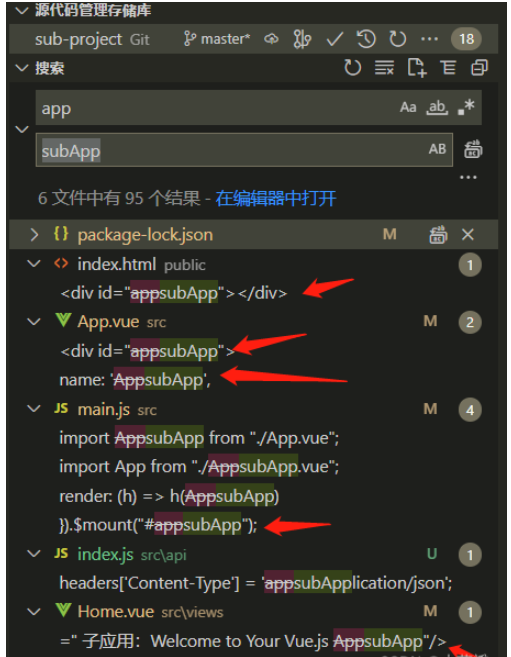
2、先修改一下vue實例掛載的id,#app改為subApp便于區分
3、在src中增加一個文件夾qiankun,public-path.js,判斷window.__ POWERED_BY_QIANKUN __,如果是從qiankun啟動則將window. __ INJECTED_PUBLIC_PATH_BY_QIANKUN __ 的值賦值給 __ webpack_public_path __
if (window.__POWERED_BY_QIANKUN__) {
  // eslint-disable-next-line camelcase, no-undef
  __webpack_public_path__ = window.__INJECTED_PUBLIC_PATH_BY_QIANKUN__
}
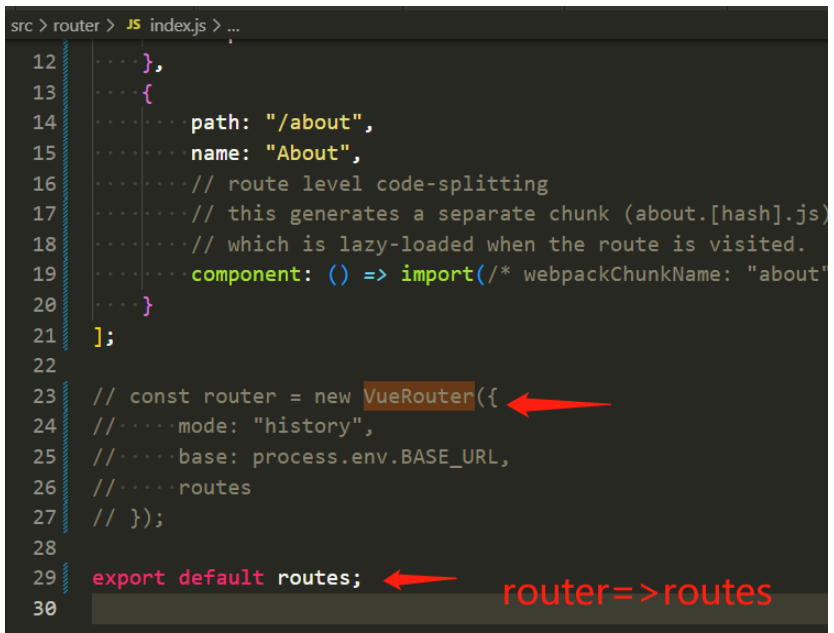
4、router/index.js改造,創造vue實例移入main.js
5、main.js 導入VueRouter、routes、 public-path移除原來的router
import "./public-path";
import VueRouter from "vue-router";
import routes from "./router";
6、main.js中創建vue實例的代碼提到render函數里,并接收一個參數,
router實例也放入render函數,修改router/index.js,process.env.BASE_URL,指定base值為:“/subProject”
判斷public-path的window.__POWERED_BY_QIANKUN__如果不是從qiankun啟動,直接調用render表示獨立運行
let instance
let router
function render(props = {}) {
    const { container } = props;
    router = new VueRouter({
        mode: "history",
        base: "/subProject",
        routes
    });
    instance = new Vue({
        router,
        store,
        render: (h) => h(App)
    }).$mount(container ? container.querySelector("#subApp") : "#subApp");
}
// 如果不是從qiankun啟動,直接調用render表示獨立運行
if (!window.__POWERED_BY_QIANKUN__) {
    render();
}
5、main.js 導出3個必需的方法bootstrap,mount和unmount;mount函數中調用render方法進行子應用渲染。unmount函數中將render方法中創建的vue實例銷毀。
export async function bootstrap() {
    console.log("[vue] vue bapp bootstraped");
}
export async function mount(props) {
    console.log("[vue] props from main framework", props);
    render(props);
}
export async function unmount() {
    instance.$destroy();
    instance.$el.innerHTML = "";
    instance = null;
    router = null;
}
整體的main.js
import "./qiankun/public-path";
import Vue from "vue";
import VueRouter from "vue-router";
import ElementUI from "element-ui";
import "element-ui/lib/theme-chalk/index.css";
import "./assets/main.css";
import App from "./App.vue";
import routes from "./router";
import store from "./store";

Vue.use(ElementUI);

Vue.config.productionTip = false;

let instance
let router
function render(props = {}) {
    const { container } = props;
    router = new VueRouter({
        mode: "history",
        base: "/subProject",
        routes
    });
    instance = new Vue({
        router,
        store,
        render: (h) => h(App)
    }).$mount(container ? container.querySelector("#subApp") : "#subApp");
}
// 如果不是從qiankun啟動,直接調用render表示獨立運行
if (!window.__POWERED_BY_QIANKUN__) {
    render();
}

export async function bootstrap() {
    console.log("[vue] vue bapp bootstraped");
}
export async function mount(props) {
    console.log("[vue] props from main framework", props);
    render(props);
}
export async function unmount() {
    instance.$destroy();
    instance.$el.innerHTML = "";
    instance = null;
    router = null;
}
5、增加vue.config.js,
配置允許跨域:“ Access-Control-Allow-Origin:’*’ ”,并配置webpack的output.library和output.libraryTarget
const { name } = require('./package');
module.exports = {
    productionSourceMap: false,
    lintOnSave: process.env.NODE_ENV === 'development',
    devServer: {
        proxy: {
            "/cmp": {
                target: "https://11.11.9.206:8080",
                ws: true,
                changeOrigin: true,
                secure: false
                // pathRewrite: { "^/cmp/api": "" }
            }
        },
        headers: {
            'Access-Control-Allow-Origin': '*'
        }
    },
    configureWebpack: {
        name: name,
        output: {
            library: `${name}-[name]`,
            libraryTarget: 'umd', // 把微應用打包成 umd 庫格式
            jsonpFunction: `webpackJsonp_${name}`
        }
    }
};
6、最終樣子

關于“vue+qiankun項目如何搭建”這篇文章的內容就介紹到這里,感謝各位的閱讀!相信大家對“vue+qiankun項目如何搭建”知識都有一定的了解,大家如果還想學習更多知識,歡迎關注億速云行業資訊頻道。
免責聲明:本站發布的內容(圖片、視頻和文字)以原創、轉載和分享為主,文章觀點不代表本網站立場,如果涉及侵權請聯系站長郵箱:is@yisu.com進行舉報,并提供相關證據,一經查實,將立刻刪除涉嫌侵權內容。