溫馨提示×
您好,登錄后才能下訂單哦!
點擊 登錄注冊 即表示同意《億速云用戶服務條款》
您好,登錄后才能下訂單哦!
本文小編為大家詳細介紹“微信小程序如何實現發動態功能”,內容詳細,步驟清晰,細節處理妥當,希望這篇“微信小程序如何實現發動態功能”文章能幫助大家解決疑惑,下面跟著小編的思路慢慢深入,一起來學習新知識吧。
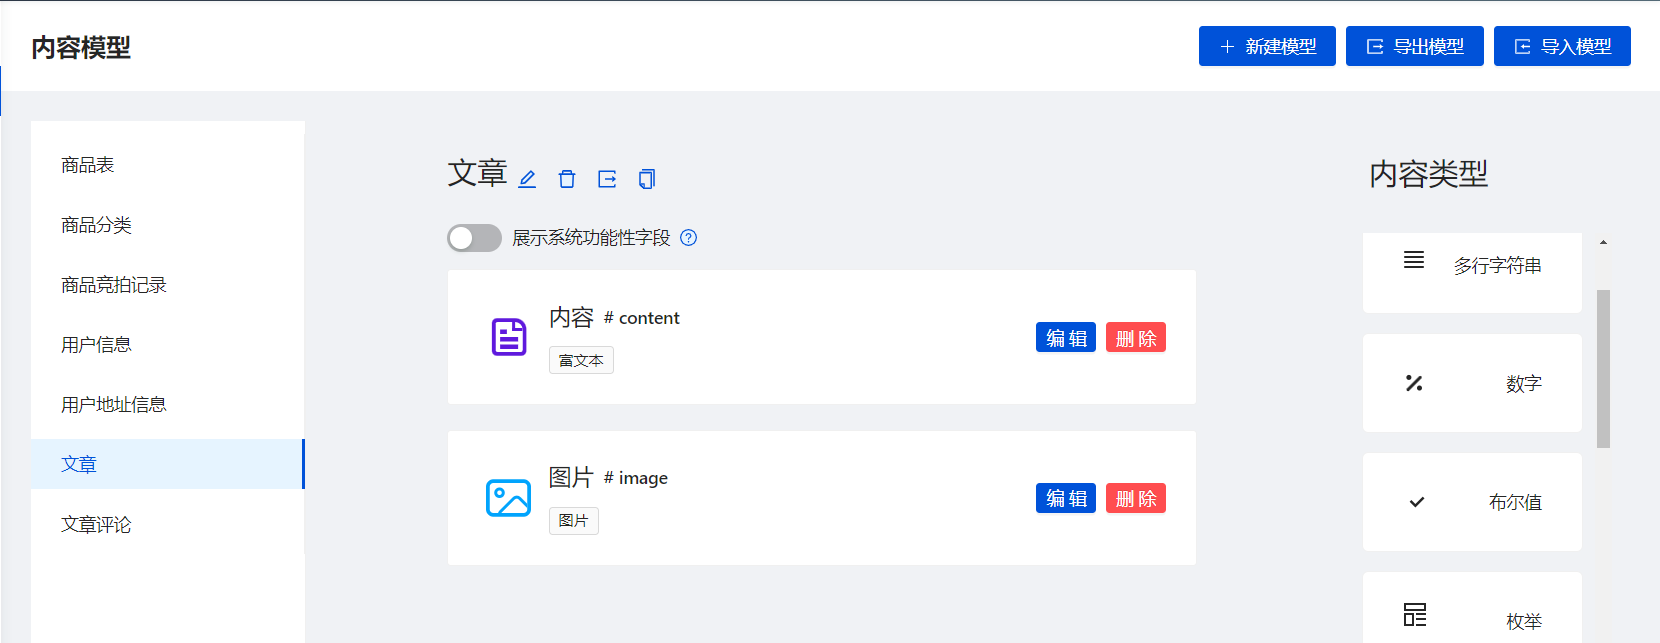
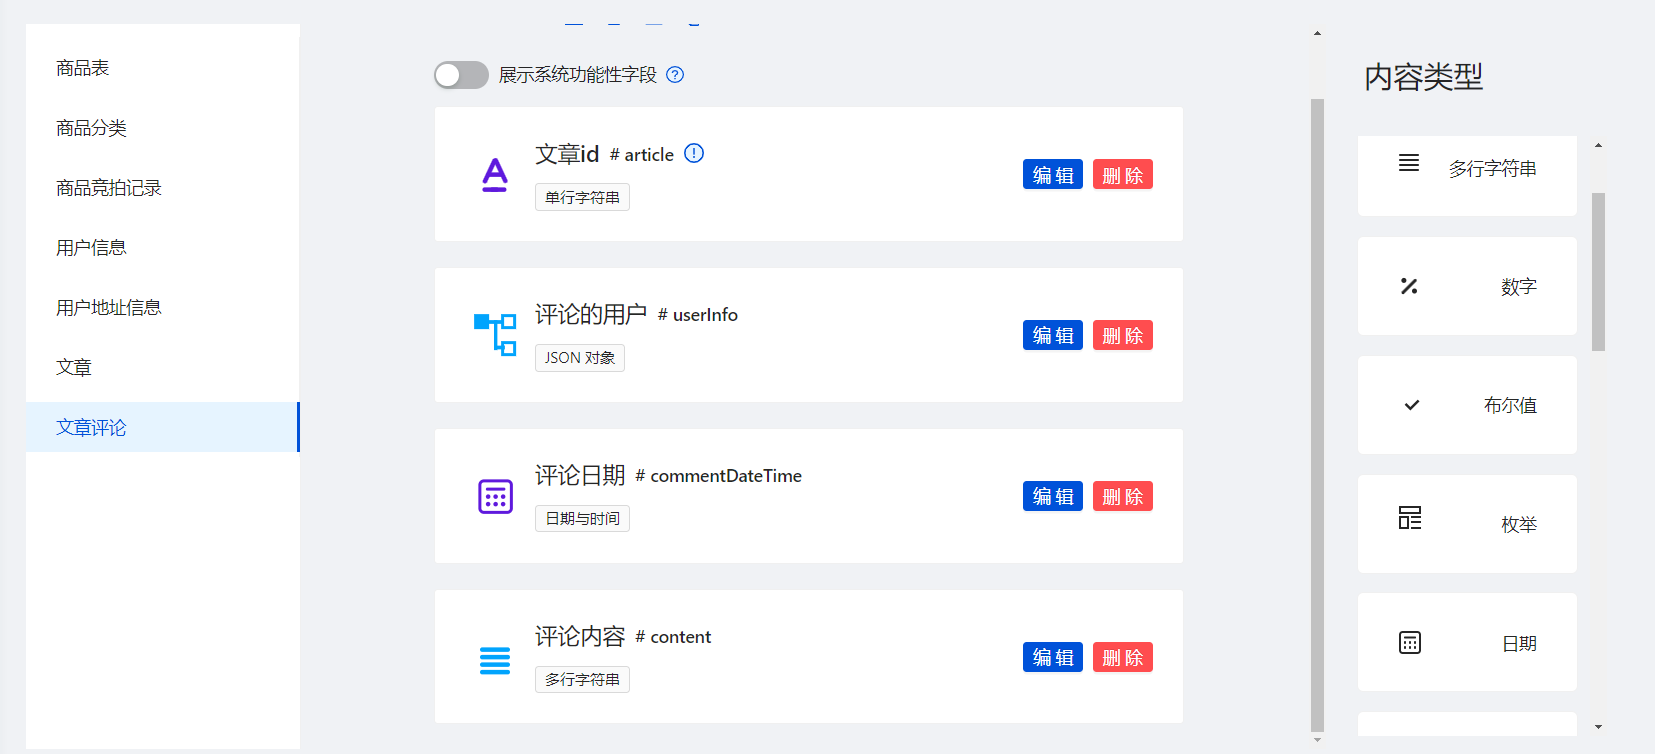
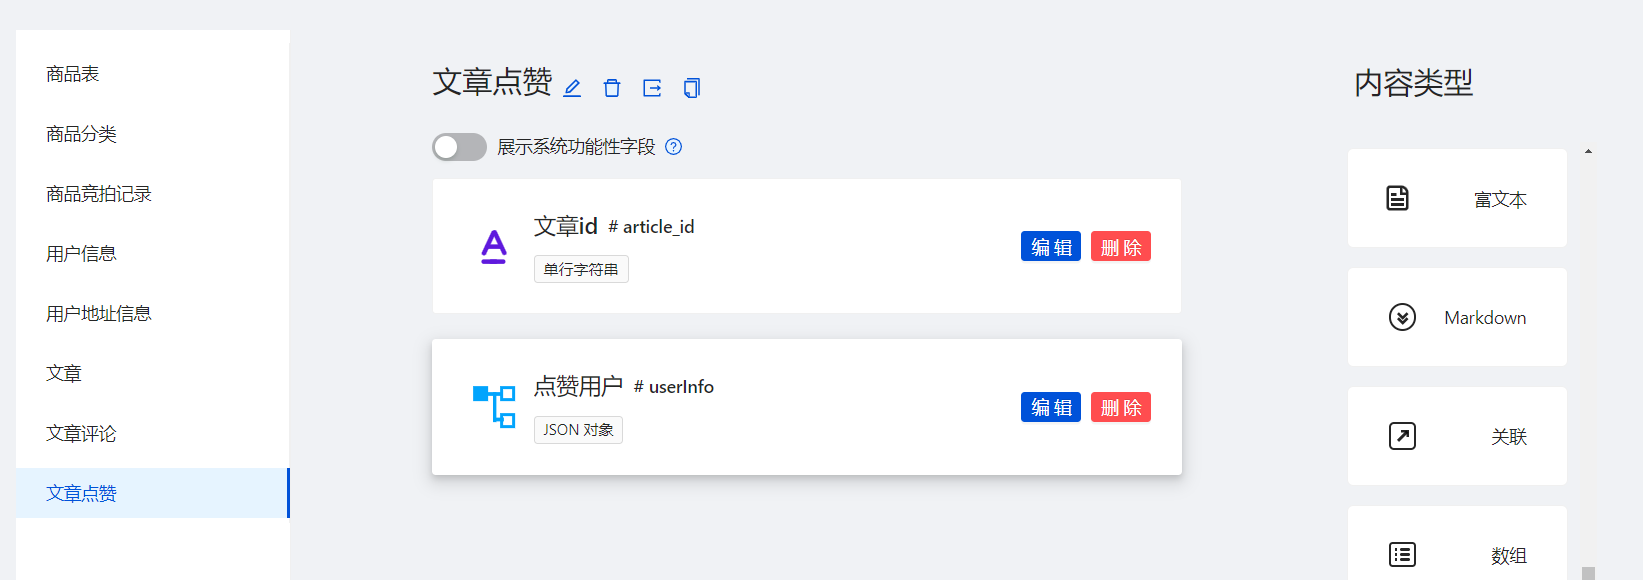
文章表很簡單,就類似朋友圈,一個文字內容,一個圖片數組
光標有點問題,回車換行時光標和文字被埋在下面了
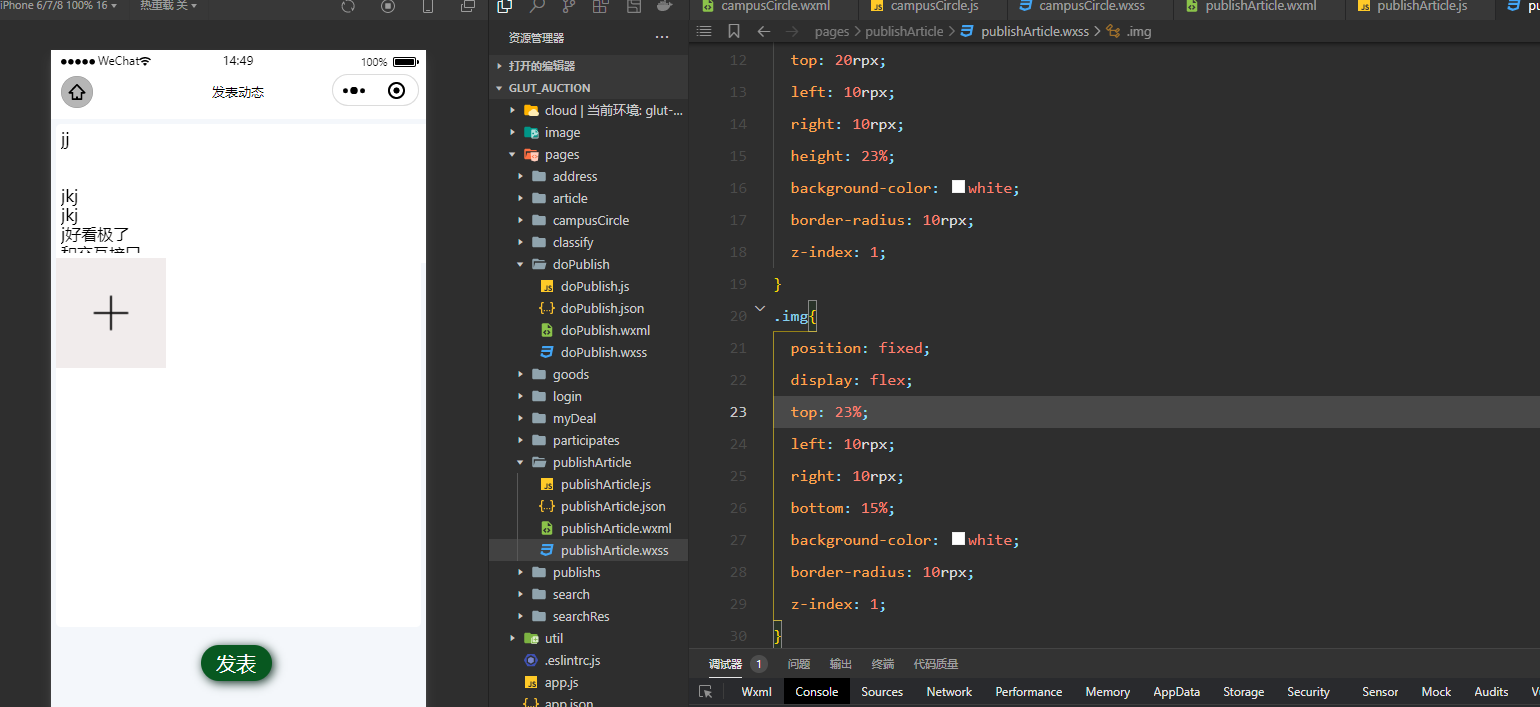
解決,給textarea設置一個最大高度,max-length,把scroll-view改為view ,因為textarea本身自帶滾動

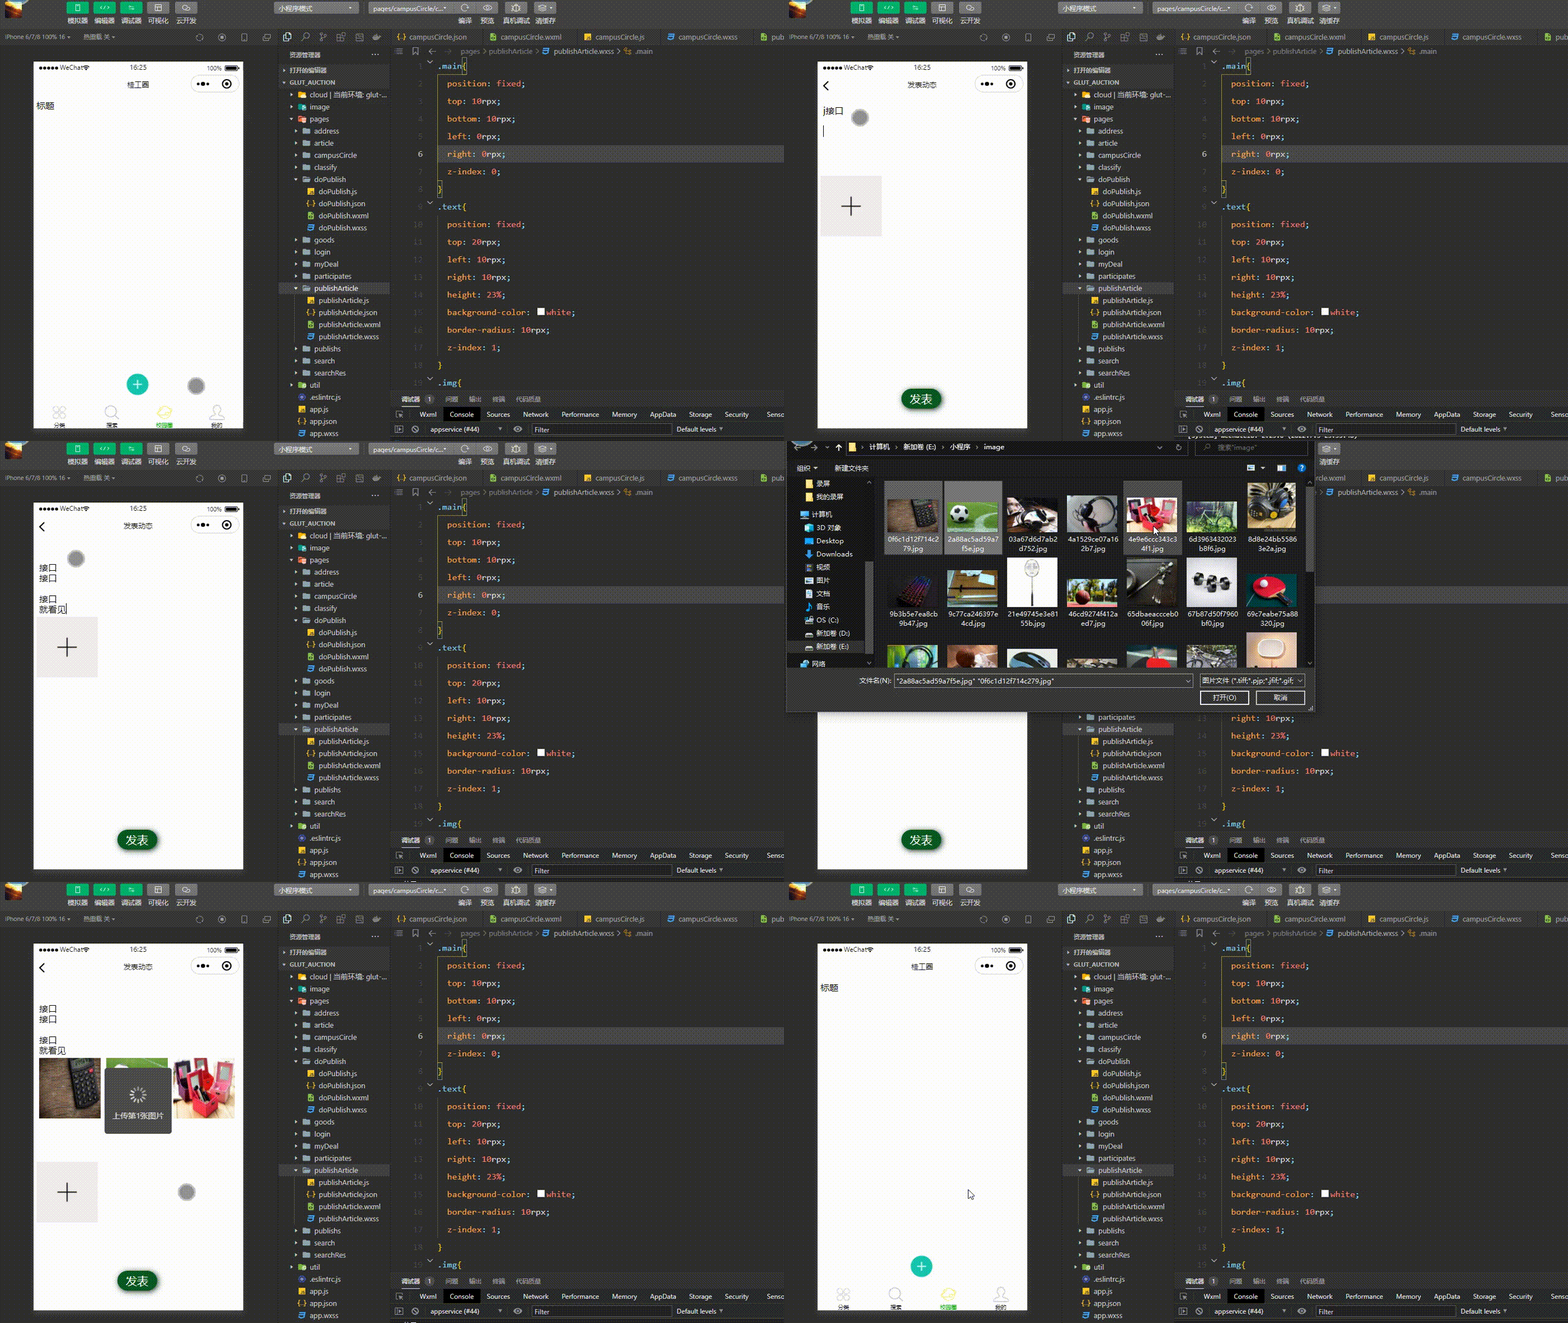
1、publisherArticle.wxml
<view class="main">
  <!--文字區-->
  <view class="text" >
    <textarea fixed="true" auto-height placeholder="這一刻的想法..." bindinput="setText" />
  </view>
  <!--圖片區-->
  <view class="img">
    <block wx:for="{{selectImgs}}" wx:key="index">
      <image src="{{item}}" ></image>
    </block>
    <image wx:if="{{selectImgs.length != 9}}" src="/image/addImg.png" bindtap="selectImg" ></image>
  </view>
  <view class="publish" bindtap="publish">發表</view>
</view>
2、publisherArticle.wxss
.main{
  position: fixed;
  top: 10rpx;
  bottom: 10rpx;
  left: 0rpx;
  right: 0rpx;
  z-index: 0;
}
.text{
  position: fixed;
  top: 20rpx;
  left: 10rpx;
  right: 10rpx;
  height: 23%;
  background-color: white;
  border-radius: 10rpx;
  z-index: 1;
}
.img{
  position: fixed;
  display: flex;
  flex-wrap: wrap;
  top: 23%;
  left: 10rpx;
  right: 10rpx;
  bottom: 15%;
  background-color: white;
  border-radius: 10rpx;
  z-index: 1;
}
.publish{
  position: fixed;
  z-index: 1;
  top: 88%;
  width: 11%;
  left: 40%;
  background-color: rgb(8, 88, 32);
  color: white;
  font-size: 40rpx;
  border-radius: 30px;
  padding: 10rpx 30rpx;
  box-shadow: 2px 2px 10px rgb(16, 46, 33);
}
3、publishArticle.js
Page({
  data: {
    selectImgs: null,
    text: '',
    uploadImgs: []
  },
  selectImg(){
    wx.chooseImage({
      count: 8,
      success: (res) => {
        this.setData({
          selectImgs: res.tempFilePaths
        })
      }
    })
  },
  setText(e){
    let text = e.detail.value
    console.log(text)
    this.setData({
      text: text
    })
  },
  //發表動態
  publish(){
    this.uploadImages().then((resolve, reject) => {
      wx.showLoading({
        title: '發布中'
      })
      setTimeout(() => {}, 500)
      let imagesUrl = this.data.uploadImgs //云存儲的圖片列表
      let text = this.data.text
      wx.cloud.database().collection('article').add({
        data: {
          content: text,
          imagesUrl: imagesUrl
        },
        success: (res) => {
          wx.hideLoading({
            success: (res) => {
              wx.showToast({
                title: '發表成功',
              })
              wx.navigateBack({
                delta: 1,
              })
            },
          })
        }
      })
    })
  },
  //上傳圖片到云存儲
  uploadImages() {
    let _this = this
    return new Promise(function (resolve, reject) {
      function upload(index) {
        var picnum = index+1
        wx.showLoading({
          title: '上傳第' + picnum + '張圖片'
        })
        wx.cloud.uploadFile({
          cloudPath: 'articleImgs/' + new Date().getTime() + '_' + Math.floor(Math.random() * 1000) + '.jpg', //給圖片命名
          filePath: _this.data.selectImgs[index], //本地圖片路徑
          success: (res) => {
            _this.data.uploadImgs[index] = res.fileID
            wx.hideLoading({
              success: (res) => {},
            })
            //判斷是否全部上傳
            if (_this.data.selectImgs.length - 1 <= index) {
              console.log('已全部上傳')
              resolve('success')
              return
            } else {
              console.log(index)
              upload(index + 1)
            }
          },
          fail: (err) => {
            reject('error')
            wx.showToast({
              title: '上傳失敗,請重新上傳',
              type: 'none'
            })
          }
        })
      }
      upload(0)
    })
  },
}
讀到這里,這篇“微信小程序如何實現發動態功能”文章已經介紹完畢,想要掌握這篇文章的知識點還需要大家自己動手實踐使用過才能領會,如果想了解更多相關內容的文章,歡迎關注億速云行業資訊頻道。
免責聲明:本站發布的內容(圖片、視頻和文字)以原創、轉載和分享為主,文章觀點不代表本網站立場,如果涉及侵權請聯系站長郵箱:is@yisu.com進行舉報,并提供相關證據,一經查實,將立刻刪除涉嫌侵權內容。