溫馨提示×
您好,登錄后才能下訂單哦!
點擊 登錄注冊 即表示同意《億速云用戶服務條款》
您好,登錄后才能下訂單哦!
這篇文章主要介紹了uniapp組件uni-popup彈出層怎么用,具有一定借鑒價值,感興趣的朋友可以參考下,希望大家閱讀完這篇文章之后大有收獲,下面讓小編帶著大家一起了解一下。
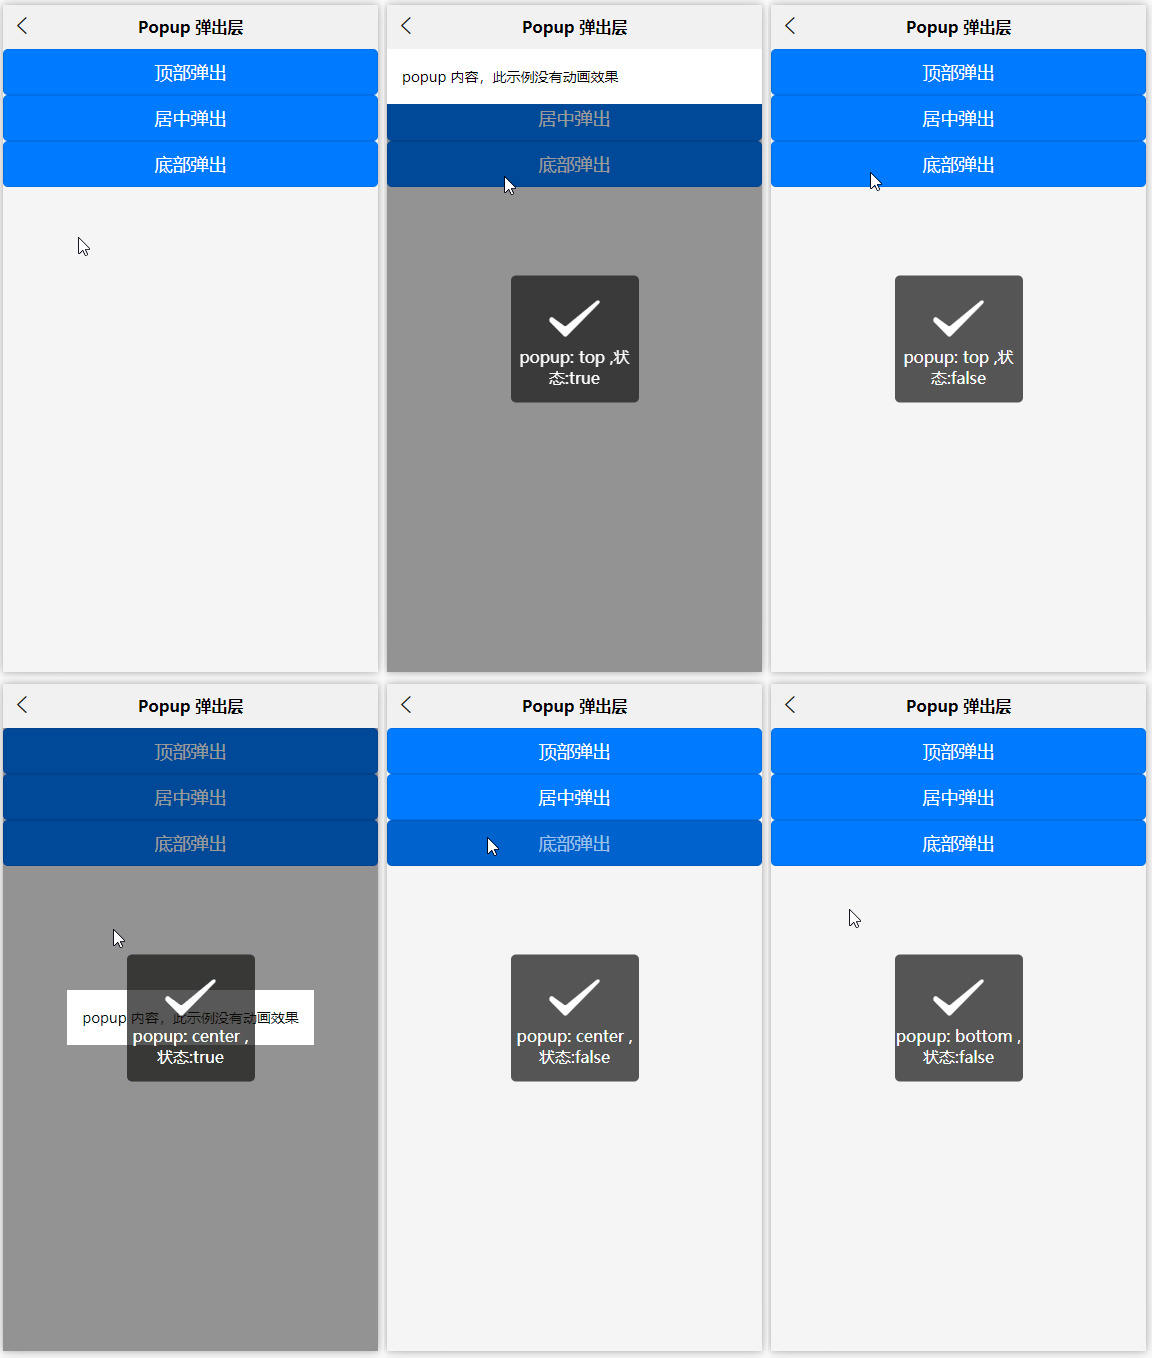
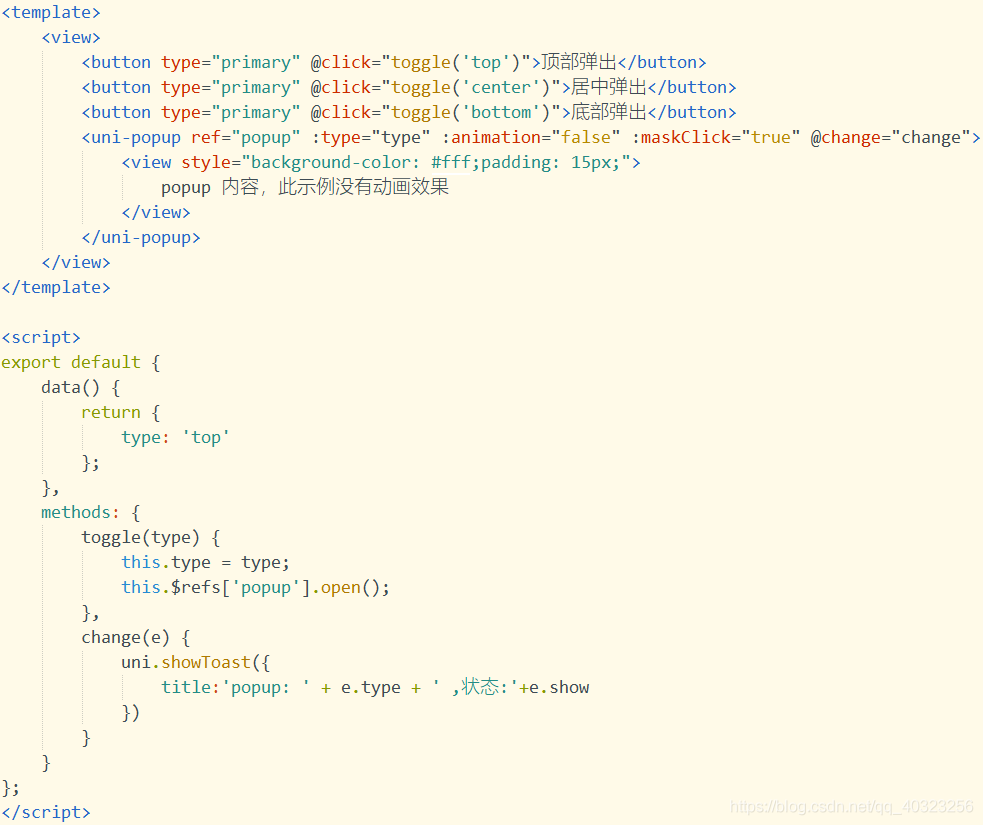
<template>
	<view>
		<button type="primary" @click="toggle('top')">頂部彈出</button>
		<button type="primary" @click="toggle('center')">居中彈出</button>
		<button type="primary" @click="toggle('bottom')">底部彈出</button>
		<uni-popup ref="popup" :type="type" :animation="false" :maskClick="true" @change="change">
			<view >
				popup 內容,此示例沒有動畫效果
			</view>
		</uni-popup>
	</view>
</template>

<script>
export default {
	data() {
		return {
			type: 'top'
		};
	},
	methods: {
		toggle(type) {
			this.type = type;
			this.$refs['popup'].open();
		},
		change(e) {
			uni.showToast({
				title:'popup: ' + e.type + ' ,狀態:'+e.show
			})
		}
	}
};
</script>
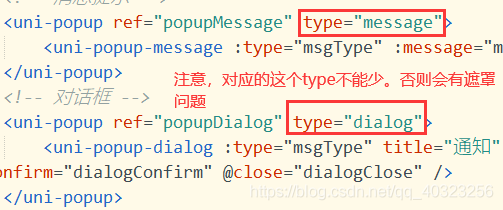
<template>
	<view>
		<button  @click="toggleMessage('success')">成功</button>
		<button  @click="toggleMessage('error')">錯誤</button>
		<button  @click="toggleMessage('warn')">警告</button>
		<button  @click="toggleMessage('info')">信息</button>
		<!-- 消息提示 -->
		<uni-popup ref="popupMessage" type="message">
			<uni-popup-message :type="msgType" :message="message" :duration="700" />
		</uni-popup>
		<!-- 對話框 -->
		<uni-popup ref="popupDialog" type="dialog">
			<uni-popup-dialog :type="msgType" title="通知" content="歡迎使用 uni-popup!" :before-close="true" @confirm="dialogConfirm" @close="dialogClose" />
		</uni-popup>
	</view>
</template>

<script>
export default {
	data() {
		return {
			msgType: 'success',
			message: '這是一條成功消息提示'
		};
	},
	methods: {
		toggleMessage(type) {
			this.msgType = type;
			switch (type) {
				case 'success':
					this.message = '這是一條成功消息提示';
					break;
				case 'warn':
					this.message = '這是一條警告消息提示';
					break;
				case 'info':
					this.message = '這是一條消息提示';
					break;
				case 'error':
					this.message = '這是一條錯誤消息提示';
					break;
			}
			this.$refs['popupDialog'].open();
		},
		dialogConfirm() {
			this.$refs.popupMessage.open();

			this.$refs['popupDialog'].close();
		},
		dialogClose() {
			this.msgType = 'info';
			this.message = '點擊了對話框的取消按鈕';
			this.$refs.popupMessage.open();

			this.$refs.popupDialog.close();
		}
	}
};
</script>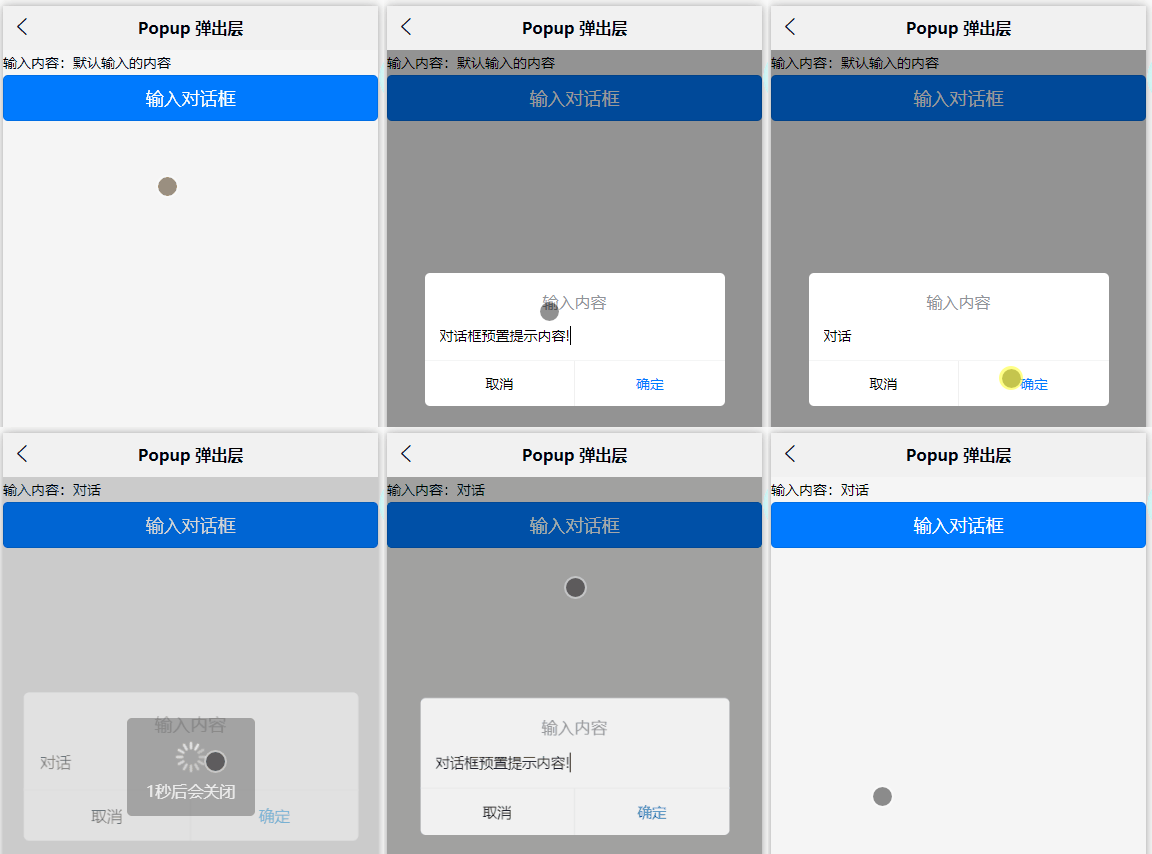
<template>
	<view>
		輸入內容:{{value}}
		<button type="primary" @click="confirmDialog">輸入對話框</button>
		<uni-popup ref="dialogInput" type="dialog">
			<uni-popup-dialog mode="input" title="輸入內容" value="對話框預置提示內容!" placeholder="請輸入內容" @confirm="dialogInputConfirm"/>
		</uni-popup>
	</view>
</template>

<script>
	export default {
		data() {
			return {
				msgType: 'success',
				value: '默認輸入的內容'
			}
		},
		methods: {
			confirmDialog() {
				this.$refs['dialogInput'].open()
			},
			dialogConfirm(done) {
				this.$refs['popupMessage'].open()
			},
			dialogInputConfirm( val) {
				uni.showLoading({
					title: '1秒后會關閉'
				})
				this.value = val
				setTimeout(() => {
					uni.hideLoading()
				}, 1000)
			}
		},
	}
</script>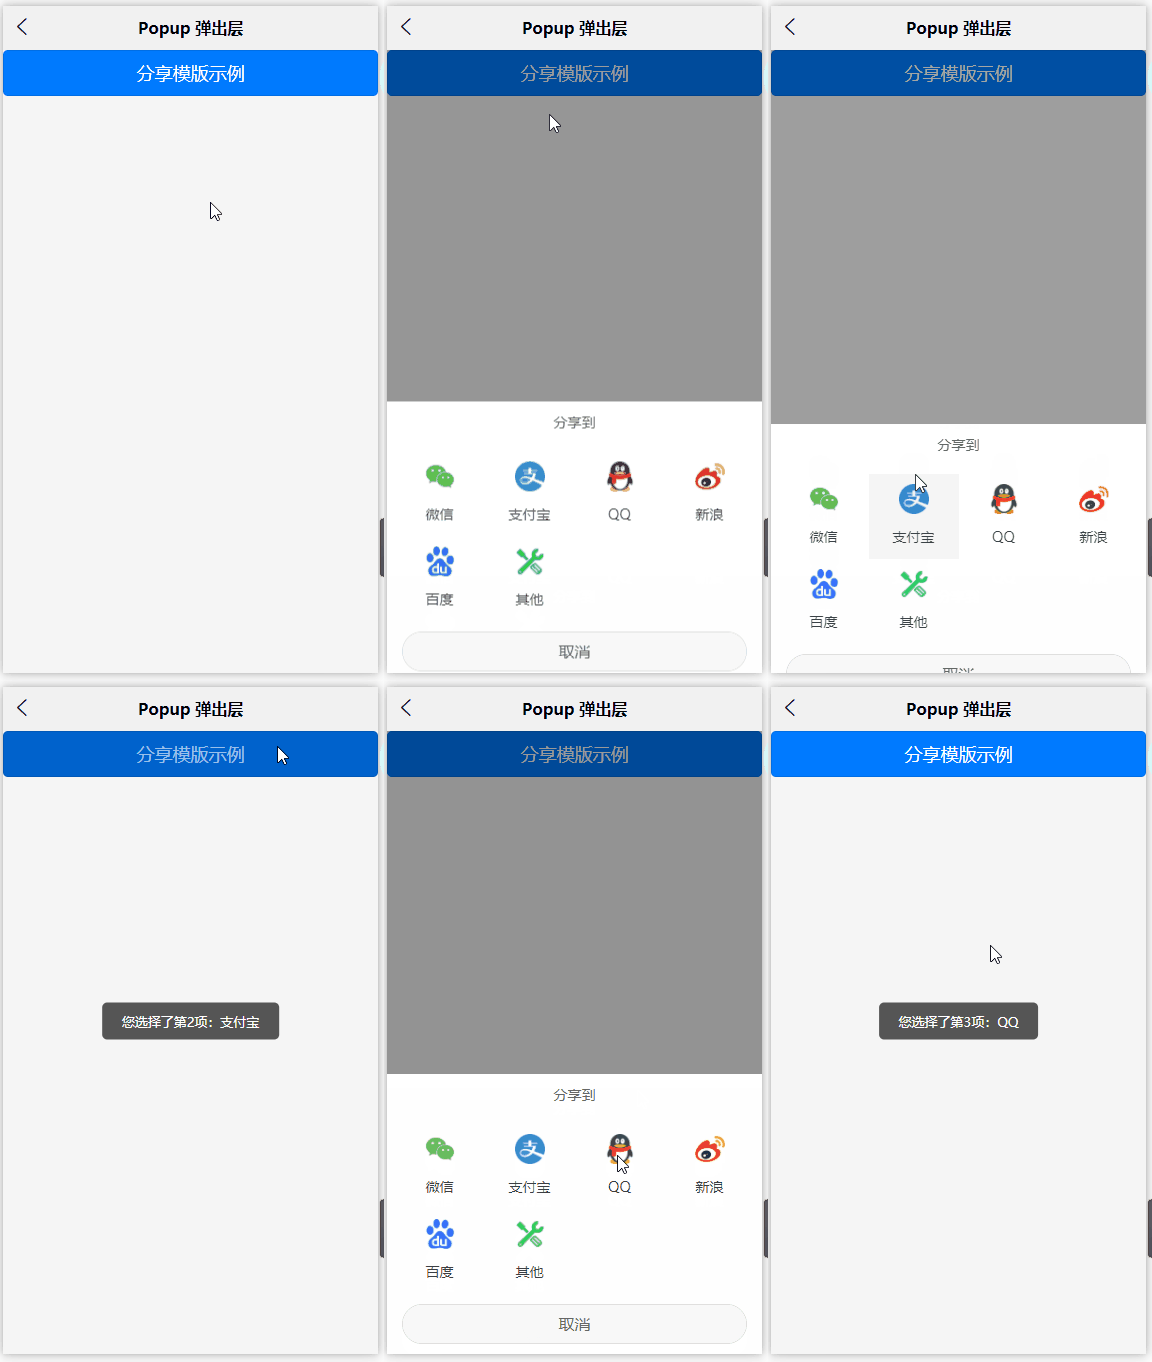
<template>
	<view>
		<button type="primary" @click="confirmShare">分享模版示例</button>
		<uni-popup ref="popupShare" type="share">
			<uni-popup-share title="分享到" @select="select"></uni-popup-share>
		</uni-popup>
	</view>
</template>

<script>
	export default {
		data() {
			return {
			}
		},
		methods: {
			confirmShare() {
				this.$refs.popupShare.open()
			},
			select(e) {
				uni.showToast({
					title: `您選擇了第${e.index+1}項:${e.item.text}`,
					icon: 'none'
				})
			}
		},
	}
</script>
感謝你能夠認真閱讀完這篇文章,希望小編分享的“uniapp組件uni-popup彈出層怎么用”這篇文章對大家有幫助,同時也希望大家多多支持億速云,關注億速云行業資訊頻道,更多相關知識等著你來學習!
免責聲明:本站發布的內容(圖片、視頻和文字)以原創、轉載和分享為主,文章觀點不代表本網站立場,如果涉及侵權請聯系站長郵箱:is@yisu.com進行舉報,并提供相關證據,一經查實,將立刻刪除涉嫌侵權內容。