溫馨提示×
您好,登錄后才能下訂單哦!
點擊 登錄注冊 即表示同意《億速云用戶服務條款》
您好,登錄后才能下訂單哦!
這篇文章主要介紹項目中Axios二次封裝的示例分析,文中介紹的非常詳細,具有一定的參考價值,感興趣的小伙伴們一定要看完!
方便代碼整體調用、對請求做公共處理、個性化定制
封裝思路不適合自身項目
封裝后調用不方便
代碼結構【基于vue】

基本思路
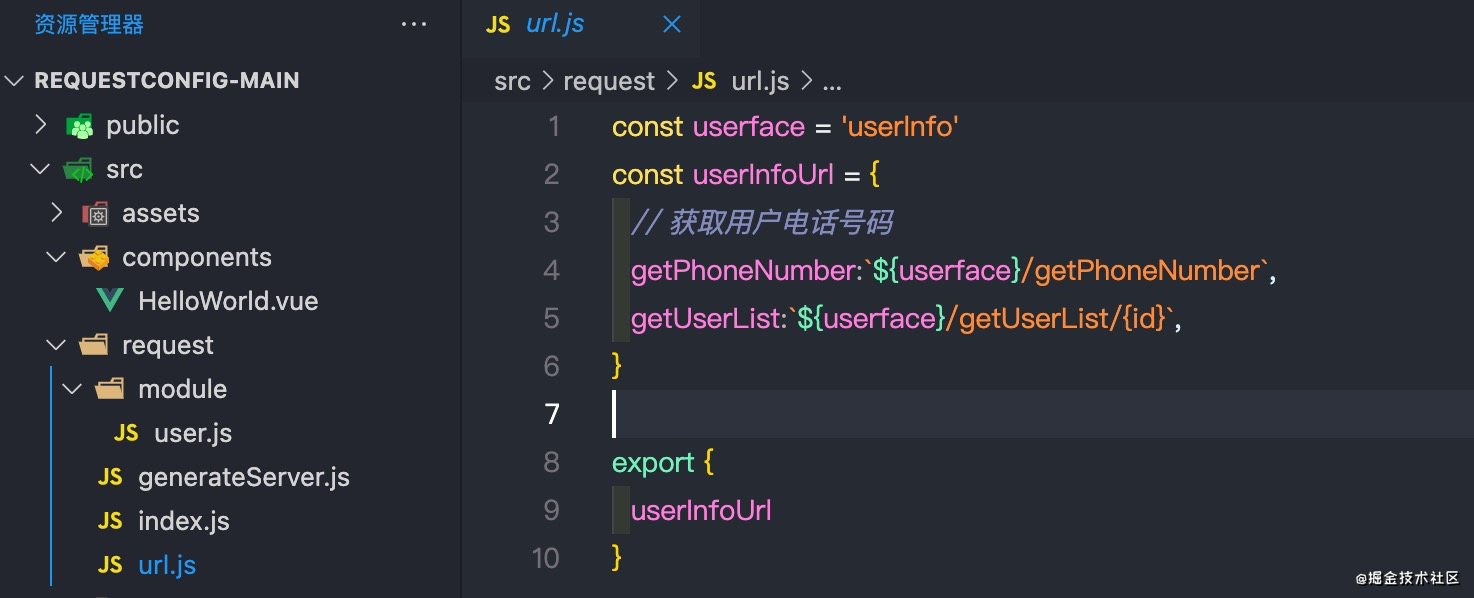
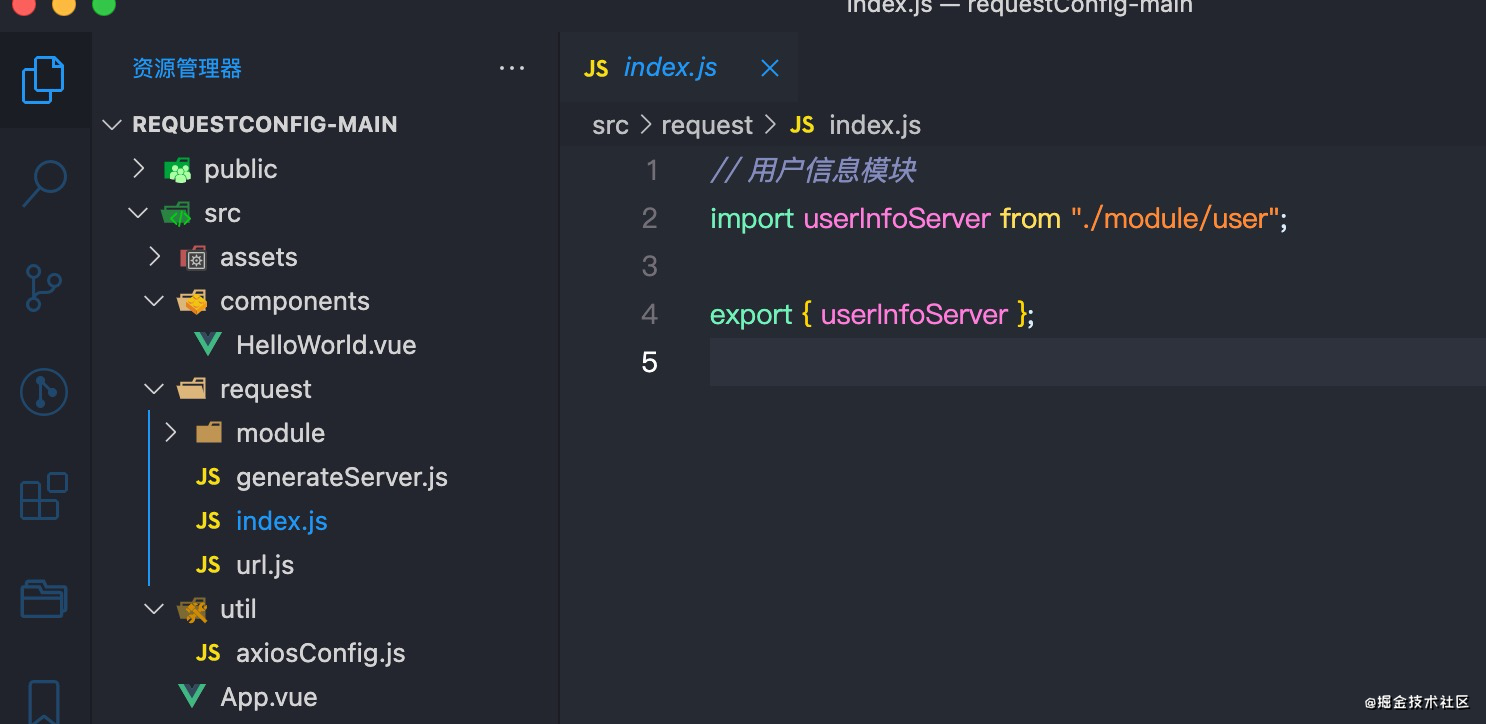
將所有的請求接口地址按照文件分模塊存儲,比如 request/module/user 用戶信息相關模塊【服務】


2.封裝方法、類。給所有請求綁定常用的請求方法,和對請求url上的路徑參數做處理
generateServer.js
import server from "../util/axiosConfig";
// 修改axios基本配置,請求配置
function request({
  url,
  method = "get",
  queryParm = {},
  body = {},
  pathParm = null,
  config = {},
}) {
  const configAxios = {
    method,
    ...config,
    url: dealRequestUrl(url, pathParm),
  };
  switch (method) {
    case "get":
      configAxios.params = queryParm;
      break;

    default:
      // 請求方法 'PUT', 'POST', 和 'PATCH'
      configAxios.data = body;
      break;
  }
  console.log('configAxios', configAxios)
  return server(configAxios);
}

function dealRequestUrl(url, pathParm) {
  if (!pathParm) return url;
  let dealurl = url;
  Object.keys(pathParm).forEach((ele) => {
    dealurl = dealurl.replace(`{${ele}}`, pathParm[ele]);
  });
  return dealurl;
}
class GenerateServer {
  constructor(url) {
    this.url = url;
  }
  getdata(parm) {
    console.log('parm', parm)
    return request({ ...parm, method: "get", url: this.url });
  }
  postdata(parm) {
    return request({ ...parm, method: "post", url: this.url });
  }
  deletedata(parm) {
    return request({ ...parm, method: "delete", url: this.url });
  }
}
export default GenerateServer;
3.整體暴露出去

使用
import { userInfoServer } from "./request";
    .
    .
    .

    // 發送請求
    userInfoServer.getUserName
      .getdata({
        queryParm: {
          id: 223,
        },
      })
      .then((res) => {
        console.log("res", res);
      });
    // 發送請求
    userInfoServer.getUserName
      .postdata({
        body: {
          id: 223,
        },
      })
      .then((res) => {
        console.log("res", res);
      });
    // 發送get請求,請求路徑帶參數
    userInfoServer.getUserList
      .getdata({
        queryParm: {
          id: 223,
        },
        pathParm: {
          id: 567,
        },
      })
      .then((res) => {
        console.log("res", res);
      });
以上是“項目中Axios二次封裝的示例分析”這篇文章的所有內容,感謝各位的閱讀!希望分享的內容對大家有幫助,更多相關知識,歡迎關注億速云行業資訊頻道!
免責聲明:本站發布的內容(圖片、視頻和文字)以原創、轉載和分享為主,文章觀點不代表本網站立場,如果涉及侵權請聯系站長郵箱:is@yisu.com進行舉報,并提供相關證據,一經查實,將立刻刪除涉嫌侵權內容。