溫馨提示×
您好,登錄后才能下訂單哦!
點擊 登錄注冊 即表示同意《億速云用戶服務條款》
您好,登錄后才能下訂單哦!
這篇文章給大家介紹怎么在PHP中利用百度ai對文本和圖片進行審核,內容非常詳細,感興趣的小伙伴們可以參考借鑒,希望對大家能有所幫助。
首先打開百度ai 開發平臺 注冊一個賬號:
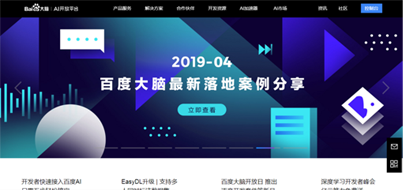
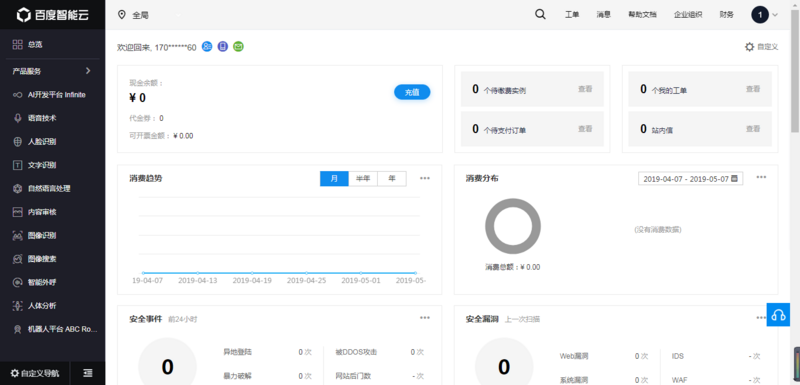
注冊賬號,進入控制臺
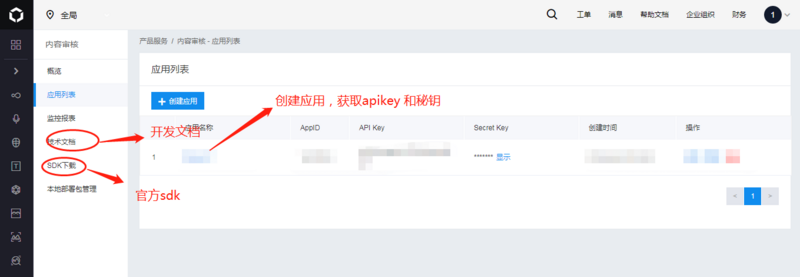
創建自己的應用,獲取apikey 和秘鑰
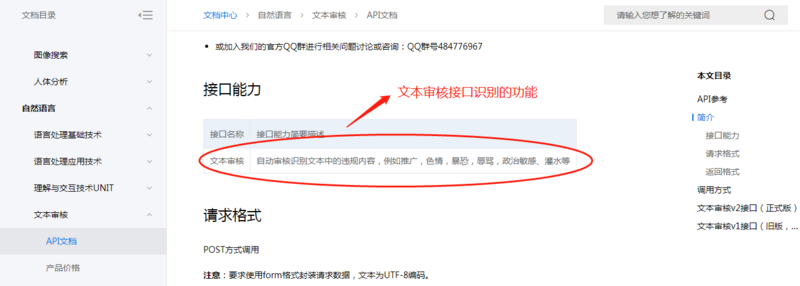
進入文檔頁 文本審核:
圖像審核:
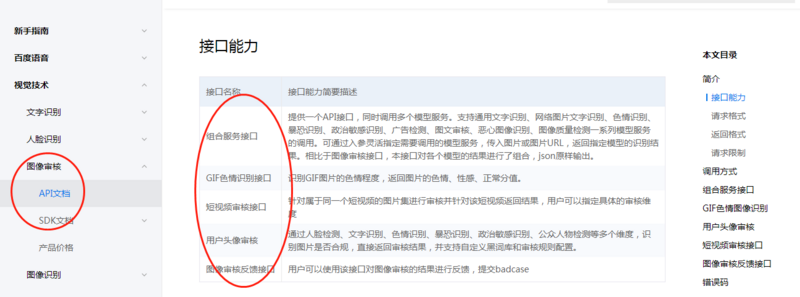
文檔很詳細,實現用戶發布內容審核 圖片審核還是很方便簡單的。我沒有使用官方的sdk,簡單的整合了一下作為練手,以下是我簡單的代碼demo:
class Sentive
{
  protected $accessTokenUrl = 'https://aip.baidubce.com/oauth/2.0/token';//獲取token url
  protected $textUrl = 'https://aip.baidubce.com/rest/2.0/antispam/v2/spam';//文本審核url
  protected $imgUrl = 'https://aip.baidubce.com/api/v1/solution/direct/img_censor';//圖片審核url
  protected $avatarUrl = 'https://aip.baidubce.com/rest/2.0/solution/v1/face_audit';//頭像審核url

  protected $grant_type;

  protected $client_id;

  protected $client_secret;

  function __construct()
  {
    $this->grant_type = 'client_credentials';
    $this->client_id = 'xxx';//API Key
    $this->client_secret = 'xxx';//Secret Key
  }

  static function request($url = '', $param = '')
  {
    if (empty($url) || empty($param)) {
      return false;
    }

    $postUrl = $url;
    $curlPost = $param;
    $curl = curl_init();//初始化curl
    curl_setopt($curl, CURLOPT_URL, $postUrl);//抓取指定網頁
    curl_setopt($curl, CURLOPT_HEADER, 0);//設置header
    curl_setopt($curl, CURLOPT_RETURNTRANSFER, 1);//要求結果為字符串且輸出到屏幕上
    curl_setopt($curl, CURLOPT_POST, 1);//post提交方式
    curl_setopt($curl, CURLOPT_POSTFIELDS, $curlPost);
    $data = curl_exec($curl);//運行curl
    curl_close($curl);


    return $data;
  }

  static function request_post($url = '', $param = array(), $type)
  {
    if (empty($url) || empty($param)) {
      return false;
    }

    $postUrl = $url;
    $curlPost = $param;
    $curl = curl_init();
    curl_setopt($curl, CURLOPT_URL, $postUrl);
    curl_setopt($curl, CURLOPT_HEADER, 0);
    // 要求結果為字符串
    curl_setopt($curl, CURLOPT_RETURNTRANSFER, 1);
    // post方式
    curl_setopt($curl, CURLOPT_POST, 1);
    curl_setopt($curl, CURLOPT_SSL_VERIFYPEER, false);
    curl_setopt($curl, CURLOPT_POSTFIELDS, $curlPost);
    if ($type == "text") {
      curl_setopt($curl, CURLOPT_HTTPHEADER, array('Content-Type: application/x-www-form-urlencoded'));
    } else {
      curl_setopt($curl, CURLOPT_HTTPHEADER, array('Content-Type: application/json;charset=utf-8'));
    }
    curl_setopt($curl, CURLINFO_HEADER_OUT, true);
    $data = curl_exec($curl);
    $code = curl_getinfo($curl, CURLINFO_HTTP_CODE);

    if ($code === 0) {
      throw new \Exception(curl_error($curl));
    }
    curl_close($curl);
    return $data;
  }

  //獲取token
  public function getToken()
  {
    new Redis();
    $post_data['grant_type'] = $this->grant_type;
    $post_data['client_id'] = $this->client_id;
    $post_data['client_secret'] = $this->client_secret;
    $o = "";
    foreach ($post_data as $k => $v) {
      $o .= "$k=" . urlencode($v) . "&";
    }
    $post_data = substr($o, 0, -1);
    $res = self::request($this->accessTokenUrl, $post_data);
    $redis->setkey("filterToken", json_decode($res, true)['access_token']);
    return json_decode($res, true)['access_token'];
  }

  //文本審核
  public function textVerify($data)
  {
    new Redis();
    $token = $redis->get("filterToken");
    if (empty($token)) {
      $token = $this->getToken();
    }
    $curl = $this->textUrl . "?access_token=" . $token;
    $result = self::request_post($curl, $data, "text");
    return json_decode($result, true);
  }

  //圖片審核
  public function imgVerify($img)
  {
    $redis = new Redis();
    $token = $redis->get("filterToken");
    if (empty($token)) {
      $token = $this->getToken();
    }
    $curl = $this->imgUrl . "?access_token=" . $token;
    $bodys = array(
      'image' => $img,
      'scenes' => array("ocr",
        "face", "public", "politician", "antiporn", "terror", "webimage", "disgust",
        'watermark')
    );
    $bodys = json_encode($bodys);
    $result = self::request_post($curl, $bodys, "img");
    return json_decode($result, true);
  }


  //頭像審核
  public function avatarVerify($img)
  {
    $redis = new Redis();
    $token = $redis->get("filterToken");
    if (empty($token)) {
      $token = $this->getToken();
    }
    $curl = $this->avatarUrl . "?access_token=" . $token;
    $bodys = array(
      "configId" => "1",
      "images" => $img
    );
    $result = self::request_post($curl, $bodys, "text");
    return json_decode($result, true);
  }
}
關于怎么在PHP中利用百度ai對文本和圖片進行審核就分享到這里了,希望以上內容可以對大家有一定的幫助,可以學到更多知識。如果覺得文章不錯,可以把它分享出去讓更多的人看到。
免責聲明:本站發布的內容(圖片、視頻和文字)以原創、轉載和分享為主,文章觀點不代表本網站立場,如果涉及侵權請聯系站長郵箱:is@yisu.com進行舉報,并提供相關證據,一經查實,將立刻刪除涉嫌侵權內容。