溫馨提示×
您好,登錄后才能下訂單哦!
點擊 登錄注冊 即表示同意《億速云用戶服務條款》
您好,登錄后才能下訂單哦!
利用python如何實現一個將圖片轉換素描畫功能?相信很多沒有經驗的人對此束手無策,為此本文總結了問題出現的原因和解決方法,通過這篇文章希望你能解決這個問題。
代碼如下
# -*- coding:utf-8 -*-
import cv2
import numpy as np
from tkinter import filedialog, Tk
from os import getcwd
from re import findall
def open_path():
# 圖片路徑
root = Tk()
root.withdraw()
file_path = (filedialog.askopenfilename(title='選擇圖片文件', filetypes=[('All Files', '*')]))
return file_path
def dodgeNaive(image, mask):
# determine the shape of the input image
width, height = image.shape[:2]
# prepare output argument with same size as image
blend = np.zeros((width, height), np.uint8)
for col in range(width):
for row in range(height):
# do for every pixel
if mask[col, row] == 255:
# avoid division by zero
blend[col, row] = 255
else:
# shift image pixel value by 8 bits
# divide by the inverse of the mask
tmp = (image[col, row] << 8) / (255 - mask)
# print('tmp={}'.format(tmp.shape))
# make sure resulting value stays within bounds
if tmp.any() > 255:
tmp = 255
blend[col, row] = tmp
return blend
def dodgeV2(image, mask):
return cv2.divide(image, 255 - mask, scale=256)
def burnV2(image, mask):
return 255 - cv2.divide(255 - image, 255 - mask, scale=256)
def rgb_to_sketch(src_image_name):
print('轉換中......')
img_rgb = cv2.imread(src_image_name)
img_gray = cv2.cvtColor(img_rgb, cv2.COLOR_BGR2GRAY)
# 讀取圖片時直接轉換操作
# img_gray = cv2.imread('example.jpg', cv2.IMREAD_GRAYSCALE)
img_gray_inv = 255 - img_gray
img_blur = cv2.GaussianBlur(img_gray_inv, ksize=(21, 21),
sigmaX=0, sigmaY=0)
img_blend = dodgeV2(img_gray, img_blur)
# cv2.imshow('original', img_rgb)
# cv2.imshow('gray', img_gray)
# cv2.imshow('gray_inv', img_gray_inv)
# cv2.imshow('gray_blur', img_blur)
cv2.imwrite(dst_image_name, img_blend)
save_path = getcwd() + "\\" + dst_image_name # 保存路徑
print('轉換完成!!!\n')
print('保存路徑:' + save_path)
cv2.imshow(save_path, img_blend)
cv2.waitKey(0)
cv2.destroyAllWindows()
if __name__ == '__main__':
print('請選擇圖片(路徑不要含中文):')
src_image_name = open_path() # 文件路徑
print(src_image_name + '\n')
image_name = ''.join(findall(r'[^\\/:*?"<>|\r\n]+$', src_image_name)) # 獲取文件名
dst_image_name = 'Sketch_' + image_name
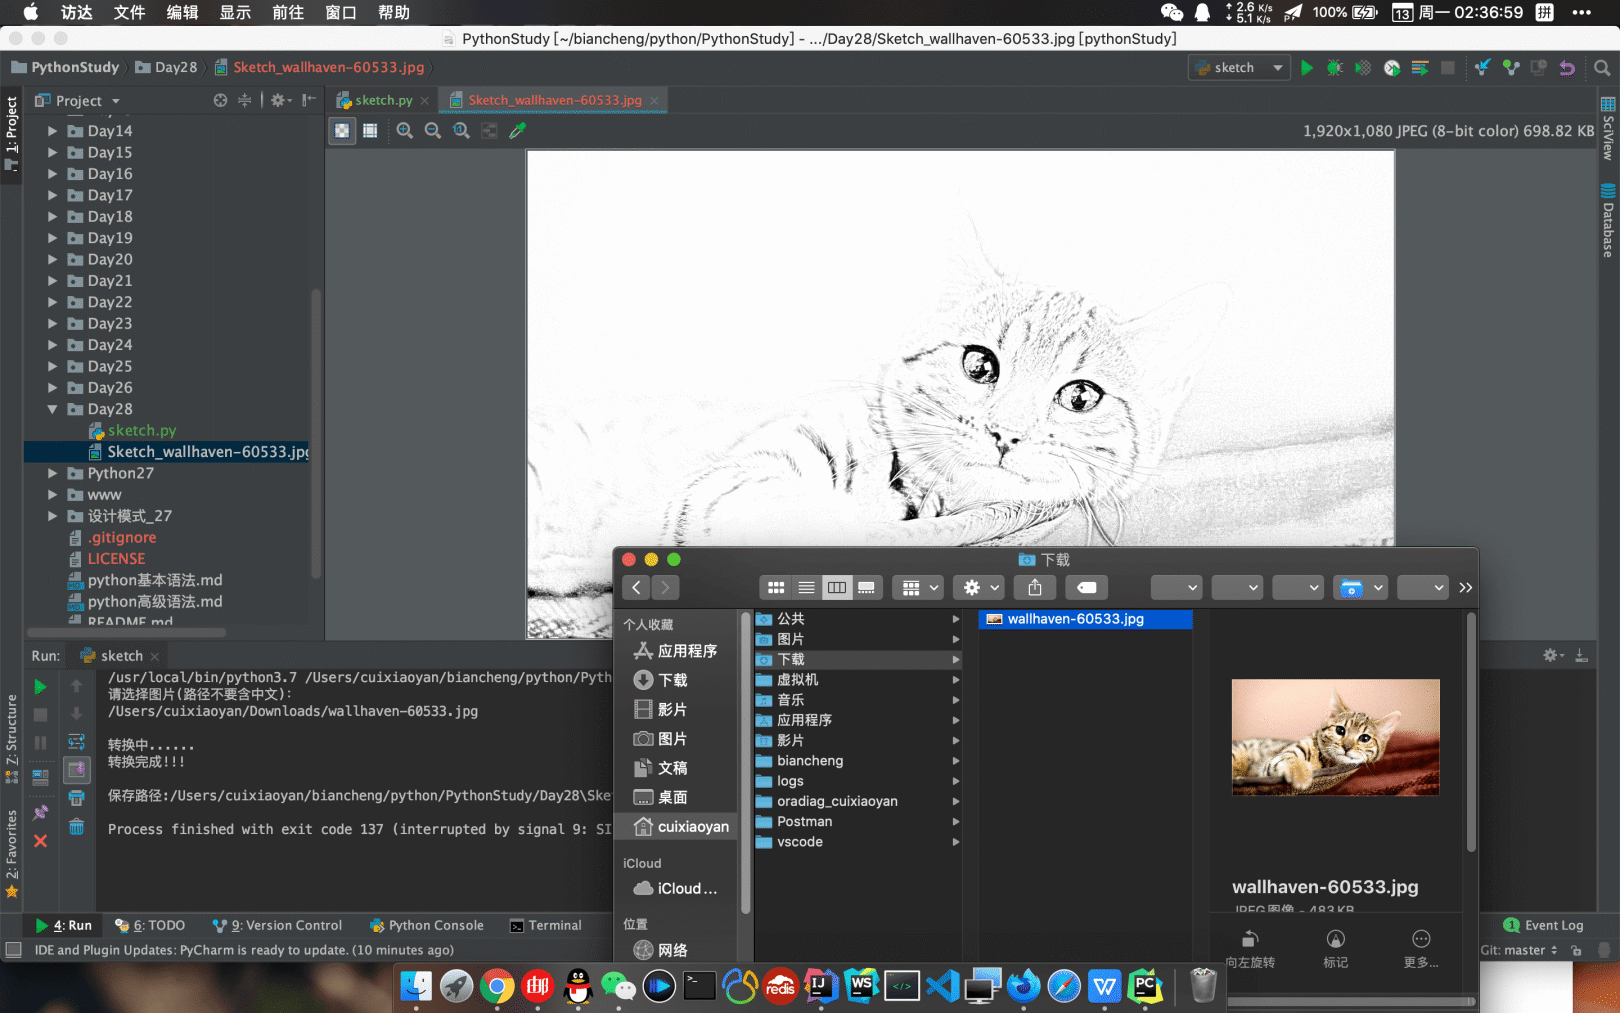
rgb_to_sketch(src_image_name)效果如下

看完上述內容,你們掌握利用python如何實現一個將圖片轉換素描畫功能的方法了嗎?如果還想學到更多技能或想了解更多相關內容,歡迎關注億速云行業資訊頻道,感謝各位的閱讀!
免責聲明:本站發布的內容(圖片、視頻和文字)以原創、轉載和分享為主,文章觀點不代表本網站立場,如果涉及侵權請聯系站長郵箱:is@yisu.com進行舉報,并提供相關證據,一經查實,將立刻刪除涉嫌侵權內容。