溫馨提示×
您好,登錄后才能下訂單哦!
點擊 登錄注冊 即表示同意《億速云用戶服務條款》
您好,登錄后才能下訂單哦!
這篇文章主要介紹html中如何添加遮罩效果,文中介紹的非常詳細,具有一定的參考價值,感興趣的小伙伴們一定要看完!
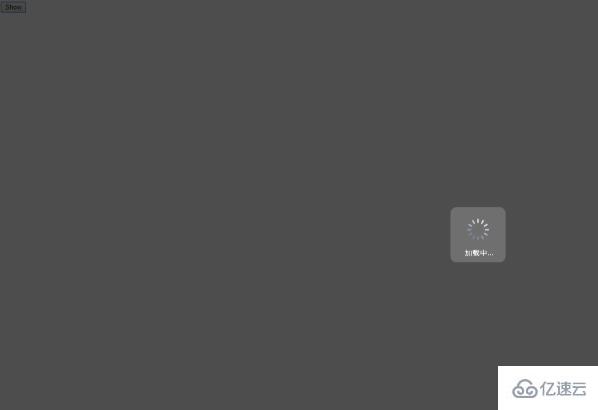
這里使用div+css的方式,加載中的圖片是網上下載的動圖,大家可以根據自己的需要進行修改。
實現代碼:
<!DOCTYPE html>
<html>
<head>
    <title>DIV CSS遮罩層</title>
    <script language="javascript" type="text/javascript">
        function showdiv() {
            document.getElementById("bg").style.display ="block";
            /* document.getElementById("show").style.display ="block";*/
        }
        function hidediv() {
            document.getElementById("bg").style.display ='none';
            /*document.getElementById("show").style.display ='none';*/
        }
    </script>
    <style type="text/css">
        #bg{ display: none;  position: absolute;  top: 0%;  left: 0%;  width: 100%;  height: 100%;  background-color: black;  z-index:1001;  -moz-opacity: 0.7;  opacity:.70;  filter: alpha(opacity=70);}
        #show{display: none;  position: absolute;  top: 25%;  left: 22%;  width: 53%;  height: 49%;  padding: 8px;  border: 8px solid #E8E9F7;  background-color: white;  z-index:1002;  overflow: auto;}
        /*遮罩圖片居中顯示*/
        .zhezhao{
            position: absolute;
            top:50%;
            left: 50%;
            transform: translate(-50%,-50%);
        }
    </style>
</head>
<body>
<input id="btnshow" type="button" value="Show" onclick="showdiv();"/>
<div id="bg">
    <img class="zhezhao" src="img/timg.gif">
</div>    <!-- 遮罩層  -->
<div id="show">測試
    <input id="btnclose" type="button" value="Close" onclick="hidediv();"/>
</div>
</body>
</html>
效果:

以上是html中如何添加遮罩效果的所有內容,感謝各位的閱讀!希望分享的內容對大家有幫助,更多相關知識,歡迎關注億速云行業資訊頻道!
免責聲明:本站發布的內容(圖片、視頻和文字)以原創、轉載和分享為主,文章觀點不代表本網站立場,如果涉及侵權請聯系站長郵箱:is@yisu.com進行舉報,并提供相關證據,一經查實,將立刻刪除涉嫌侵權內容。