您好,登錄后才能下訂單哦!
您好,登錄后才能下訂單哦!
這篇文章給大家介紹如何進行VNC安裝配置,內容非常詳細,感興趣的小伙伴們可以參考借鑒,希望對大家能有所幫助。
VNC安裝配置
Linux上安裝某個軟件時,經常需要啟動圖形,有時候Xmanager,xshell,xstart等工具無法正常啟動圖形,可以考慮通過VNC啟動圖形;
Linux
一:安裝VNC Server端
1 Server端需要的VNC安裝包
[root@chen vnc]# ll -rth
total 2.2M
-rw-r--r-- 1 root root 2.1M Feb 3 2009 vnc-server-4.1.2-14.el5_3.1.x86_64.rpm
-rw-r--r-- 1 root root 159K Feb 3 2009 vnc-4.1.2-14.el5_3.1.x86_64.rpm
[root@chen vnc]# rpm -ivh vnc-* --nodeps --force
warning: vnc-4.1.2-14.el5_3.1.x86_64.rpm: Header V3 DSA/SHA1 Signature, key ID 37017186: NOKEY
Preparing... ########################################### [100%]
1:vnc-server ########################################### [ 50%]
2:vnc ########################################### [100%]
2 生成密碼
[root@chen ~]# vncserver
You will require a password to access your desktops.
Password:123456
Verify:123456
New 'chen:1 (root)' desktop is chen:1
Creating default startup script /root/.vnc/xstartup
Starting applications specified in /root/.vnc/xstartup
Log file is /root/.vnc/chen:1.log
3 配置xstartup
[root@chen ~]# vi .vnc/xstartup
......
xsetroot -solid grey
vncconfig -iconic &
#xterm -geometry 80x24+10+10 -ls -title "$VNCDESKTOP Desktop" &
#twm &
gnome-session &
4 配置vncservers
[root@chen ~]# vi /etc/sysconfig/vncservers
VNCSERVERS="2:root"
# VNCSERVERS="2:myusername"
# VNCSERVERARGS[2]="-geometry 800x600 -nolisten tcp -nohttpd -localhost"
5 重啟vncserver
[root@chen ~]# /etc/init.d/vncserver start
Starting VNC server: 2:root
New 'chen:2 (root)' desktop is chen:2
Starting applications specified in /root/.vnc/xstartup
Log file is /root/.vnc/chen:2.log [ OK ]
---Windows
二:安裝VNC Viewer端
D:\cjc\soft\vnc\VNC-Viewer-6.17.1113-Windows.exe
...下一步
...下一步
......
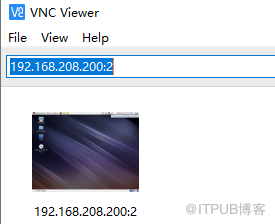
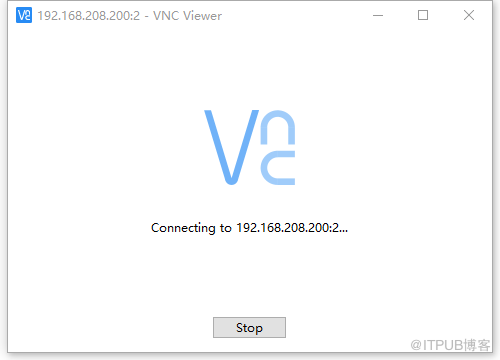
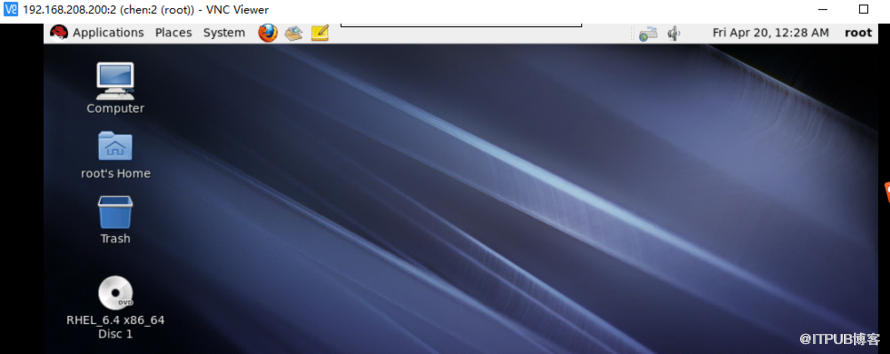
安裝完成后登錄:
192.168.208.200:2
password:123456


關于如何進行VNC安裝配置就分享到這里了,希望以上內容可以對大家有一定的幫助,可以學到更多知識。如果覺得文章不錯,可以把它分享出去讓更多的人看到。
免責聲明:本站發布的內容(圖片、視頻和文字)以原創、轉載和分享為主,文章觀點不代表本網站立場,如果涉及侵權請聯系站長郵箱:is@yisu.com進行舉報,并提供相關證據,一經查實,將立刻刪除涉嫌侵權內容。