您好,登錄后才能下訂單哦!
您好,登錄后才能下訂單哦!
這篇文章將為大家詳細講解配置nginx實現防盜鏈以及優化FPM的方法,小編覺得挺實用的,因此分享給大家做個參考,希望大家閱讀完這篇文章后可以有所收獲。
配置nginx實現防盜鏈
在企業網站服務中,一般都要配置防盜鏈功能,以避免網站內容被非法盜用,造成經濟損失
nginx防盜鏈功能也非常強大。默認情況下,只需要進行簡單的配置,即可實現放到鏈處理
實驗環境
一臺nginx服務器,一臺測試客戶機,一臺盜鏈機
實驗過程
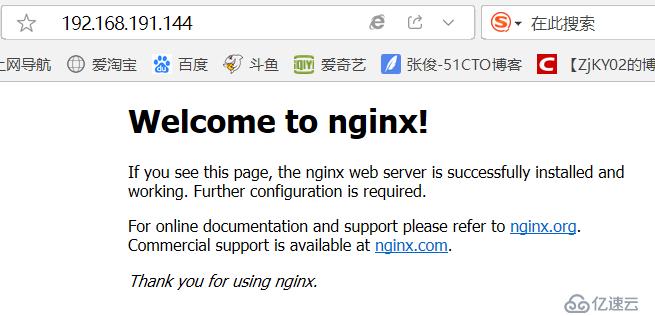
1.nginx服務器上部署nginx服務
nginx部署成功!
2.配置盜鏈機
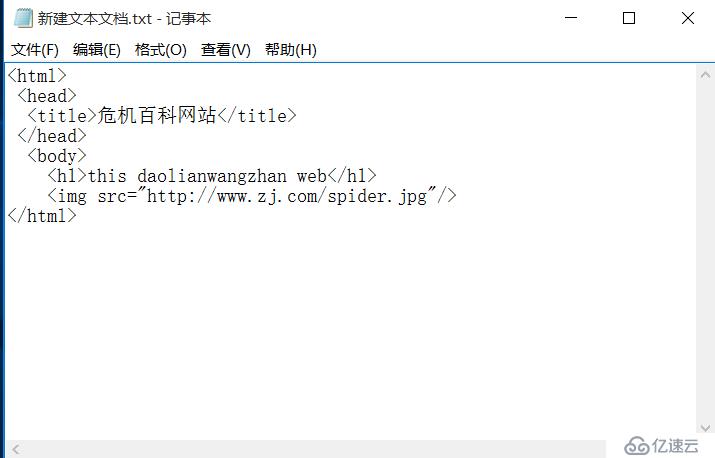
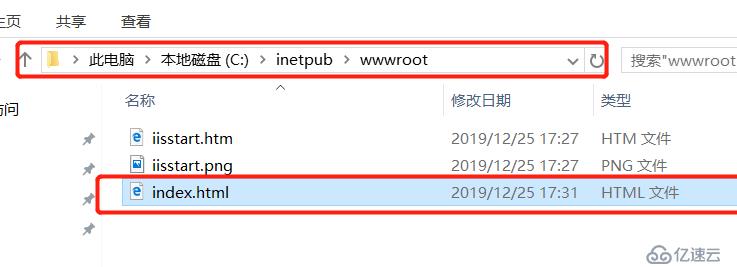
創建盜鏈機的網頁
除非用本地的域名去訪問
如果匹配的是無效的,否則就跳轉一個error.png頁面
配置說明
[root@localhost ~]# cd /usr/local/nginx/
[root@localhost nginx]# ls
client_body_temp  fastcgi_temp  logs        sbin       uwsgi_temp
conf              html          proxy_temp  scgi_temp
[root@localhost nginx]# cd html/
[root@localhost html]# ls
50x.html  index.html  qq.jpg
[root@localhost html]# mount.cifs //192.168.254.10/linuxs /abc
Password for root@//192.168.254.10/linuxs:
[root@localhost html]# cd /abc
[root@localhost abc]# ls
error.png
[root@localhost abc]# cp error.png /usr/local/nginx/html/
[root@localhost abc]# cd -
/usr/local/nginx/html
[root@localhost html]# ls
50x.html  error.png  index.html  qq.jpg
[root@localhost html]# grep "qq.jpg" index.html
<img src="qq.jpg">
[root@localhost html]# service nginx start
[root@localhost html]# netstat -natp | grep 80
tcp 0 0 192.168.247.193:80 0.0.0.0:* LISTEN 3038/nginx: master 
使用域名,需要使用dns解析服務
搭建dns詳見我前面的博客
然后指定盜鏈主機和客戶機的dns服務器
開始設置盜機
在win10內打開控制面板,控制面板內打開程序和功能,里面有開啟或者關閉功能,點擊
然后點擊internet informatoion servers
關閉盜機防火墻
然后客戶端去訪問盜機網站

盜鏈成功,接下來做防盜鏈操作:
[root@localhost html]# vim /usr/local/nginx/conf/nginx.conf
location ~*\.(jpg|gif|swf)$ {
   valid_referers none blocked *.shl.com shl.com;
    if ( $invalid_referer ) {
         rewrite ^/ http://www.shl.com/error.png;
   }
}
重啟nginx服務
[root@localhost named]# service nginx stop
[root@localhost named]# service nginx start
防盜鏈配置成功
FPM優化參數調整示例
[root@localhost ~]# vim /usr/local/php/etc/php-fpm.conf
pid = run/php-fpm.pid
pm = dynamic
pm.max_children=20
pm.static_servers = 5
pm.min_spare_servers = 2
pm.max_spare_servers = 8
以上就是配置nginx實現防盜鏈以及優化FPM的詳細內容了,看完之后是否有所收獲呢?如果想了解更多相關內容,歡迎關注億速云行業資訊!
免責聲明:本站發布的內容(圖片、視頻和文字)以原創、轉載和分享為主,文章觀點不代表本網站立場,如果涉及侵權請聯系站長郵箱:is@yisu.com進行舉報,并提供相關證據,一經查實,將立刻刪除涉嫌侵權內容。