您好,登錄后才能下訂單哦!
您好,登錄后才能下訂單哦!
這篇文章給大家介紹properties配置文件如何使用Spring Boot進行讀取,內容非常詳細,感興趣的小伙伴們可以參考借鑒,希望對大家能有所幫助。
在SpringApplication類中:
  private ConfigurableEnvironment prepareEnvironment(
      SpringApplicationRunListeners listeners,
      ApplicationArguments applicationArguments) {
    // Create and configure the environment
    ConfigurableEnvironment environment = getOrCreateEnvironment();
    configureEnvironment(environment, applicationArguments.getSourceArgs());

    //此處讀取
    listeners.environmentPrepared(environment);

    if (isWebEnvironment(environment)
        && this.webApplicationType == WebApplicationType.NONE) {
      environment = convertToStandardEnvironment(environment);
    }
    return environment;
  }
關于監聽器的過程在開頭說的那篇的一系列中也說的挺細的,這里不介紹了:
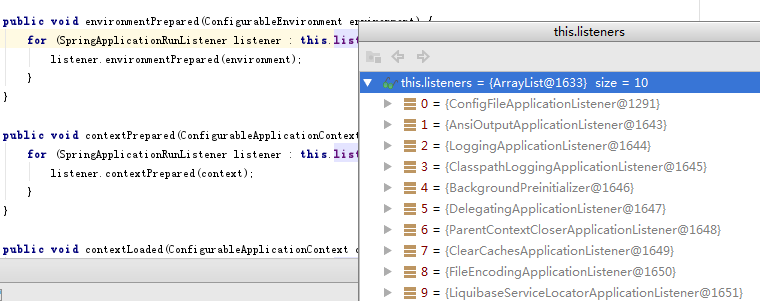
都是監聽器相關的部分,略了,SpringApplicationRunListeners類中:
  public void environmentPrepared(ConfigurableEnvironment environment) {
    for (SpringApplicationRunListener listener : this.listeners) {
      listener.environmentPrepared(environment);
    }
  }
EventPublishingRunListener:
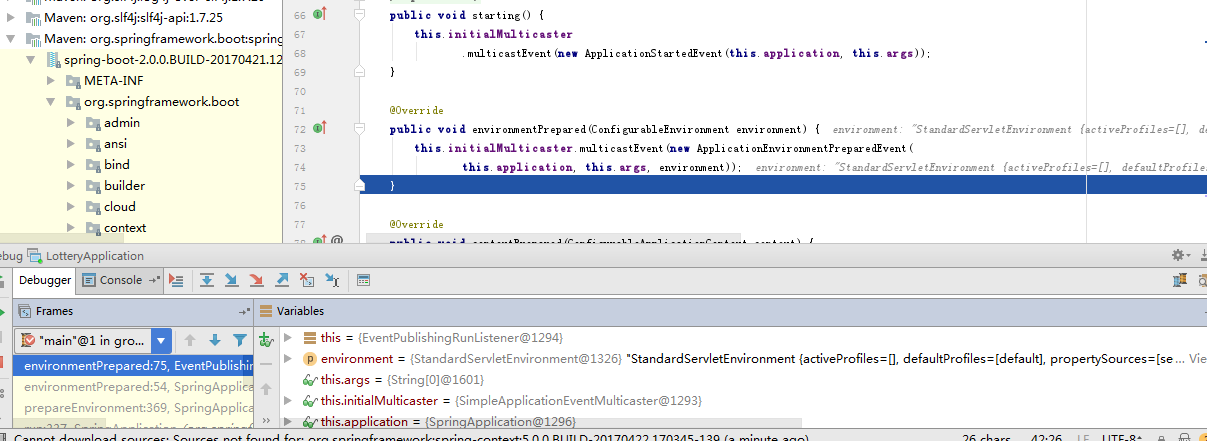
onApplicationEnvironmentPreparedEvent事件觸發org\springframework\boot\spring-boot\2.0.0.BUILD-SNAPSHOT\spring-boot-2.0.0.BUILD-20170421.122111-547-sources.jar!\org\springframework\boot\context\config\ConfigFileApplicationListener.java監聽器執行:
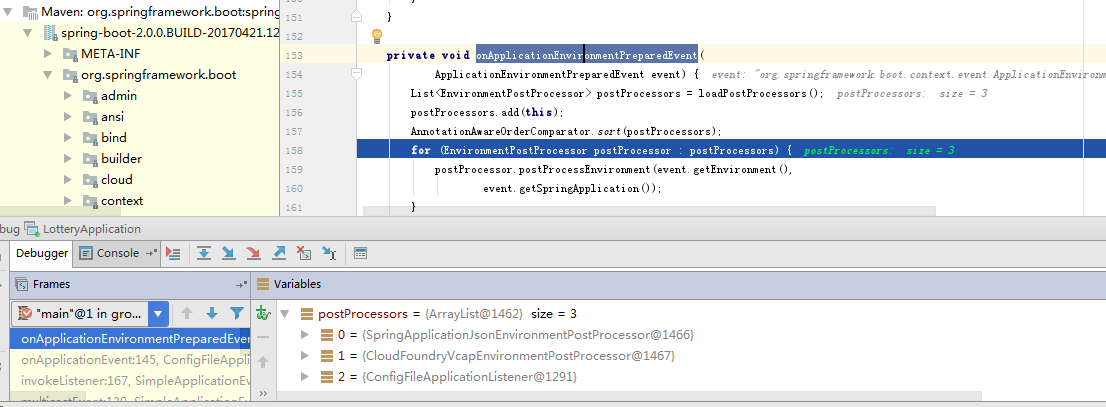
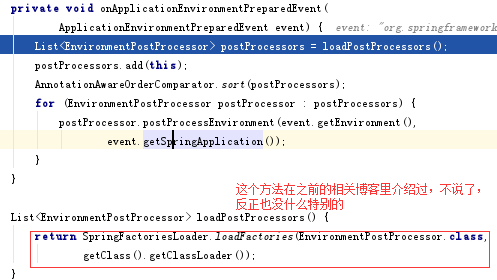
現在這個postProcessors中包含Json之類其他的監聽器,不過我現在只想扣出properties的代碼,別的先略過,反正其實也沒什么,本來也是想看看它的思路,扣著玩,不要太在意。

  protected void addPropertySources(ConfigurableEnvironment environment,
      ResourceLoader resourceLoader) {
    RandomValuePropertySource.addToEnvironment(environment);
    new Loader(environment, resourceLoader).load();
  }
    Loader(ConfigurableEnvironment environment, ResourceLoader resourceLoader) {
      this.environment = environment;
      this.resourceLoader = resourceLoader == null ? new DefaultResourceLoader()
          : resourceLoader;
    }
this.classLoader = ClassUtils.getDefaultClassLoader();
//其實也就是Thread.currentThread().getContextClassLoader();下面就是真正加載了配置文件的load方法了,先是初始化PropertySourcesLoader和一些臨時的集合:
      this.propertiesLoader = new PropertySourcesLoader();
      this.activatedProfiles = false;
      this.profiles = Collections.asLifoQueue(new LinkedList<Profile>());
      this.processedProfiles = new LinkedList<>();

      // Pre-existing active profiles set via Environment.setActiveProfiles()
      // are additional profiles and config files are allowed to add more if
      // they want to, so don't call addActiveProfiles() here.
      Set<Profile> initialActiveProfiles = initializeActiveProfiles();
      this.profiles.addAll(getUnprocessedActiveProfiles(initialActiveProfiles));
這些集合其實如果沒配置Profile基本是沒用的,這東西現在已經很少用到了,這個環境當然是沒配的:

主要是下面這部分:
        for (String location : getSearchLocations()) {
          if (!location.endsWith("/")) {
            // location is a filename already, so don't search for more
            // filenames
            load(location, null, profile);
          }
          else {
            for (String name : getSearchNames()) {
              load(location, name, profile);
            }
          }
        }
就是去指定目錄下去找各種以application為名字的指定類型的配置文件:

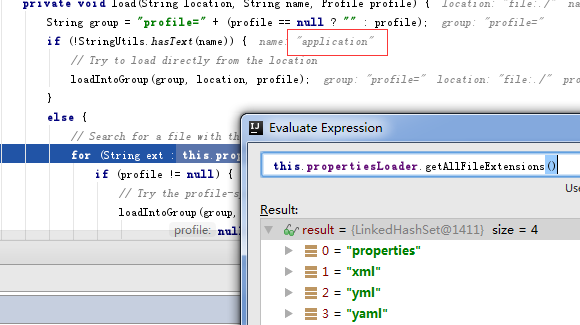
我只關心application.properties,它是上面循環中的一次,走進了doLoadIntoGroup方法的下面那句:


private Map<String, ?> loadProperties(Resource resource) throws IOException {
String filename = resource.getFilename();
if (filename != null && filename.endsWith(XML_FILE_EXTENSION)) {
return (Map) PropertiesLoaderUtils.loadProperties(resource);
}
return new OriginTrackedPropertiesLoader(resource).load();
}這個resource其實只是封裝了一下InputStream,具體的讀取。。。反正也沒啥特別的讀法:
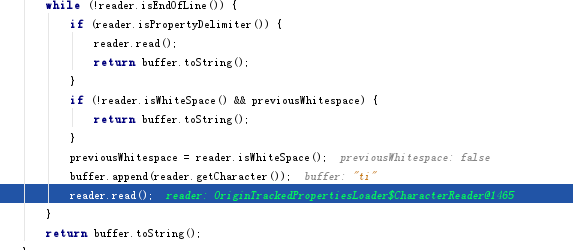
讀出的key和value放在Map<String, OriginTrackedValue>:
  private void put(Map<String, OriginTrackedValue> result, String key,
      OriginTrackedValue value) {
    if (!key.isEmpty()) {
      result.put(key, value);
    }
  }
關于properties配置文件如何使用Spring Boot進行讀取就分享到這里了,希望以上內容可以對大家有一定的幫助,可以學到更多知識。如果覺得文章不錯,可以把它分享出去讓更多的人看到。
免責聲明:本站發布的內容(圖片、視頻和文字)以原創、轉載和分享為主,文章觀點不代表本網站立場,如果涉及侵權請聯系站長郵箱:is@yisu.com進行舉報,并提供相關證據,一經查實,將立刻刪除涉嫌侵權內容。