溫馨提示×
您好,登錄后才能下訂單哦!
點擊 登錄注冊 即表示同意《億速云用戶服務條款》
您好,登錄后才能下訂單哦!
這篇文章主要介紹如何使用Angular+Angular-Ui實現分頁,文中介紹的非常詳細,具有一定的參考價值,感興趣的小伙伴們一定要看完!
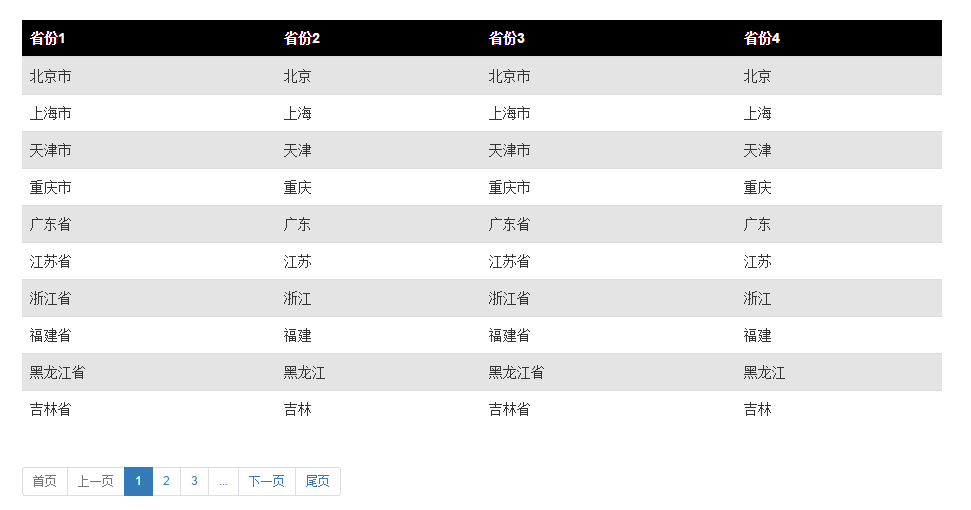
先看效果:

采用了Angular-UI中的分頁組件,關于Angular-UI如何使用請移步這里https://angular-ui.github.io/bootstrap/中的bootstrap章節(其中ui-router等我也建議你多看看)
注意:必須按照官網上引入相應的js和css才能生效,千萬不要忘記了。
HTML代碼如下:
<div class="">
 <table class="table">
  <thead class="hed">
  <tr>
   <th>省份1</th>
   <th>省份2</th>
   <th>省份3</th>
   <th>省份4</th>
  </tr>
  </thead>
  <tbody>
  <tr ng-repeat="a in allitem[currentPage-1]">
   <td ng-bind="a.n"></td>
   <td ng-bind="a.s"></td>
   <td ng-bind="a.n"></td>
   <td ng-bind="a.s"></td>
  </tr>

  </tbody>

 </table>

</div>
<div class="">
 <pagination boundary-links="true" total-items="totalItems"
    ng-model="currentPage" class="pagination-sm embed-responsive-item"
    previous-text="上一頁"
    next-text="下一頁"
    first-text="首頁"
    last-text="尾頁"
    max-size="maxSize"
    rotate="false" num-pages="numPages">


 </pagination>
</div>
JS代碼如下:
$scope.currentPage =1;//初始當前頁
  $scope.maxSize = 3;//最多顯示3頁其他的用···代替
  $scope.allitem=[];//存放所有頁
  $http.get('./js/test').success(
   function (data) {
    $scope.addr=data.l;
    var num= $scope.addr.length;

    $scope.totalItems =num;//共有多少條數據

    for(var i=0;i<num;i+=10){
     $scope.allitem.push($scope.addr.slice(i,i+10))
    }//此方法可以將一個數組分成多個數組并且放在了一個大數組里面,按每個數組10條數據【因為組件默認為10條數據一頁】存放,假如41條數據的話我們將分成5頁


   }
  );
以上是“如何使用Angular+Angular-Ui實現分頁”這篇文章的所有內容,感謝各位的閱讀!希望分享的內容對大家有幫助,更多相關知識,歡迎關注億速云行業資訊頻道!
免責聲明:本站發布的內容(圖片、視頻和文字)以原創、轉載和分享為主,文章觀點不代表本網站立場,如果涉及侵權請聯系站長郵箱:is@yisu.com進行舉報,并提供相關證據,一經查實,將立刻刪除涉嫌侵權內容。