您好,登錄后才能下訂單哦!
您好,登錄后才能下訂單哦!
element 的上傳功能
最近有個需求,需要在上傳文件前,可以進行彈窗控制是否上傳 upload
看完文檔后,感覺有兩種思路可以實現
before-upload
auto-upload, on-change
before-upload
初始代碼
// template
<el-upload
 class="avatar-uploader"
 action="https://jsonplaceholder.typicode.com/posts/"
 :show-file-list="false"
 :on-success="handleAvatarSuccess"
 :before-upload="beforeAvatarUpload">
 <img v-if="imageUrl" :src="imageUrl" class="avatar">
 <i v-else class="el-icon-plus avatar-uploader-icon"></i>
</el-upload>
// javscript
data() {
 return {
  imageUrl: ""
 };
 },
 methods: {
 handleAvatarSuccess(res, file) {
  this.imageUrl = URL.createObjectURL(file.raw);
 },
 beforeAvatarUpload(file) {
  // 文件類型進行判斷
  const isJPG = file.type === "image/jpeg";
  const isLt2M = file.size / 1024 / 1024 < 2;
  if (!isJPG) {
  this.$message.error("上傳頭像圖片只能是 JPG 格式!");
  }
  if (!isLt2M) {
  this.$message.error("上傳頭像圖片大小不能超過 2MB!");
  }
  return isJPG && isLt2M;
 }
 }
初始效果圖
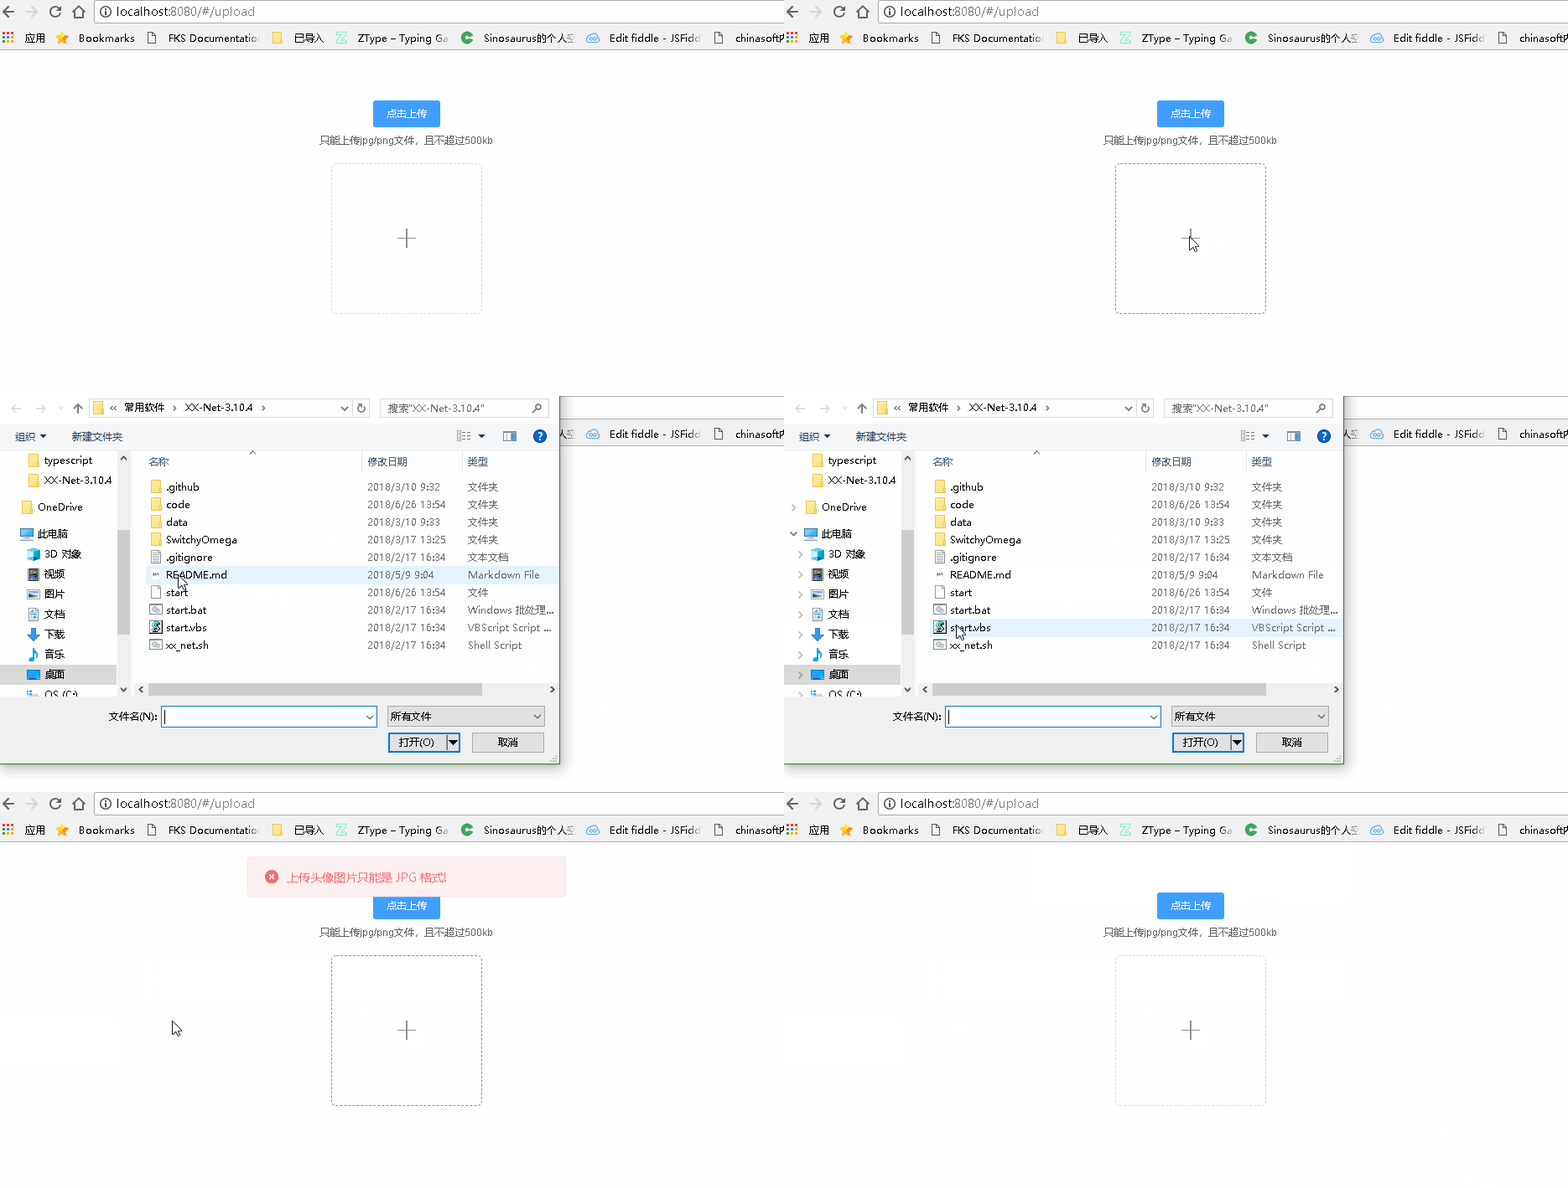
考慮在before-upload中進行彈窗后, return false | reject() 即可
修改代碼
由于 this.$confirm 是異步操作,因而需要等待其結果才能進行下一步操作
async beforeAvatarUpload(file) {
  const isSubmit = await this.$confirm('此操作將上傳文件, 是否繼續?', '提示', {
   confirmButtonText: '確定',
   cancelButtonText: '取消',
   type: 'warning'
  }).then(() => {
   return true
  }).catch(() => {
   return false
  });
  console.log(isSubmit)
  return isSubmit;
 }
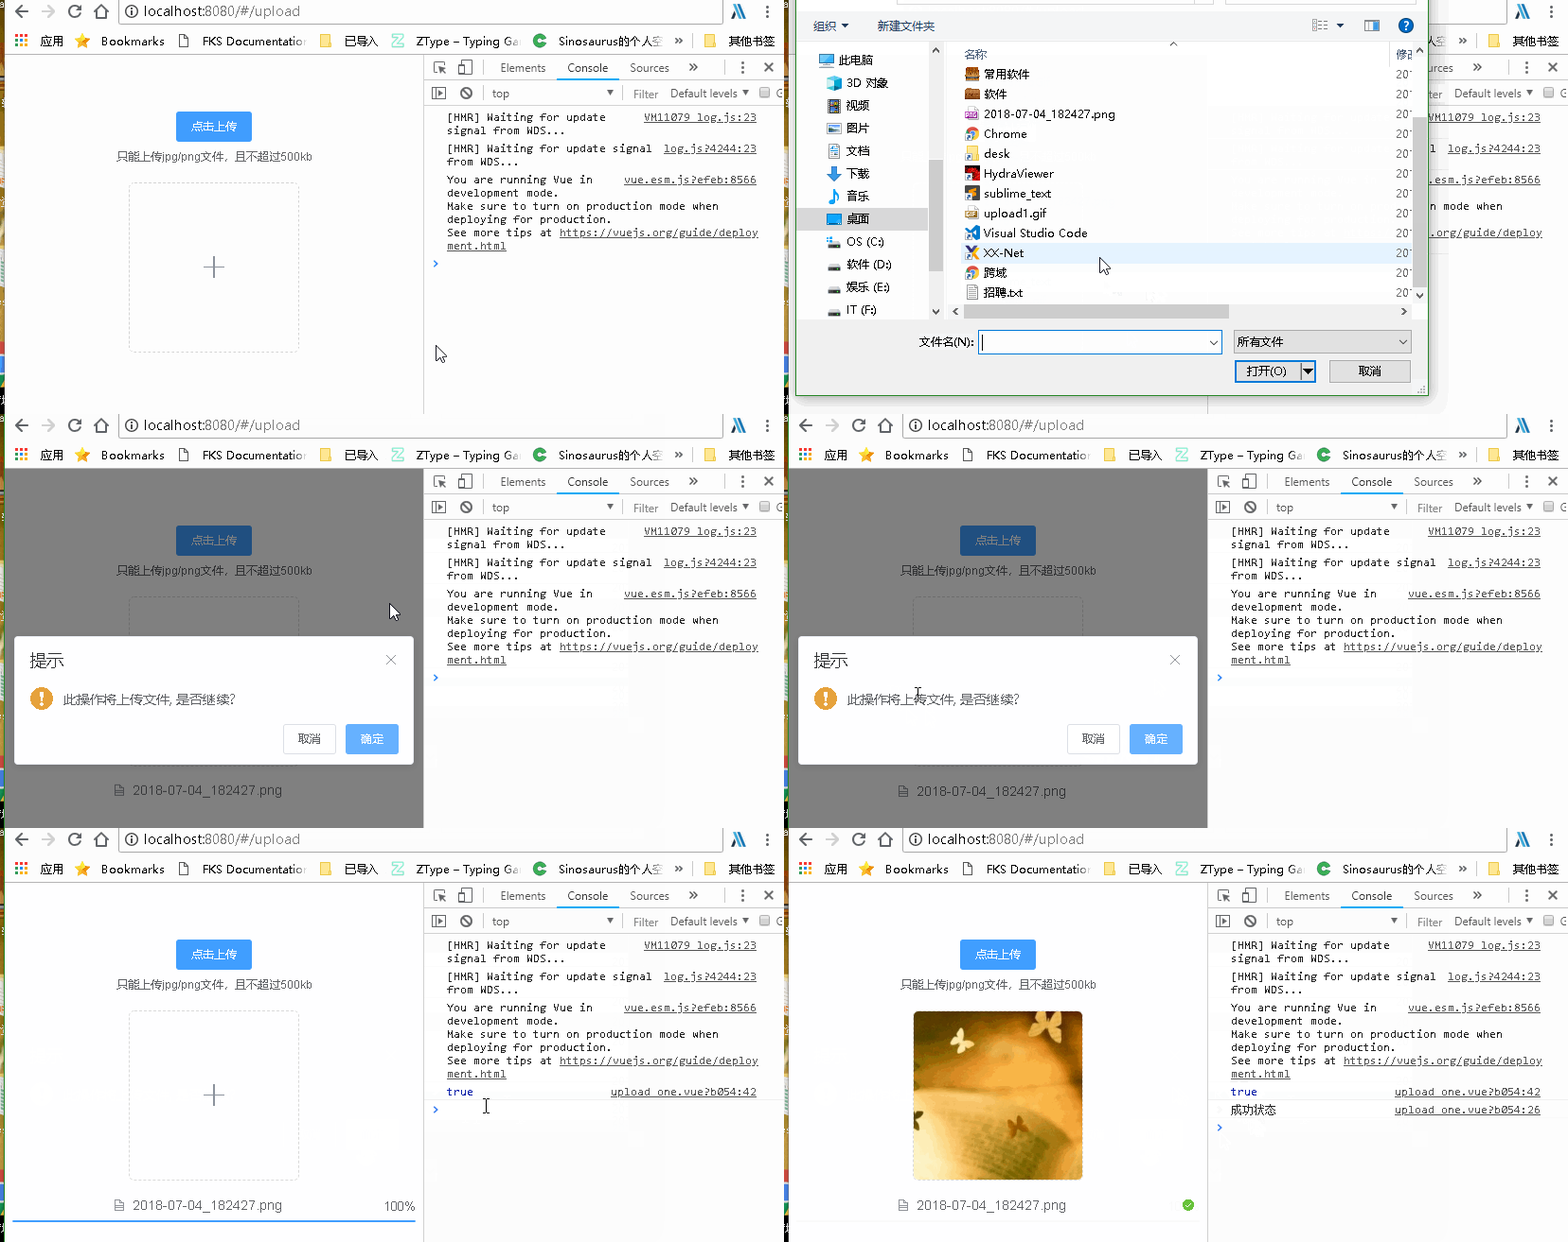
確認提交和取消提交 ==> 結果卻一樣
確認提交
取消提交
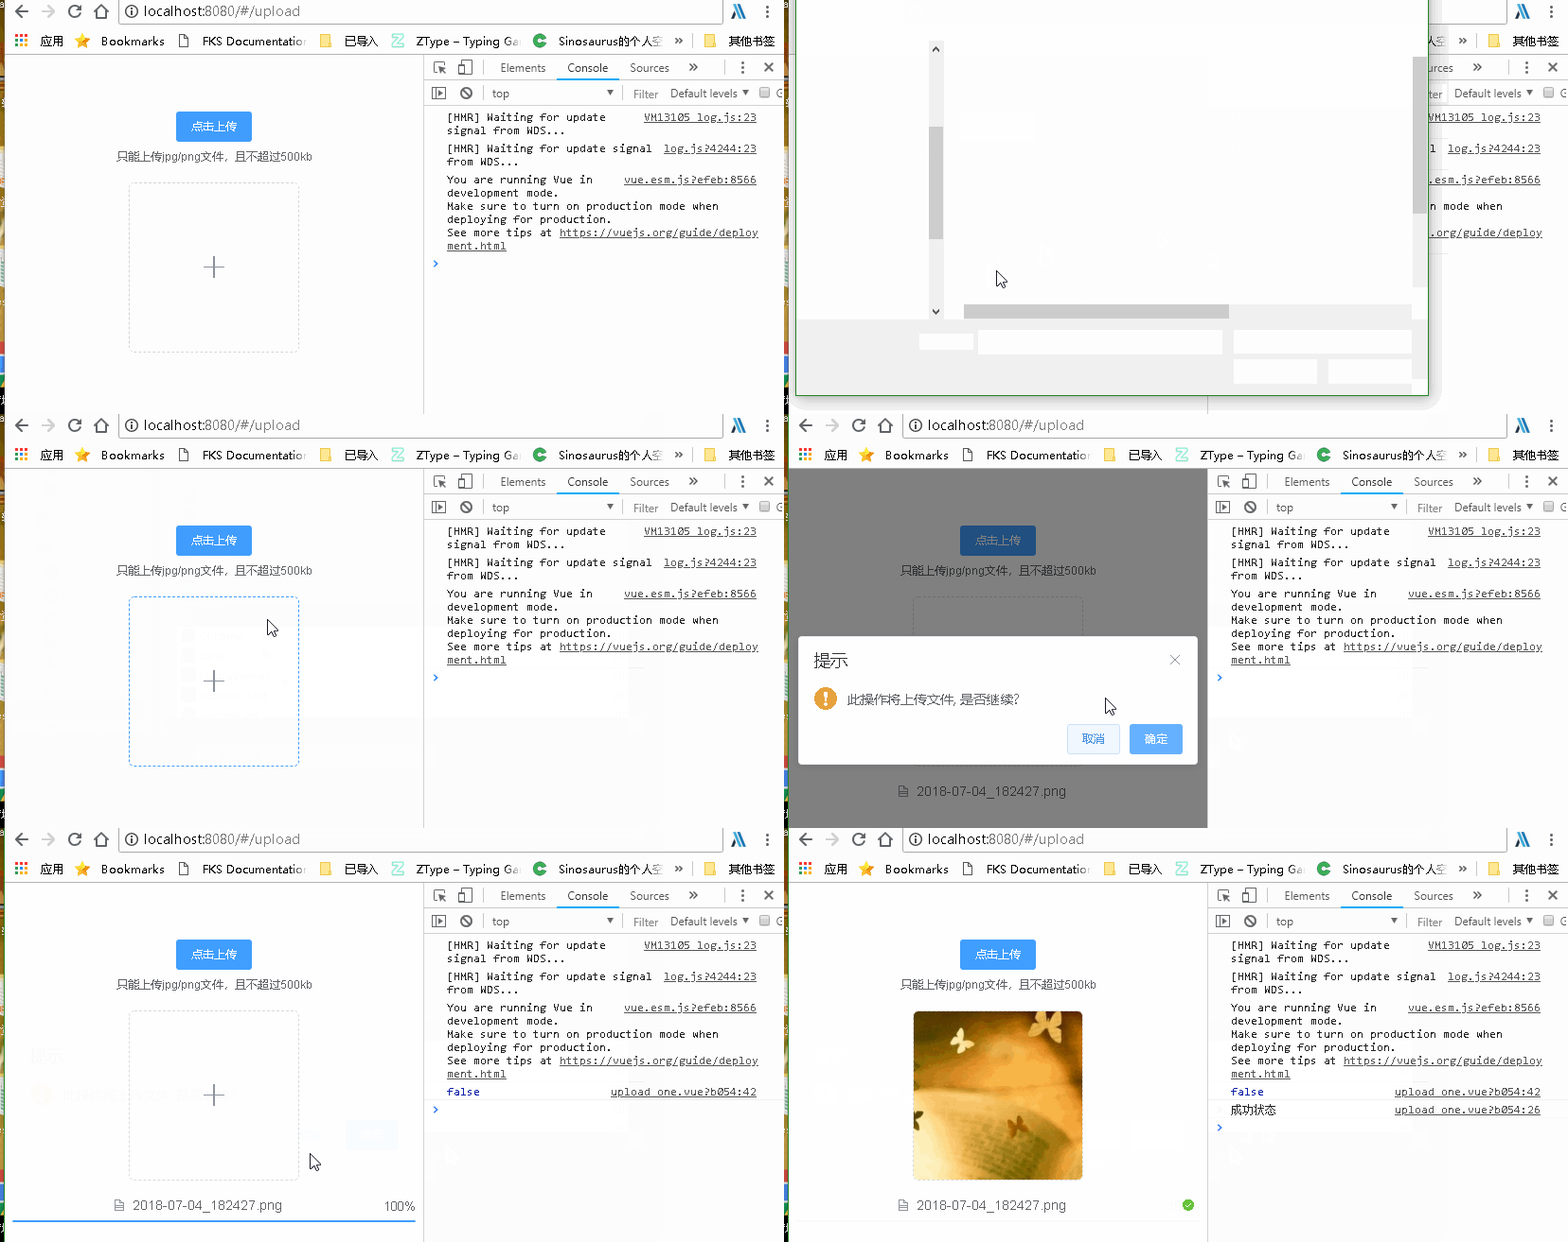
結果卻不可以,因而考慮另一種思路了, before-upload 只是進行判斷文件是否適合,從而是否上否上傳到服務器,而不是用來等待用戶進行操作使用的
手動上傳
auto-upload
on-change
// template
<el-upload
 ref="upload"
 class="upload-demo"
 action="https://jsonplaceholder.typicode.com/posts/"
 :on-preview="handlePreview"
 :limit="1"
 :auto-upload="false"
 :on-change="handleChange"
 :show-file-list="true"
 :file-list="fileList"
 :on-error="handleError"
 :on-success="handleSuccess">
 <el-button size="small" type="primary">點擊上傳</el-button>
</el-upload>
// js
data() {
return {
 fileList: [
 ],
 bool: true
 }
},
methods: {
 handleRemove(file, fileList) {
 console.log(file, fileList);
 },
 handlePreview(file) {
 console.log(file);
 },
 handleError(err, file) {
  alert('失敗')
  this.fileList = []
 },
 handleSuccess(res, file) {
 alert('成功')
 this.fileList = []
 },
 handleExceed(files, fileList) {},
 async handleChange() {
 const isSubmit = await this.$confirm('此操作將永久刪除該文件, 是否繼續?', '提示', {
  confirmButtonText: '確定',
  cancelButtonText: '取消',
  type: 'warning'
 }).then(() => {
  return false
 }).catch(() => {
  return true
 });
 if (isSubmit) {
  this.$refs.upload.submit()
 } else {
  this.fileList = []
 }
 }
}
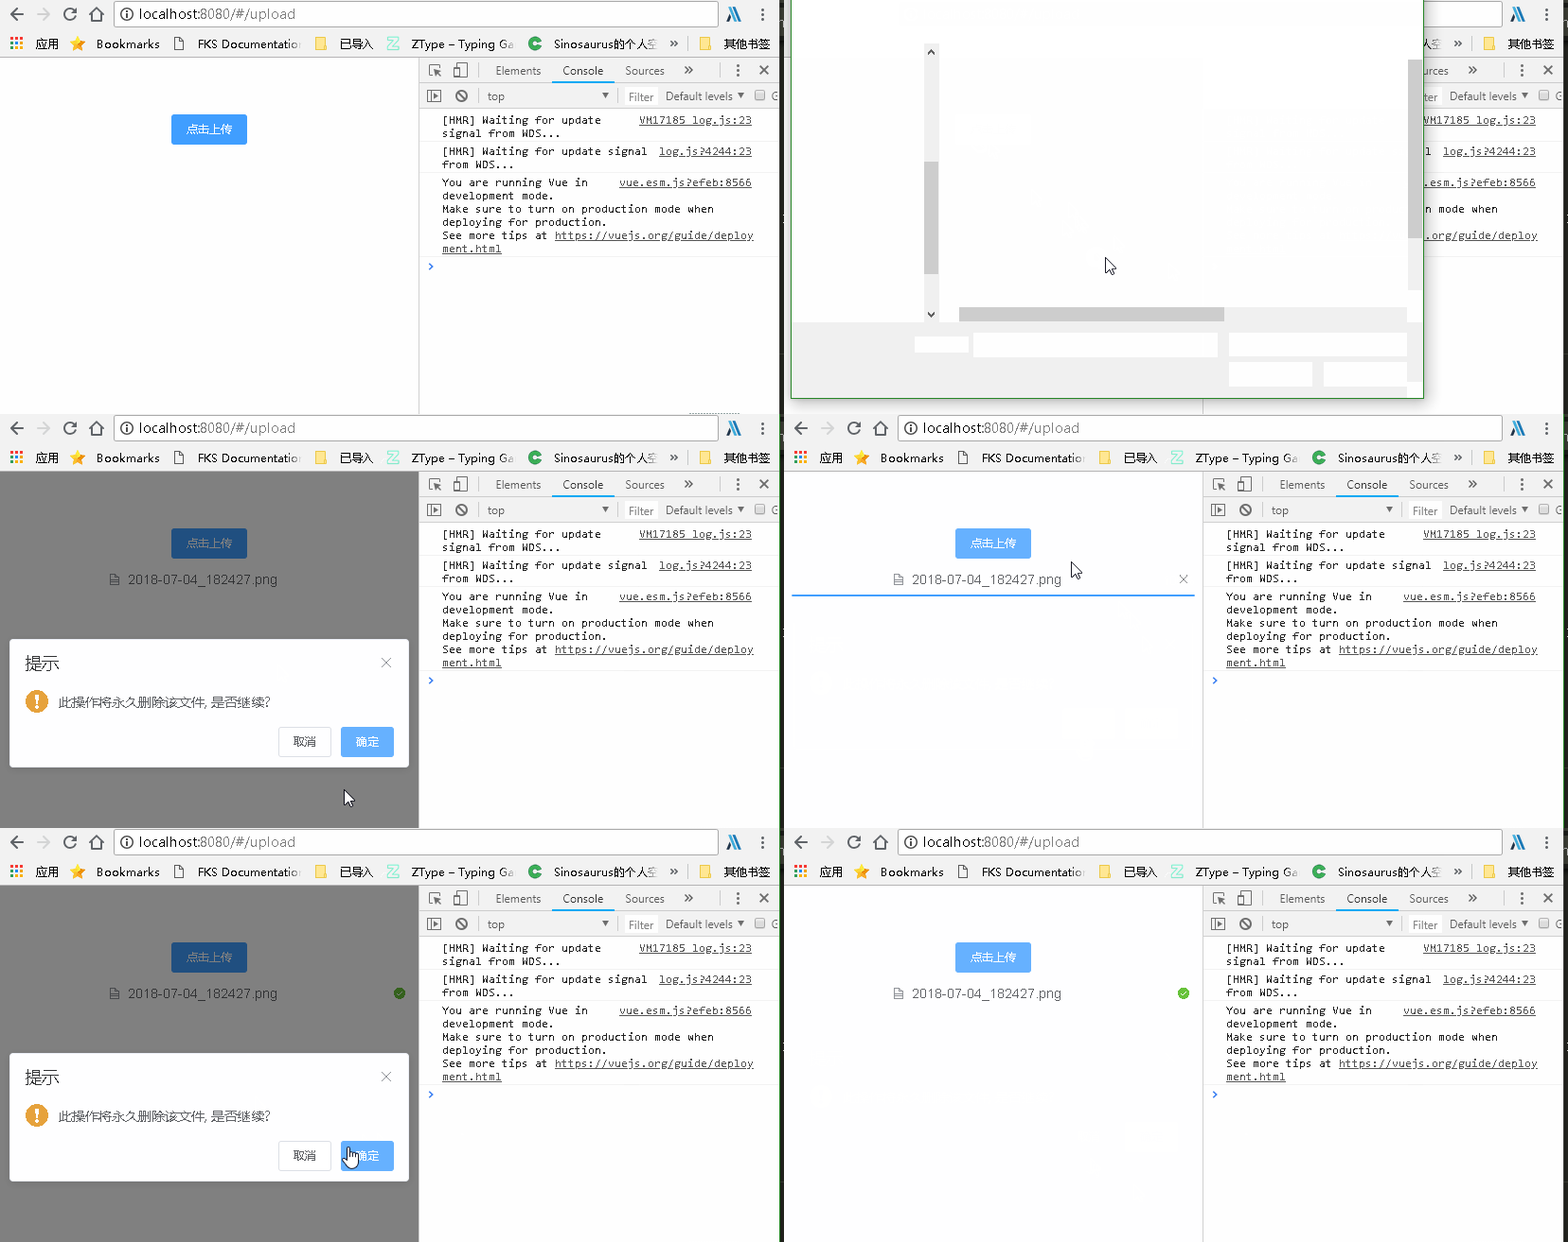
確認提交
取消提交
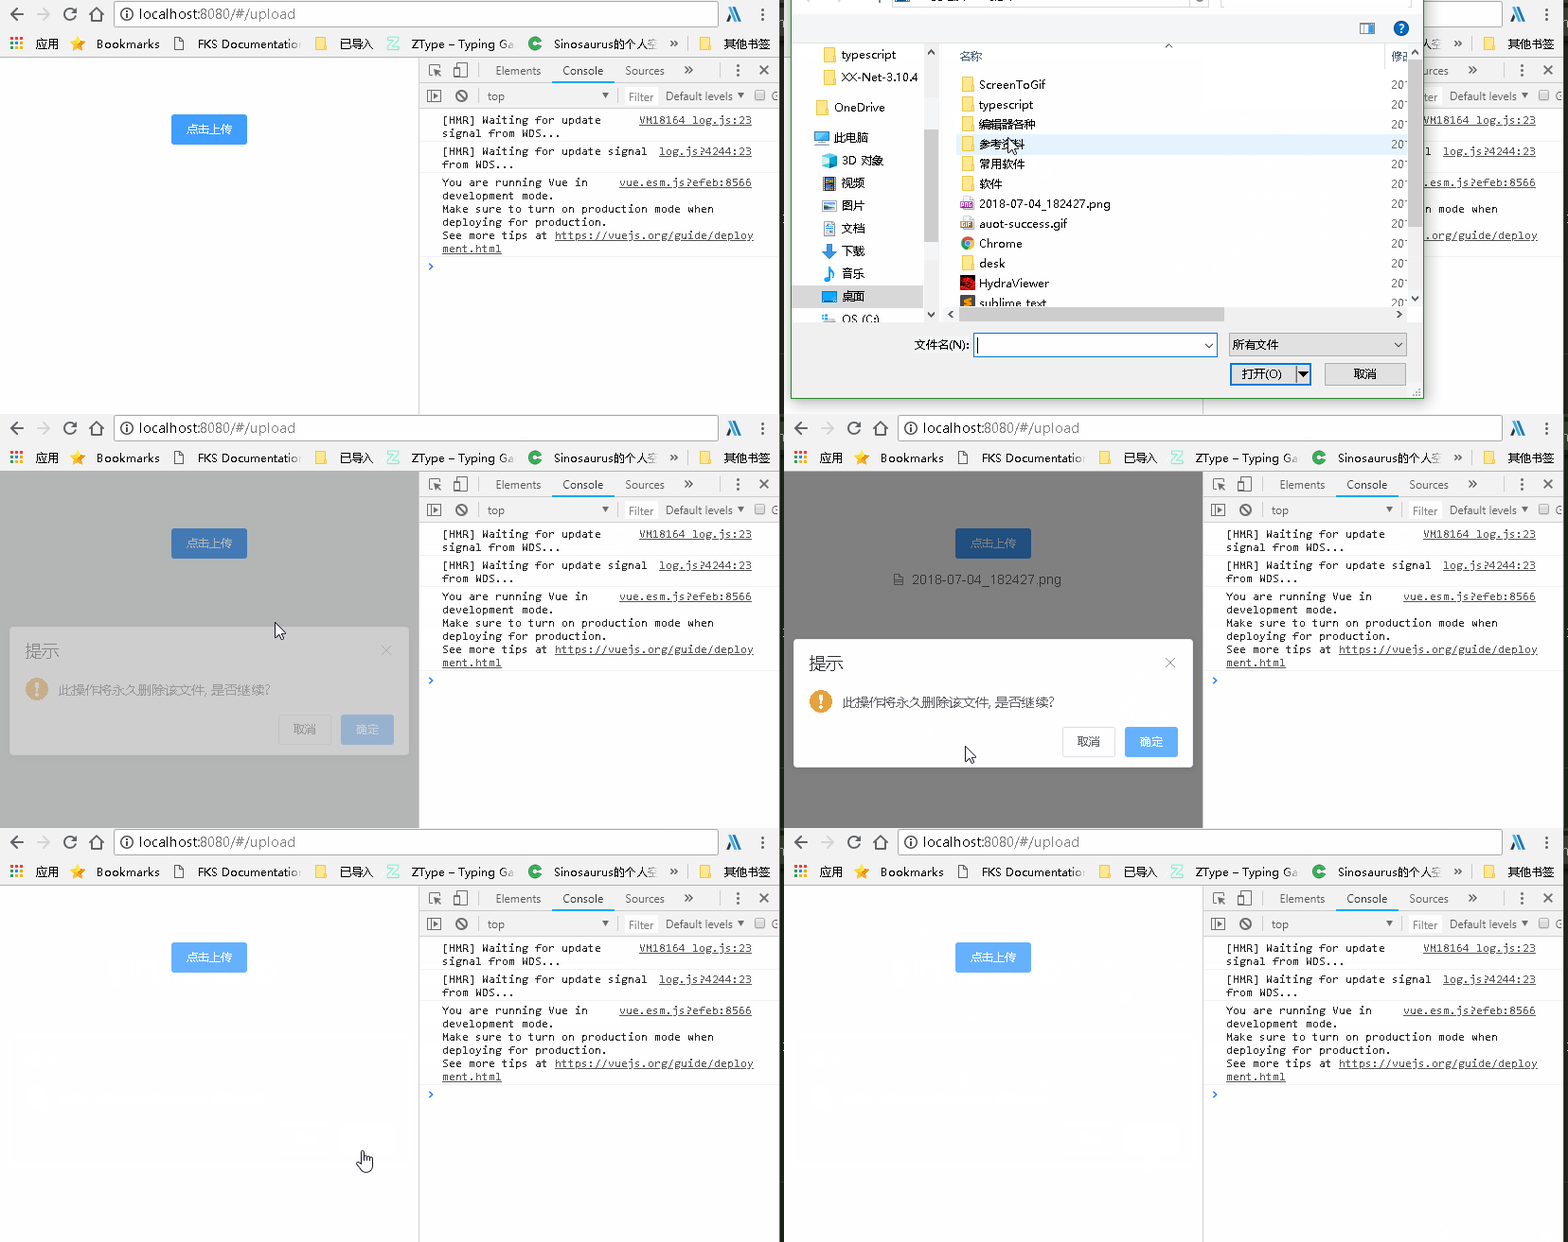
此方法可行,現在就是控制因為文件狀態改變而導致兩次彈窗, 修改如下
文件狀態變更 不是成功就是失敗,因而在成功失敗的函數進行控制即可
添加flag標識進行控制彈窗即可
data() {
 return {
 isConfirm: true
 }
}
async handleChange() {
 if (!this.isConfirm) {
 this.isConfirm = true
 return
 }
 const bo = await this.$confirm('此操作將永久刪除該文件, 是否繼續?', '提示', {
 confirmButtonText: '確定',
 cancelButtonText: '取消',
 type: 'warning'
 }).then(() => {
 return false
 }).catch(() => {
 return true
 })
 if (bo) {
 this.$refs.upload.submit()
 this.isConfirm = false
 } else {
 this.fileList = []
 }
}
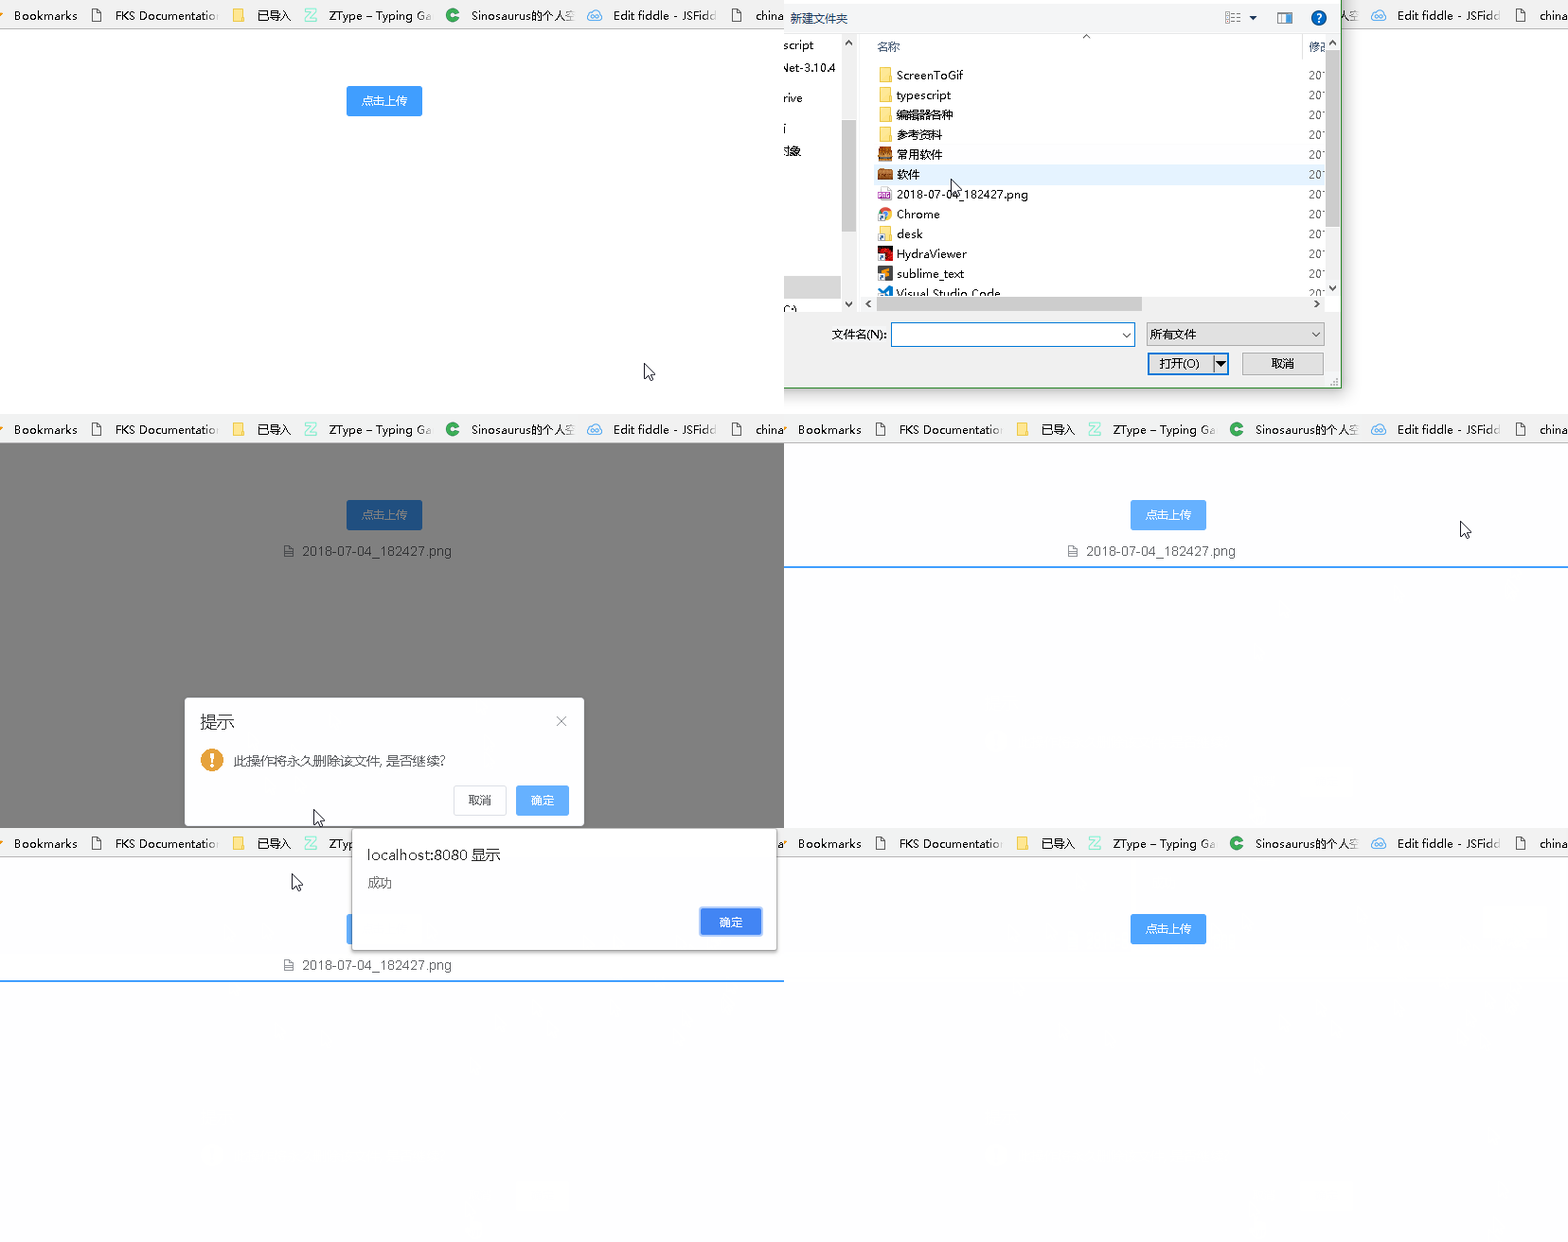
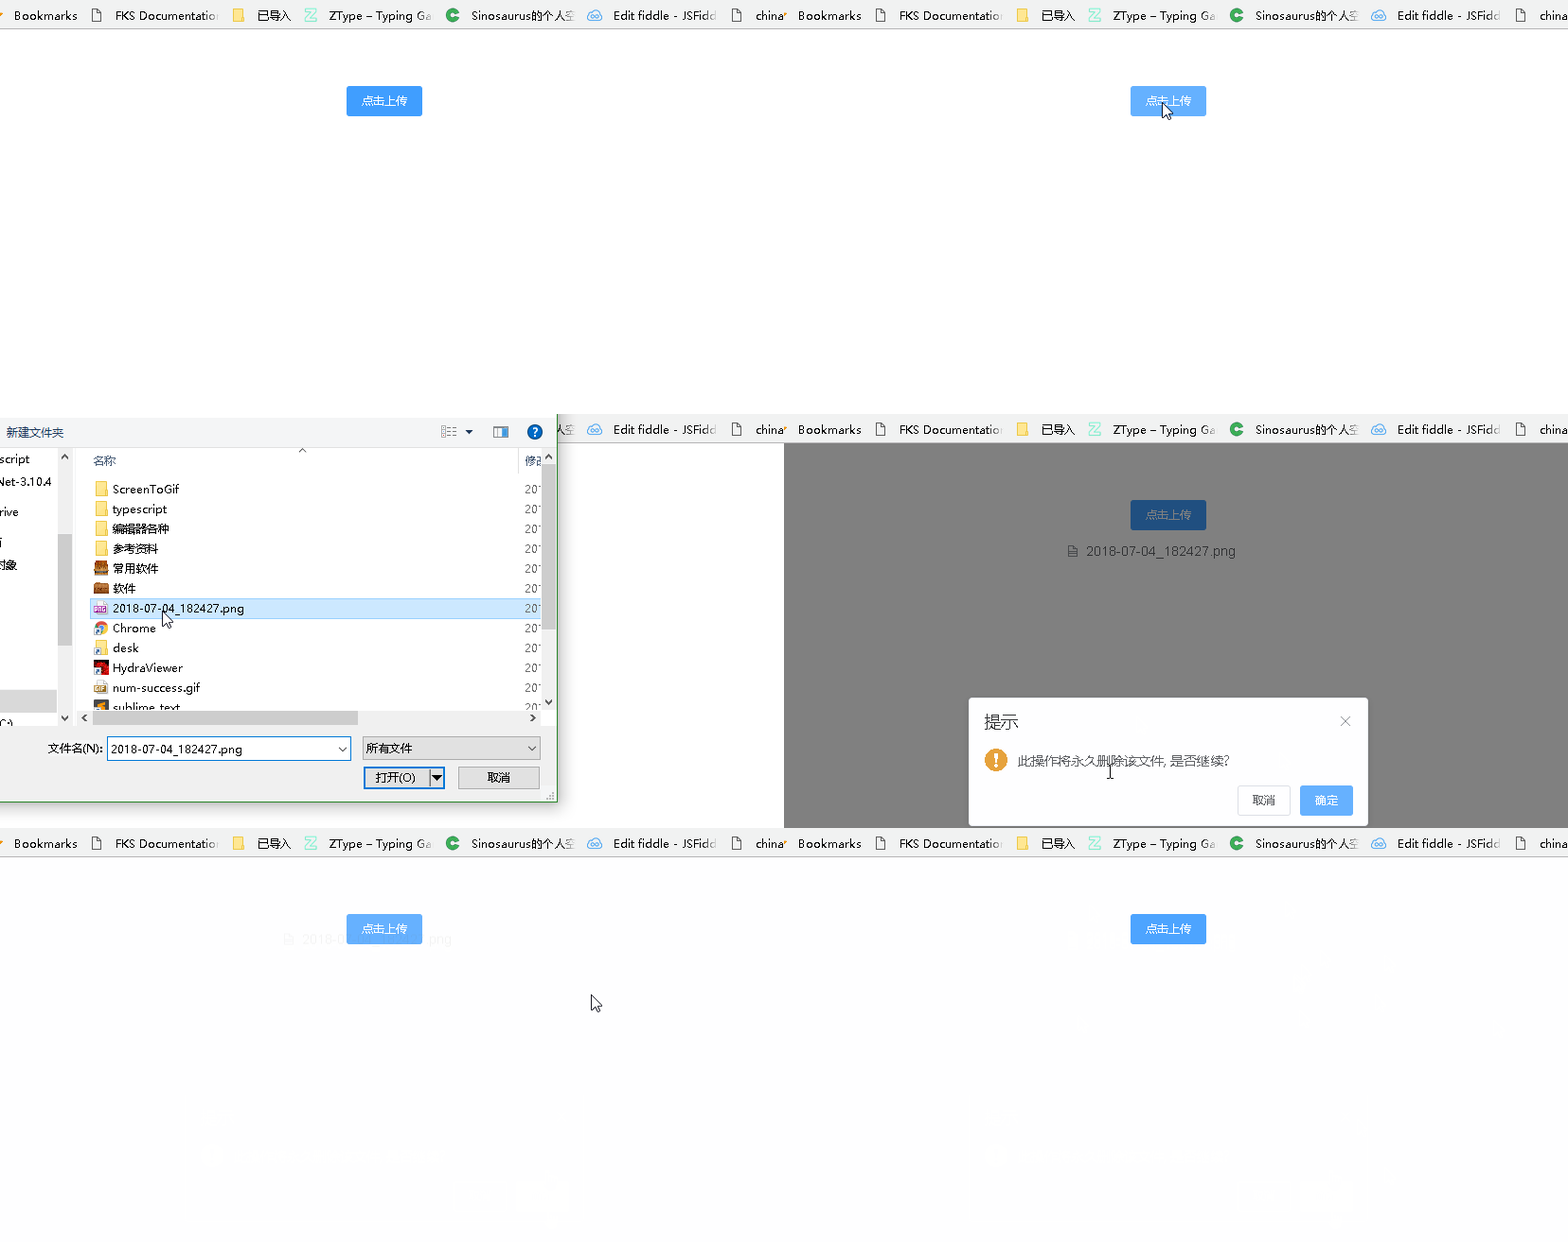
修改后便可以了,只是注意 在 on-error 和 on-succes 中注意清空 fileList = [] ,這樣還可以重新添加文件
確定上傳
取消上傳
總結
以上所述是小編給大家介紹的vue中element 的上傳功能的實現思路,希望對大家有所幫助,如果大家有任何疑問請給我留言,小編會及時回復大家的。在此也非常感謝大家對億速云網站的支持!
免責聲明:本站發布的內容(圖片、視頻和文字)以原創、轉載和分享為主,文章觀點不代表本網站立場,如果涉及侵權請聯系站長郵箱:is@yisu.com進行舉報,并提供相關證據,一經查實,將立刻刪除涉嫌侵權內容。